I once helped a small showroom that was struggling with a clunky entry door.
After switching to CWS sliding doors, they not only saved space but impressed clients with a modern, polished look.
That project reminded me how much businesses gain from professional-grade door systems.
I’ve handled installs on warehouses, offices, and retail spaces, and I know what works and what doesn’t. This review is based on real-world experience with CWS, not just catalog claims.
Inside this article, you’ll find a step-by-step guide to installing your own CWS sliding doors: covering tools, prep, panel setup, and final adjustments. You’ll finish with the clarity you came here for.
If you’re ready to make your space more efficient and professional, you’ll like what’s ahead.
Let’s get started!
Quick Process Chart
Installing Custom Window Systems sliding doors involves eight clear steps. This table gives you a simple reference for the process from start to finish.
| Step | Task | Key Actions | What to Check | Result |
| 1. Preparing the Opening | Measure and clean | Measure opening, inspect frame, clear debris | Level, plumb, no damage | Opening ready |
| 2. Assembling and Positioning the Frame | Build and place | Assemble frame, set in opening, shim | Frame square and centered | Frame stable |
| 3. Securing the Frame | Fasten to studs | Drive screws, space evenly, recheck | No wobble or shift | Frame locked in place |
| 4. Installing Panels | Set fixed and sliding | Install fixed panel, add sliding panel, test | Panels align and slide | Panels smooth |
| 5. Adding Hardware | Handles and locks | Attach handles, fit lock, adjust rollers | Lock engages, door glides | Door secure |
| 6. Sealing and Insulating | Seal and insulate | Apply caulk, fill gaps, trim foam | Tight seal, no drafts | Weatherproof door |
| 7. Final Adjustments | Align and test | Adjust rollers, align panels, test lock | Smooth glide, seal contact | Door airtight and safe |
| 8. Finishing Touches | Trim and clean | Add trim, seal holes, clean surfaces | Neat and aligned finish | Professional look |
Step#1 Preparing the Opening
Getting the opening right is the most important part of this job. I’ve learned that if the space isn’t clean, level, and measured properly, you’ll fight with the install the whole way through. Think of this step as laying the foundation for everything that comes after.
Measure and Inspect
- Check Rough Opening Size: I always start by measuring the opening to make sure it matches the door’s specifications. Measure both width and height so you know the frame will fit without forcing it in.
- Inspect For Damage: Look closely at the sill, studs, and header for any signs of rot, cracks, or weak spots. Fixing these issues now saves you trouble later and gives the frame a solid base.
- Check Level And Plumb: Place a spirit level on the sill, sides, and top of the opening to confirm everything is straight. If the opening isn’t square, the door won’t slide smoothly or seal properly.
Clear and Prepare
- Remove Old Materials: If you’re replacing a door, I recommend taking your time to remove the old frame, screws, and leftover sealant. Clearing the area fully helps the new frame sit properly without obstructions.
- Clean The Surface: Sweep out dirt, dust, and debris from the opening so the frame rests on a flat base. A clean surface also makes your sealants stick better, giving you stronger weather protection.
- Add Flashing Or Moisture Barrier: Apply flashing tape or a moisture barrier along the sill and sides if needed. I never skip this step because it keeps water from sneaking into the wall structure later.
Step#2 Assembling and Positioning the Frame
Once the opening is ready, it’s time to bring in the frame. This is where things really start to take shape, and it’s also the step that sets up the entire installation. I’ve learned that patience here makes all the difference because if you rush, you’ll end up struggling with alignment and panel movement later on.
Assemble The Frame
- Follow Manufacturer’s Instructions: I always lay out the frame parts and double-check the instructions before starting. Taking a few extra minutes here ensures you don’t miss a piece or install something backwards.
- Secure Joints Properly: Use the provided fasteners or screws to join the corners tight. If the joints aren’t solid now, the whole frame will feel loose once the panels go in.
- Check Frame Orientation: Make sure the fixed panel side and sliding track are positioned as intended. I’ve seen jobs get delayed just because the frame was flipped the wrong way.
Position The Frame In The Opening
- Set The Frame Carefully: Lift the assembled frame into the rough opening and center it. I like to have a second set of hands here because it keeps the frame from twisting or scratching.
- Use Shims For Support: Place shims under the sill and along the sides to hold the frame in place. Adjust them until the frame sits square and doesn’t rock.
- Check Level And Plumb Again: Put your level across the sill and up the sides to make sure the frame is straight. If it’s even a little off, the sliding panels won’t glide smoothly later.
Step#3 Securing the Frame
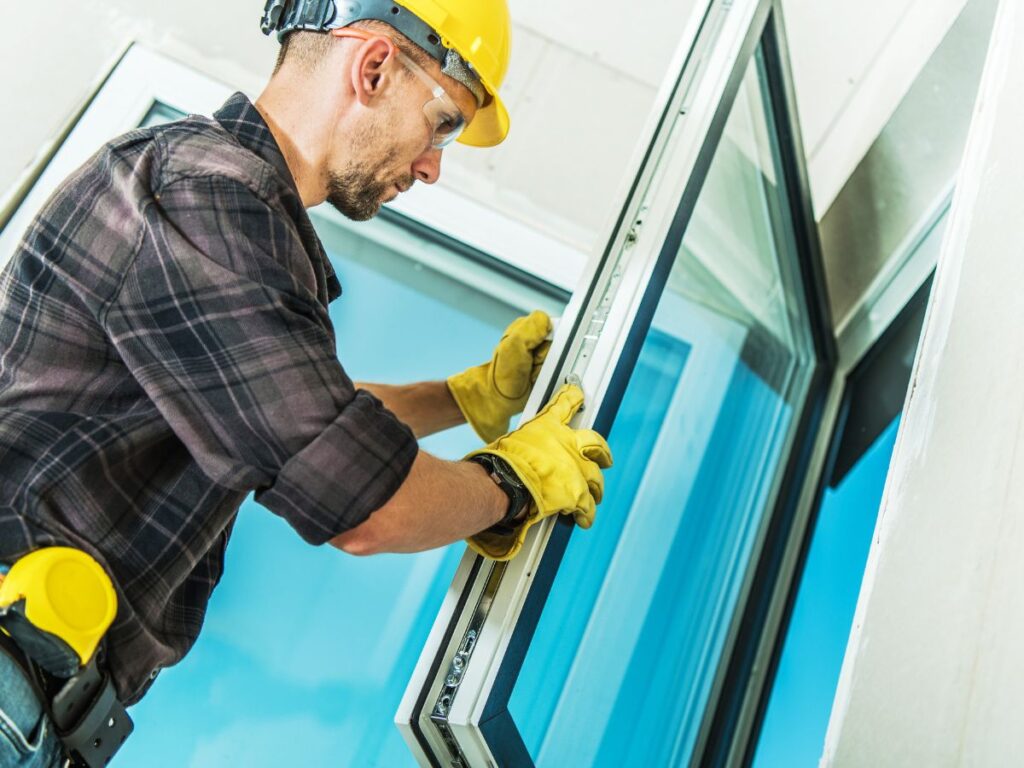
With the frame in place, it’s time to lock it down. This step is all about making sure the frame doesn’t shift, sag, or twist once the panels are added. I’ve seen installers rush here and pay for it later with sticking doors or gaps that leak air and water. Take the extra few minutes to get it right, and your sliding doors will thank you.
Fasten the Frame
- Drive Screws Into Studs: Secure the frame to the wall studs using the manufacturer’s recommended screws. Make sure to start at the top and work your way down so the frame stays aligned.
- Space Fasteners Evenly: Place screws at regular intervals along the sides and top. This even spacing keeps the pressure balanced and prevents the frame from warping.
- Avoid Over-Tightening: Sink screws snug but don’t crank them too tight. Over-tightening can bend the frame, which will cause trouble when you add the panels.
Double-Check Alignment
- Recheck Plumb and Level: After fastening, use your level on both sides and across the sill. If anything shifted while screwing it down, now’s the time to make small adjustments.
- Adjust Shims as Needed: Slide shims in or out until the frame is square and secure. I’ve found this small step makes a huge difference in how smoothly the panels operate.
- Confirm Secure Fit: Give the frame a gentle push in different spots to confirm it doesn’t move. If it wobbles or feels loose, add a shim or extra screw where needed.
Step#4 Installing the Sliding Door Panels
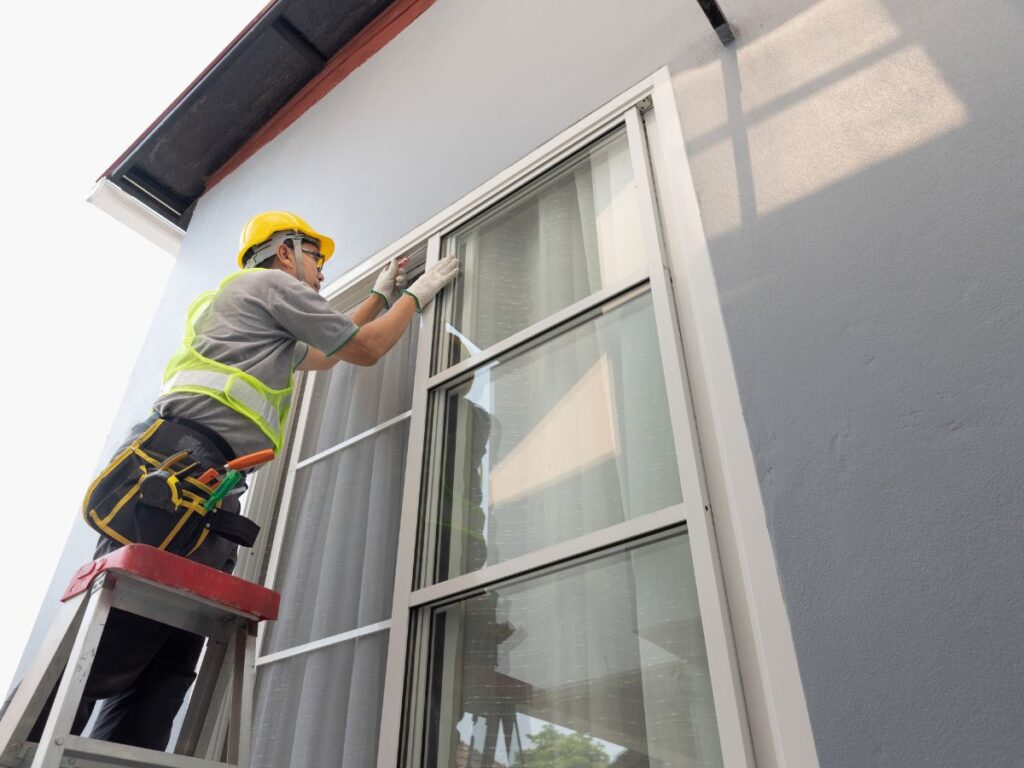
Now comes the part where you really see progress as the panels go in. This step can be tricky if you rush, but with some patience, it’s straightforward. Always remember that a smooth installation here means years of trouble-free sliding later.
Install the Fixed Panel
- Set The Fixed Panel First: Lift the fixed panel and carefully tilt it into the track. Starting with the fixed side gives you a stable base for installing the moving panel.
- Secure It In Place: Once the panel is aligned, attach it using the clips or brackets provided by the manufacturer. Vallisco recommends that a snug fit here ensures the panel will not shift when the sliding panel moves.
- Check For Gaps: Run your hand along the edges to feel for any spaces. If you notice gaps, adjust the frame slightly or use shims before locking it down fully.
Install the Sliding Panel
- Lift And Tilt Into Track: Raise the sliding panel and angle it into the top track first, then set the bottom onto the lower guide. Having someone help here makes the process smoother and safer.
- Test The Slide Immediately: Before adding hardware, slide the panel back and forth a few times. If it drags or sticks, adjust the frame or rollers now while it is easy to fix.
- Check Alignment With Fixed Panel: Make sure the sliding panel closes evenly against the fixed panel. Proper alignment ensures the lock will engage securely later.
Step#5 Adding Hardware and Accessories
With the panels in place, it is time to bring the doors to life with handles, locks, and other accessories. I always enjoy this step because it is where the sliding doors start feeling complete and functional. Taking your time here ensures everything operates smoothly and looks professional.
Install Handles and Locks
- Attach Handles Securely: Line up the handles with the pre-drilled holes on the sliding panel. Tighten the screws evenly so the handles sit flush and feel solid in your hand.
- Fit The Lock Mechanism: Slide the lock assembly into its slot and secure it with the provided fasteners. I like to test the lock a few times before tightening everything down fully.
- Check Lock Engagement: Close the sliding panel to make sure the lock lines up with the strike plate. If it does not catch, adjust the alignment before moving on.
Adjust Rollers and Guides
- Set The Rollers Correctly: Use a screwdriver to raise or lower the rollers until the sliding panel moves with ease. Small adjustments here can make a big difference in how smoothly the door operates.
- Align Bottom Guides: Make sure the bottom guides keep the sliding panel on track without rubbing. If they are too tight or too loose, adjust them until the panel glides without resistance.
- Test The Door Movement: Slide the panel open and closed several times to check for smooth operation. If you notice any sticking or rattling, make fine adjustments now instead of later.
Step#6 Sealing and Insulating
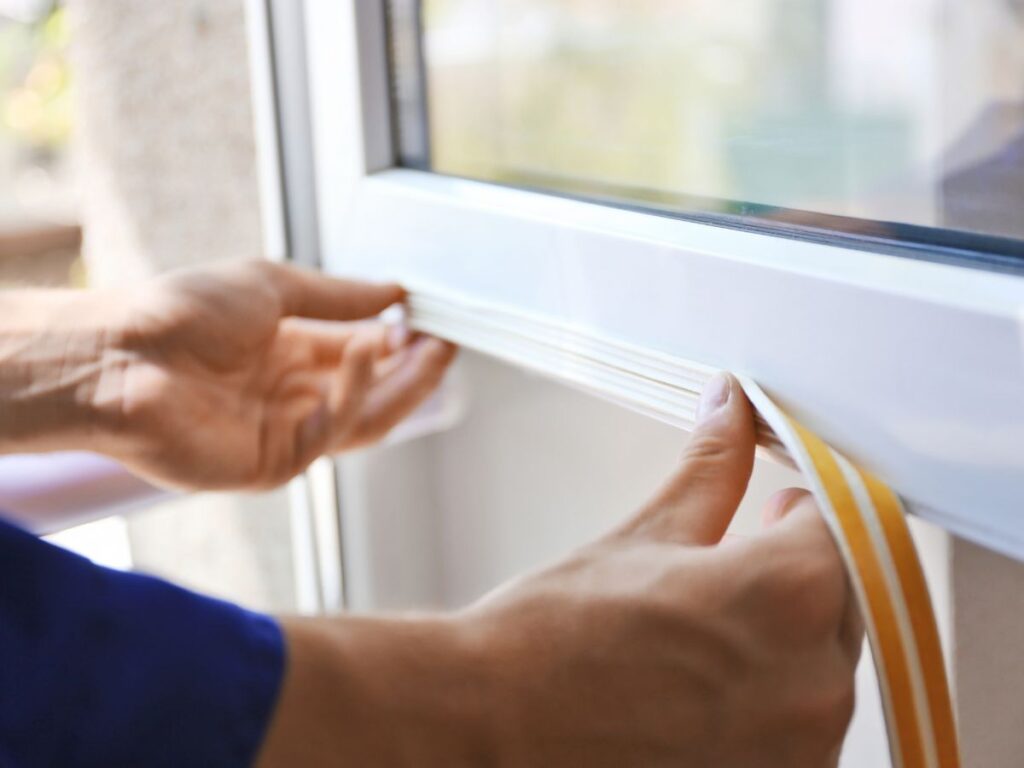
Once the panels and hardware are in place, the next step is keeping the elements out. Sealing and insulating make sure your sliding doors stay energy efficient and protect your building from water leaks. I never skip this step because even the best installation can fail if it is not properly sealed.
Apply Exterior Sealant
- Use High-Quality Caulk: Run a continuous bead of exterior-grade caulk around the outside of the frame. I always smooth it out with a tool or finger to create a tight, clean seal.
- Seal All Gaps: Pay attention to corners and joints where water could sneak in. Taking the time to double-check these areas saves you from future headaches.
- Check For Missed Spots: Step back and inspect the perimeter for any breaks in the caulk line. A second look now is easier than repairing a leak later.
Insulate the Interior
- Fill Open Spaces: Use low-expansion spray foam or insulation around the frame from the inside. This helps block drafts and improves overall energy efficiency.
- Trim Excess Foam: Once the foam dries, cut back any overflow with a sharp utility knife. A flush finish makes it easier to install interior trim later.
- Add Extra Protection If Needed: In humid or rainy areas, I sometimes add a secondary barrier like flashing tape. It gives added peace of mind that water will not make its way inside.
Step#7 Final Adjustments and Testing
With everything installed and sealed, it is time to fine-tune the door. This step makes sure the sliding doors operate as they should and that every detail is aligned. I always take my time here because small adjustments now prevent big complaints later.
Adjust Panels and Rollers
- Fine-Tune The Rollers: Use a screwdriver to raise or lower the rollers until the sliding panel moves effortlessly. A smooth glide shows the frame and panels are in sync.
- Align The Panels: Make sure the sliding panel meets the fixed panel evenly from top to bottom. If the gap is uneven, adjust the rollers or shims until it lines up perfectly.
- Check Panel Clearance: Open and close the panel fully to confirm it clears the track and frame without rubbing. This prevents wear and extends the life of the hardware.
Test Operation And Security
- Operate Multiple Times: Slide the door open and shut several times to test consistency. I like to do this slowly and quickly to see how the rollers handle both.
- Test The Lock: Engage the lock to confirm it latches securely and does not stick. Vallisco suggests that a reliable lock adds both safety and peace of mind.
- Inspect Weather Seal: Check the edges while the door is closed to ensure the weather stripping makes full contact. This step is key for keeping drafts and moisture out.
Step#8 Finishing Touches
The final step is all about making the installation look polished and complete. This is where you tie everything together so the sliding doors not only perform well but also look professional. I always enjoy this part because it is the moment when the project truly comes to life.
Install Trim And Molding
- Add Interior Trim: Cut and install trim pieces around the inside of the frame. This covers gaps and gives the doorway a clean, finished look.
- Attach Exterior Molding: Secure molding on the outside to protect the caulk line. It also adds an extra layer of durability against the elements.
- Seal Nail Holes: Fill nail holes with caulk or putty and smooth them out. A neat finish here keeps the trim looking sharp.
Final Clean-Up
- Clean Glass And Frame: Wipe down the panels and frame to remove dust, fingerprints, or leftover sealant. Clear glass makes the doors stand out and look brand new.
- Touch Up Wall Or Floor: Repair any marks on the drywall or flooring around the doorway. This small detail helps the new door blend seamlessly with the space.
- Do A Final Walkthrough: Step back and look at the entire installation from inside and out. I like to check that everything looks aligned and professional before calling it done.
Conclusion
We started with a simple story. A showroom stuck with an old door. By the end of that project, CWS sliding doors gave them new efficiency and style.
That outcome can be yours too. You now have a full walkthrough on how to install these systems correctly, ensuring durability and performance. The key is acting on what you’ve learned.
Don’t leave your space behind.
Contact Vallisco today for industry-leading door and window solutions that fit your needs and keep your projects moving forward.
Explore Related Resources
Want to see more? We’ve gathered additional product choices to give you even more variety:
Still haven’t found what you’re looking for? Don’t hesitate to contact us. We’re available around the clock to assist you.


