Customers have come to us after changing every window in their building. They thought it would help.
Lower bills. More comfort. Less noise. But nothing really got better.
When we took a closer look, the problem wasn’t the window. It was the way it was put in. Seals were missing. Frames weren’t lined up right. Small mistakes but they added up.
We’ve seen this happen again and again. And it’s frustrating, especially when someone’s already spent time and money trying to do the right thing.
That’s why we put this step-by-step guide together. It shows you the full process we use. From start to finish. So you can install your windows the right way or check that your installer is doing it right.
By the time you’re done reading, you’ll feel clear, confident, and ready to take charge of your project.
So let’s get down to it!
Quick Comparison Chart
Before we dive deep, here’s a quick side-by-side look at each step. Think of it as your roadmap to perfect window installation. Are you ready to see it all at a glance?
| Step | Main Action | Key Tasks | Why It Matters |
| Step #1 Choose the Right Energy-Efficient Windows | Select the best type for your needs | Compare glazing, Low-E coatings, gas fills, frame materials, Energy Star ratings | Ensures comfort, lower bills, and performance in your climate |
| Step #2 Inspect the Existing Openings | Assess the current frame and structure | Look for rot, damage, measure accurately, check stability | Prevents costly problems after installation |
| Step #3 Prepare the Opening | Remove old window and clean | Take out old materials, remove caulk, inspect for mold or water damage | Creates a solid base for the new window |
| Step #4 Install the Window Frame | Position and secure frame | Center frame, use shims, fix with screws/nails, check for gaps | Sets foundation for proper sealing and smooth operation |
| Step #5 Seal the Window Properly | Block air and moisture | Apply weatherstripping, caulk edges, fill larger gaps with foam | Maximizes energy efficiency and protects against leaks |
| Step #6 Insulate and Finish the Interior | Add insulation and trim | Use spray foam or fiberglass, install trim, paint/stain | Improves comfort and completes the look |
| Step #7 Final Inspection and Testing | Test performance and appearance | Open/close window, check for drafts, review alignment and finish | Confirms the installation is functional, airtight, and visually complete |
Now that you’ve got the overview, let’s dig into each step and make sure you can do it right the first time.
Step#1 Choose the Right Energy-Efficient Windows
I have met homeowners who picked beautiful new windows only to regret the choice after the first winter. They looked great, but drafts still crept in and the heating bill barely changed. The lesson is simple: the right look is important, but performance should come first.
Choosing the right energy-efficient windows starts with knowing your options. Different designs and materials affect how well they keep heat in during winter and block heat in summer.
Double vs. Triple Glazing
- Double Glazing: This option uses two panes separated by a sealed air space. It offers solid insulation and is often the more budget-friendly choice.
- Triple Glazing: This option uses three panes with two sealed spaces in between. It provides better insulation and noise control but comes with added weight and cost.
Low-E Coatings
- Low-E Glass: Low-E stands for low emissivity, which is a nearly invisible coating on the glass. It reflects heat inside during winter and keeps it out in summer, improving comfort year-round.
Gas Fills
- Argon Gas Fill: Argon is denser than air and slows heat transfer between panes. It is common, affordable, and effective for most climates.
- Krypton Gas Fill: Krypton is even denser than argon, offering greater insulation in thinner window spaces. It is more expensive but works well for high-performance needs.
Frame Material Options
- Wood Frames: These offer excellent insulation and a warm, classic look. They do require upkeep to protect against weather damage.
- Vinyl Frames: These are affordable and resistant to moisture. They provide decent insulation with minimal maintenance.
- Fiberglass Frames: These are strong and stable in extreme temperatures. They are long-lasting and need little upkeep.
- Aluminum Frames: These are lightweight and highly durable. They need a thermal break to improve insulation performance.
Energy Star Ratings
- Energy Star Certification: This rating shows how well a window performs in specific climate zones. A higher rating means the window is more efficient for your area’s conditions.
Before you choose, think about your local climate and specific needs. If summers are hot, look for better heat rejection. If winters are long, focus on insulation. Always match the window to the conditions you live in, not just the style you like.
Step#2 Inspect the Existing Openings
Before you put in new windows, you need to know exactly what you are working with. I have seen installations fail not because the new window was bad, but because the opening was never checked first.
A frame that looks fine at a glance can hide problems like rot or shifting. If those issues stay hidden, your new window will not perform as it should. Taking the time to inspect now can save you from expensive fixes later.
Evaluate the Current Window Frames
- Look for Signs of Rot: Wood can decay over time, especially if water has seeped in. Rot weakens the frame and can spread if it is not addressed.
- Check for Physical Damage: Cracks, warping, or gaps can prevent the window from sealing properly. Even small flaws can lead to drafts and energy loss.
- Measure the Openings: Use a measuring tape to record the height and width at multiple points. This helps you get an accurate fit for your new window.
Check for Structural Integrity
- Inspect Surrounding Walls: The structure around the window should be stable and free from major cracks. Weak or damaged walls can compromise the installation.
- Test for Drafts: On a windy day, hold your hand near the frame to feel for air movement. Drafts can indicate hidden gaps or failing insulation.
Special Considerations for Commercial Properties
- Hotels and Inns: These often have larger openings that may require custom-sized windows. The frames also need to handle frequent use and cleaning.
- Greenhouses: Openings may be shaped to maximize light and ventilation. Check that these frames are still square and free from corrosion or decay.
Bring a level with you when measuring to confirm the sides are straight. An uneven frame can cause your new window to sit incorrectly, making it harder to seal. Accurate measurements now mean a smoother installation later.

Step#3 Prepare the Opening
Once you’ve inspected the old opening and made any repairs, it’s time to get the space ready for the new window. This step may feel simple, but it plays an important role in making the installation work correctly. A clean, solid opening sets the foundation for proper fit and long-lasting performance.
Remove the Old Window
- Detach the Sashes and Frame: Start by removing the moving parts of the window, called sashes, and then take out the frame. Work slowly to avoid damaging the surrounding walls.
- Use the Right Tools: A pry bar and screwdriver can help loosen nails and screws. Wear protective gloves and safety glasses to avoid injury from broken glass or sharp edges.
Clean the Area
- Remove Old Caulk and Sealant: Old caulk can prevent a proper seal for the new window. Scrape it away with a putty knife until the surfaces are smooth.
- Clear Debris and Loose Material: Sweep or vacuum out dirt, wood chips, and any leftover hardware. A clean surface helps the new frame sit properly.
Inspect for Damage
- Check for Water Damage: Look for stains, soft spots, or swelling in the wood around the opening. These signs mean moisture has gotten in and repairs may be needed before you install.
- Look for Mold Growth: Mold often appears as black or green spots and can spread quickly. If you find it, remove the affected material or treat it before moving on.
Taking time now to prepare the opening will make installation smoother. A clean, solid, and damage-free base gives your new window the best chance to last and perform well.
Step#4 Install the Window Frame
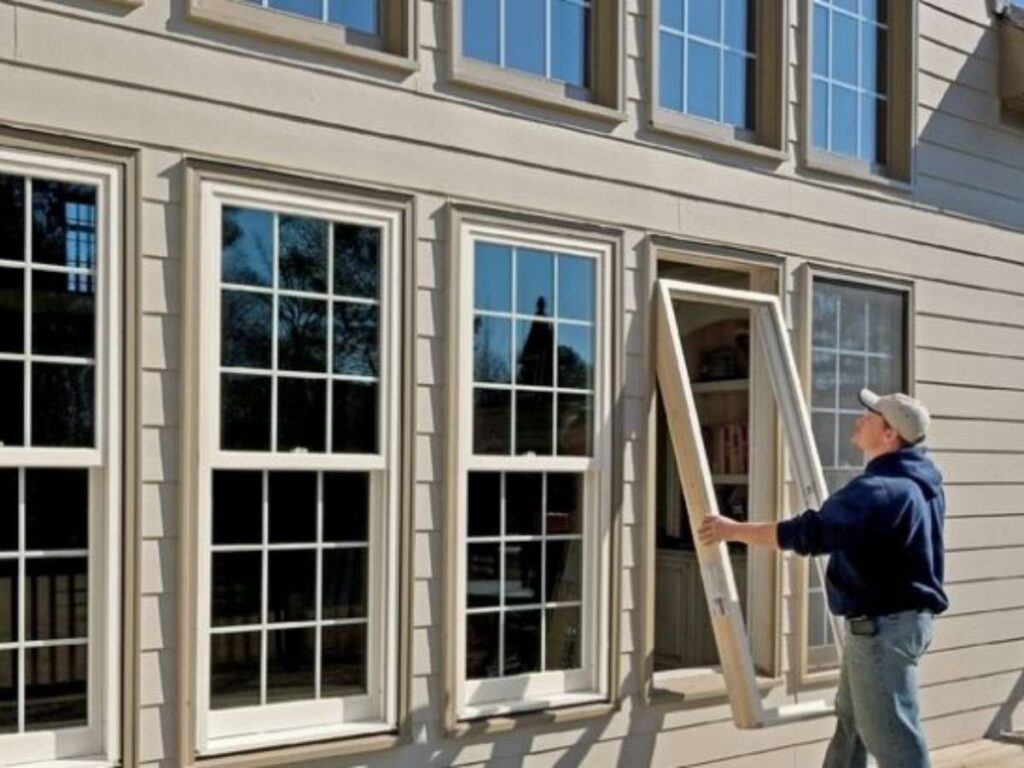
Now that the opening is clean and ready, it’s time to set the frame in place. This is the stage where everything starts to take shape, and precision matters more than speed. A frame that sits straight and square will make the entire window perform better and last longer.
Position the Window Frame
- Center the Frame: Place the frame into the opening so that it is centered from side to side. This allows for even spacing and makes sealing more effective.
- Check for Square Alignment: Use a level and a carpenter’s square to confirm the frame sits evenly. A square frame will help the window operate smoothly once installed.
Secure the Frame in Place
- Insert Shims: Shims are thin pieces of wood or plastic used to fill small gaps and adjust positioning. Place them at key points to keep the frame level and plumb, which means perfectly vertical.
- Attach with Screws or Nails: Follow the manufacturer’s guidelines for placement and depth. This keeps the frame stable while preventing damage to the material.
Check for Gaps
- Inspect All Sides: Look closely along the edges between the frame and the wall opening. Gaps can lead to drafts, water leaks, and reduced efficiency.
- Adjust Before Final Fixing: If you find a gap, reposition the frame or adjust the shims before driving in the final screws or nails.
Double-check the alignment before you secure everything in place. A properly installed frame gives your window a solid foundation and saves you from problems down the road.
Vallisco, a manufacturer of doors and windows, stresses this step because it sets the stage for performance and durability.
Step #5: Seal the Window Properly
Sealing is the step that often gets underestimated. I can tell you from experience: if this part is rushed, you’ll notice it every time the wind blows or it rains. Even a high-quality window won’t perform if air and water find their way through weak spots. This is where you lock in all the work you’ve done so far.
Apply Weatherstripping
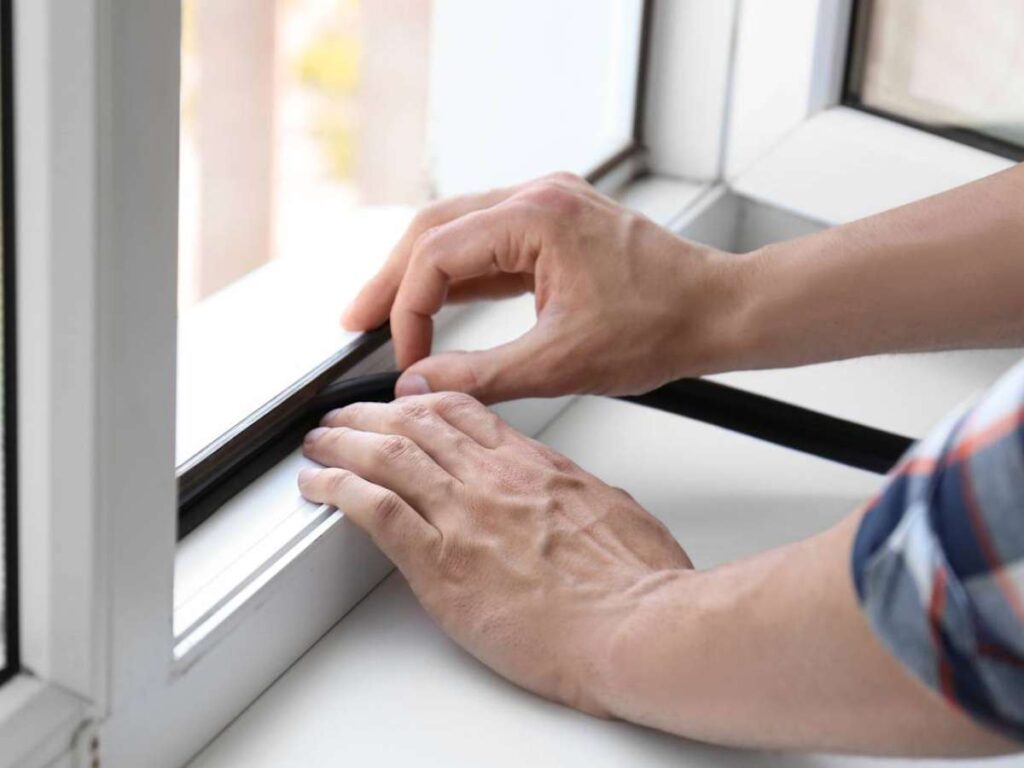
- Prevent Drafts: Weatherstripping is a flexible material placed where the window sash meets the frame. It keeps air from slipping through, which helps you stay comfortable in every season.
- Choose the Right Type: Foam, felt, and rubber are common choices. Pick one that fits your climate, and make sure you apply it evenly for the best results.
Use Caulk for Sealing
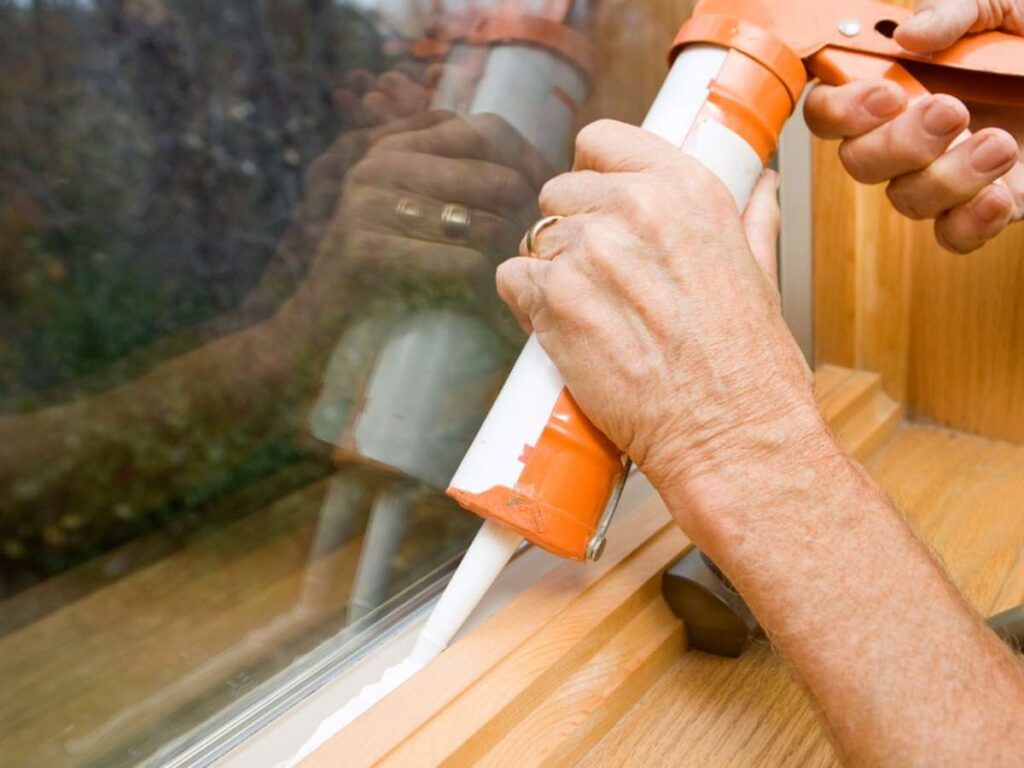
- Seal the Edges: Caulk fills the small spaces between the window frame and the wall. It’s simple but powerful, keeping both air and water out.
- Focus on Corners and Joints: These spots are where leaks usually start. Smoothing the caulk properly gives you a neat, continuous finish.
Consider Foam Insulation
- Fill Larger Gaps: Low-expansion spray foam works well when spaces are too wide for caulk. It expands just enough to close the gap without putting pressure on the frame.
- Trim Excess: Once the foam hardens, cut off the extra so it doesn’t get in the way of trim or finishing.
Take your time here. A solid seal keeps your heating and cooling inside and prevents costly damage from water. Do it right, and you’ll feel the difference every single day your windows are in use.
Step#6 Insulate and Finish the Interior
With the window sealed, the next step is adding insulation and making the interior look complete. I have seen projects where the installer skipped this part or rushed it, and the result was a cold draft every winter. Good insulation not only keeps the temperature steady but also adds the finishing touch to the room.
Insulate the Window Frame
- Spray Foam Insulation: This is ideal for filling small to medium gaps between the frame and wall. Use low-expansion foam so it fills the space without pushing on the frame.
- Fiberglass Batt Insulation: If foam is not suitable, fiberglass batts can be pressed into the gap. This material is easy to cut and fit, making it a good option for wider spaces.
Install Interior Trim and Finish
- Cover the Gaps: The trim hides insulation and any rough edges from the installation. It also adds another layer of sealing against air leaks.
- Apply Paint or Stain: Choose a finish that matches your room’s style. A fresh coat not only protects the wood but also makes the installation look intentional and polished.
Apply insulation evenly around the entire perimeter to avoid thermal bridges, which are spots where heat can escape more easily. When the trim is up and finished, the window will look like it has always belonged there. This step may seem simple, but it brings together the function and appearance of your project.
Step #7: Final Inspection and Testing
This is the moment to step back and make sure all your work has paid off. The final inspection is where you confirm the window not only looks good but also performs the way it should. Taking a few extra minutes here can save you from small issues that might grow into bigger problems later.
Check the Window Operation
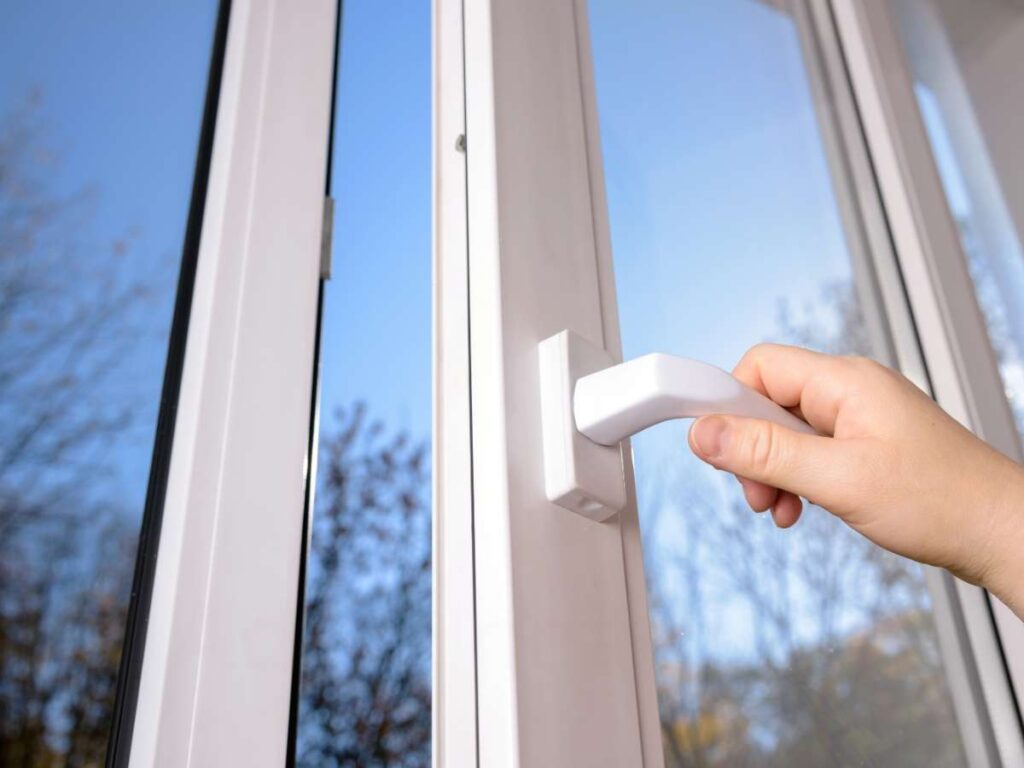
- Test Movement: Open and close the window several times. It should glide smoothly without sticking, scraping, or rattling.
- Look for Air Leakage: Place your hand along the edges and feel for air movement. If you notice a draft, it may point to a gap or seal problem.
Test for Drafts
- Candle Test: Light a candle and hold it near different parts of the frame. If the flame flickers, that’s a sign of an air leak.
- Smoke Test: Use incense or a smoke pencil if you prefer. The smoke will drift toward leaks, making them easier to spot.
Inspect for Aesthetics
- Check Alignment: Make sure the window is straight and lines up neatly with the trim. A crooked frame can affect both appearance and function.
- Review Finish Work: Look for clean caulk lines, even paint or stain, and smooth trim. Details like these complete the installation.
Perform draft checks in several spots around the frame, especially corners and midpoints. When everything passes, you can feel confident the job is done right. Vallisco, a manufacturer of doors and windows, emphasizes this step because it’s the final safeguard that guarantees lasting performance and comfort.
Conclusion
From choosing the right glass to sealing every gap, we’ve covered the full process. You know what to do, where to focus, and how to spot mistakes before they cost you.
Your home, villa, or building deserves better than a rushed job.
Now it’s your turn to take control. Will you settle for “good enough” or push for a result that truly lasts?
Reach out to Vallisco and let’s get started today.
Explore More Helpful Resources
Curious for more? These additional articles offer even more insights and advice:
Still haven’t found what you’re looking for? Don’t hesitate to contact us. We’re available around the clock to assist you.


