Last year, I helped a villa owner replace 6 storm doors before the rainy season. He needed them ready before guests arrived, and the deadline was tight.
Jobs like that show how much planning matters before you even pick up a drill.
My advice is based on years of hands-on work installing doors for properties big and small. I’ve handled everything from beachfront B&Bs to mountain greenhouses.
In this guide, you’ll get:
- Clear installation steps
- Advice on choosing the right hardware
- Simple checks to make sure the door fits well
This is the same method we use on real sites, and it works.
So let’s get started!
Quick Overview Chart
If you want to see the process at a glance, this table covers the key actions from start to finish. It’s useful for planning the job or reviewing before heading to the site. Keep in mind, each step still needs careful work to get the best results.
| Step | Key Action | Main Focus |
| 1. Pre-Installation Requirements | Measure, gather tools, check site | Accurate sizing and readiness |
| 2. Door Frame Preparation | Inspect, repair, clean | Solid, smooth frame surface |
| 3. Attach Hinge-Side Z-Bar | Position, level, secure | Proper alignment for hinges |
| 4. Mount Storm Door Panel | Position, fasten, test | Smooth swing and latch fit |
| 5. Install Latch-Side Z-Bar | Align, drill, secure | Tight seal and correct latch position |
| 6. Apply Weather Sealant (If Required) | Choose, apply, smooth | Protection from water and drafts |
| 7. Install Pneumatic Door Closer | Mount brackets, attach closer, adjust speed | Controlled, safe closing action |
| 8. Quality Control and Compliance Checklist | Test, inspect, document | Reliable operation and compliance |
Reading this table gives you the big picture, but the details in each step make all the difference. If you want the complete process with tips and notes from real installations, read the full guide below.
Step#1 Pre-Installation Requirements
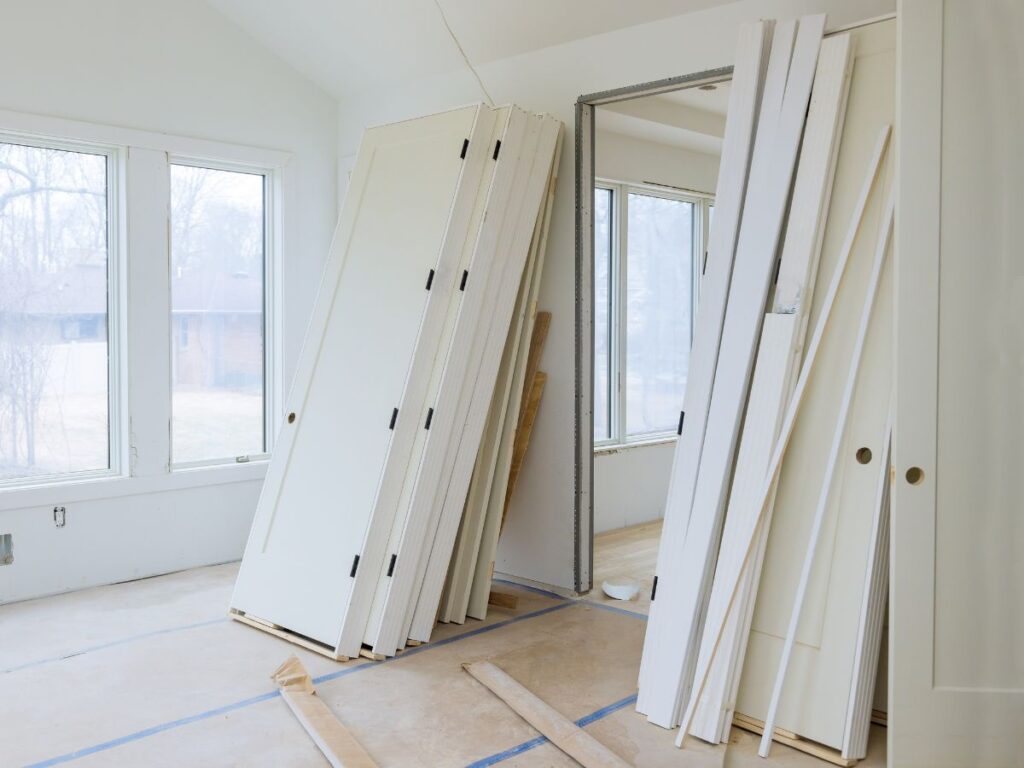
Before you start, it’s important to get everything in order. I’ve seen jobs run into delays because small details were missed early on. If you handle this part carefully, your installation will go smoother and faster.
Confirm Measurements
- Measure Width and Height at Multiple Points: Take width measurements at the top, middle, and bottom of the frame, plus the height on both sides. This helps spot any uneven spots before you start.
- Check Against the Storm Door Specs: Compare your measurements with the door manufacturer’s size chart. This tells you if adjustments or trimming will be needed.
- Allow for Hardware Clearance: Think about the handle and hinges, make sure there’s room for them to operate without hitting trim or walls.
- Account for Flooring or Threshold Changes: If you plan to replace flooring soon, leave enough clearance under the storm door. Otherwise, the new floor could block it later.
Gather Tools and Materials
Having everything within reach will help you work without interruptions. This is especially important if your site is a large property where walking back and forth can waste time.
| Item | Purpose | Notes |
| Measuring tape | To measure width and height accurately | Use a steel tape for better accuracy over long spans |
| Drill and drill bits | For making pilot holes and securing hardware | Keep both metal and wood bits in your kit |
| Screwdriver | For tightening screws and fittings | A cordless driver saves time on multiple doors |
| Level | To keep the door straight during installation | A 3-foot level works well for most doors |
| Pencil | For marking screw hole positions | Choose one with a sharp tip for precise marks |
| Hacksaw | To trim Z-bars or metal parts if needed | Fine-tooth blade gives cleaner cuts on aluminum |
| Manufacturer-supplied screws and brackets | To match the door’s structure | Using other screws may affect fit and durability |
| Weather sealant | To seal gaps and improve insulation | Silicone-based sealant works well for most climates |
| Gloves | To protect hands from sharp edges | Choose cut-resistant gloves for metal parts |
| Safety glasses | To protect eyes from dust and debris | Clear lenses are best for indoor or shaded work |
Check the Work Site Conditions
- Inspect the Frame Area for Damage: Look for rot, cracks, or loose trim. Fixing these before installation avoids problems down the road.
- Confirm the Mounting Surface is Solid: Your screws and brackets need to anchor firmly. Weak wood or corroded metal should be replaced.
- Clear the Work Area: Remove furniture, planters, or anything that could get in the way. This makes it safer for your crew.
- Think About Weather Timing: Avoid installing in heavy rain or strong winds, as it makes handling large panels harder and less accurate.
- Check for Power Access: If you’re working on-site at a hotel or villa, confirm you’ll have access to power outlets for your tools.
Step#2 Door Frame Preparation
Before you hang a storm door, the frame needs to be in the right condition. I’ve learned that skipping this step often leads to poor alignment and extra work later. If you prepare the frame well now, the installation will be faster and cleaner.
Inspect and Repair the Frame
- Check for Rot or Water Damage: Look closely at the wood or metal frame. Any softness, cracks, or discoloration should be addressed before you install the door. This prevents future structural problems.
- Tighten or Replace Loose Trim: Loose trim can cause gaps and throw off alignment. Secure any loose sections with nails or screws, or replace damaged pieces altogether.
- Fill Gaps and Holes: Use wood filler, epoxy, or patching compound to close small holes or cracks. This keeps out drafts and insects later on.
- Verify Frame is Square: Measure diagonally from corner to corner. If the measurements differ, you’ll need to adjust the frame before continuing.
Clean and Prepare the Mounting Surface
- Remove Old Hardware and Sealant: Unscrew and remove any leftover hinges, latches, or weatherstripping from the old door. Scrape away old caulk or adhesive for a smooth surface.
- Sand Rough Edges: If you find splinters or rough cuts, sand them down. A smooth frame helps the Z-bar fit snugly.
- Check for Obstructions: Make sure nothing protrudes into the doorway, such as nails or warped trim. These small issues can stop the storm door from closing properly.
- Dry and Debris-Free Surface: Work on a dry frame, free of dust and dirt. This gives better adhesion for sealant and helps hardware stay secure.

Step#3 Attach the Hinge-Side Z-Bar
The hinge-side Z-bar is what holds the storm door in place, so getting this step right matters. I’ve found that even small mistakes here can cause the door to sag or bind later. Take your time, and make sure your alignment is correct from the start.
Position and Align the Z-Bar
- Place the Z-Bar Against the Frame: Hold the hinge-side Z-bar along the side of the frame where the hinges will go. Make sure it’s flush with the edge and runs the full height of the opening. This helps the door sit properly without twisting.
- Use a Level for Accuracy: Check the Z-bar with a level from top to bottom. If it’s even slightly off, the storm door may not close smoothly. A small adjustment now will save you from rehanging the door later.
- Mark the Screw Holes: Once the Z-bar is in position, use a pencil to mark each screw hole location. This will make drilling cleaner and more accurate.
- Check Door Clearance: Before drilling, confirm the Z-bar position allows enough space for the door to swing without scraping the frame or trim.
Drill and Secure the Z-Bar
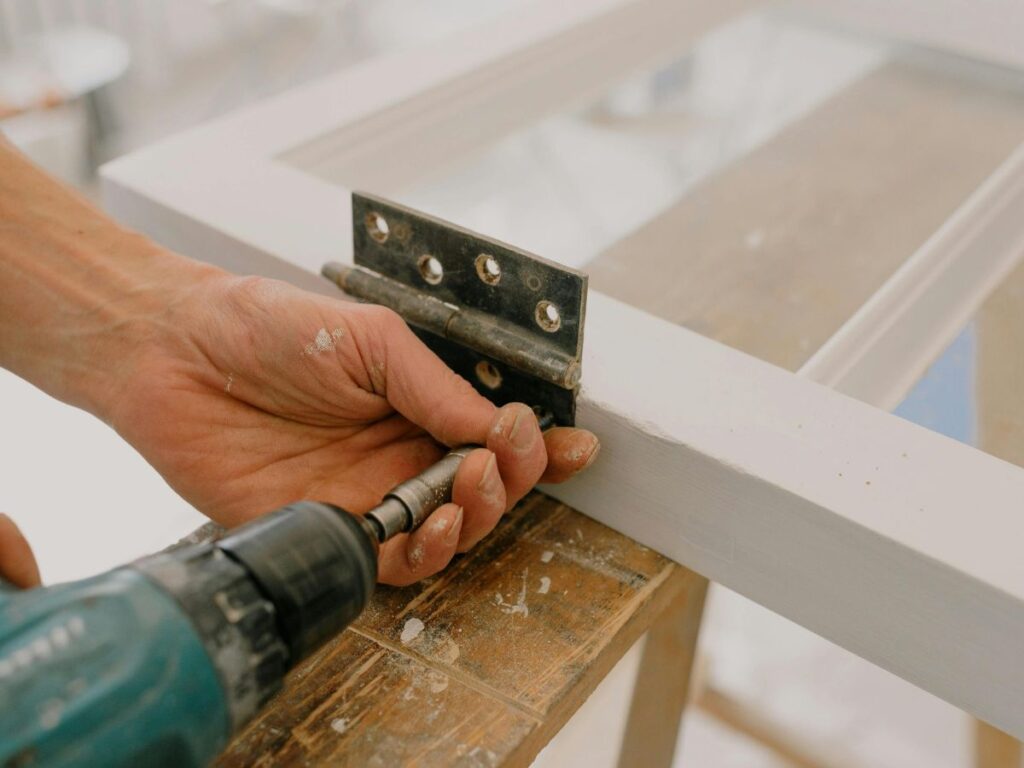
- Drill Pilot Holes: Use a drill bit slightly smaller than your screws to make pilot holes in the marked spots. This prevents the wood or metal from splitting and helps the screws grip better.
- Fasten Screws from Top to Bottom: Start at the top hinge location, then secure the bottom, and finally the middle. This sequence keeps the Z-bar from shifting while you work.
- Check for Gaps Along the Edge: As you tighten the screws, look for any gaps between the Z-bar and the frame. Gaps can cause rattling or weakening the hold over time. If needed, back out a screw slightly and adjust.
- Recheck the Level: Once secured, run your level along the Z-bar again. Even if it looks fine, a quick check helps catch any movement during installation.

Step#4 Mount the Storm Door Panel
This is the step where you’ll actually hang the storm door. I’ve found it’s easier if you have a second person to help, especially when working on large or heavy panels. Getting the panel aligned right from the start will save you from extra adjustments later.
Position and Support the Door Panel
- Lift and Hold the Door in Place: With the help of a crew member, lift the storm door and position it against the hinge-side Z-bar. Make sure the hinges line up with the pre-drilled holes. Holding it steady here is key, any slipping can throw off the alignment.
- Check the Gap Along the Frame: Before fastening, check the space between the door and the frame on all sides. You want it even from top to bottom, so the door will open and close without sticking.
- Secure a Temporary Fastener: Place one screw in the top hinge to hold the door temporarily. This gives you a free hand to make fine adjustments before locking everything in.
- Confirm the Swing Direction: Open and close the door once or twice while it’s loosely attached. This is the time to fix any clearance issues before tightening all the screws.
Fasten and Test the Door Panel
- Attach All Hinge Screws: Work from top to bottom, adding each hinge screw firmly. This keeps the panel from sagging as you go.
- Tighten Gradually: Avoid driving the screws all the way in on the first pass. Tighten them evenly so the hinges stay in line and the door doesn’t shift.
- Test the Door Movement Again: Once all screws are in, open and close the door several times. Look for smooth movement and make sure the latch side lines up properly with the frame.
- Make Small Adjustments if Needed: If the door rubs or feels stiff, slightly loosen the hinge screws and adjust the panel before re-tightening. Small tweaks now prevent long-term wear on the frame and hardware.

Step#5 Install Latch-Side Z-Bar
The latch-side Z-bar is what keeps the door closed tight and protected from drafts. I’ve learned that this part needs careful positioning to make sure the latch lines up perfectly. If it’s off by even a few millimeters, you’ll have trouble closing the door later.
Position and Mark the Latch-Side Z-Bar
- Hold the Z-Bar Against the Frame: Place the latch-side Z-bar on the opposite side of the hinges. Keep the door closed while you position it, so you can see exactly where the latch will meet.
- Check the Gap for Evenness: Look at the gap between the door and the Z-bar from top to bottom. You want a consistent space, so the seal is tight without making the door hard to close.
- Mark Screw Hole Positions: Use a pencil to mark each screw location while the Z-bar is in place. This helps you drill accurately without shifting the piece.
- Confirm Latch Alignment: Before drilling, check that the latch will land in the right spot. Close the door gently to see if it clicks into place without pushing or lifting.
Drill, Secure, and Test the Z-Bar
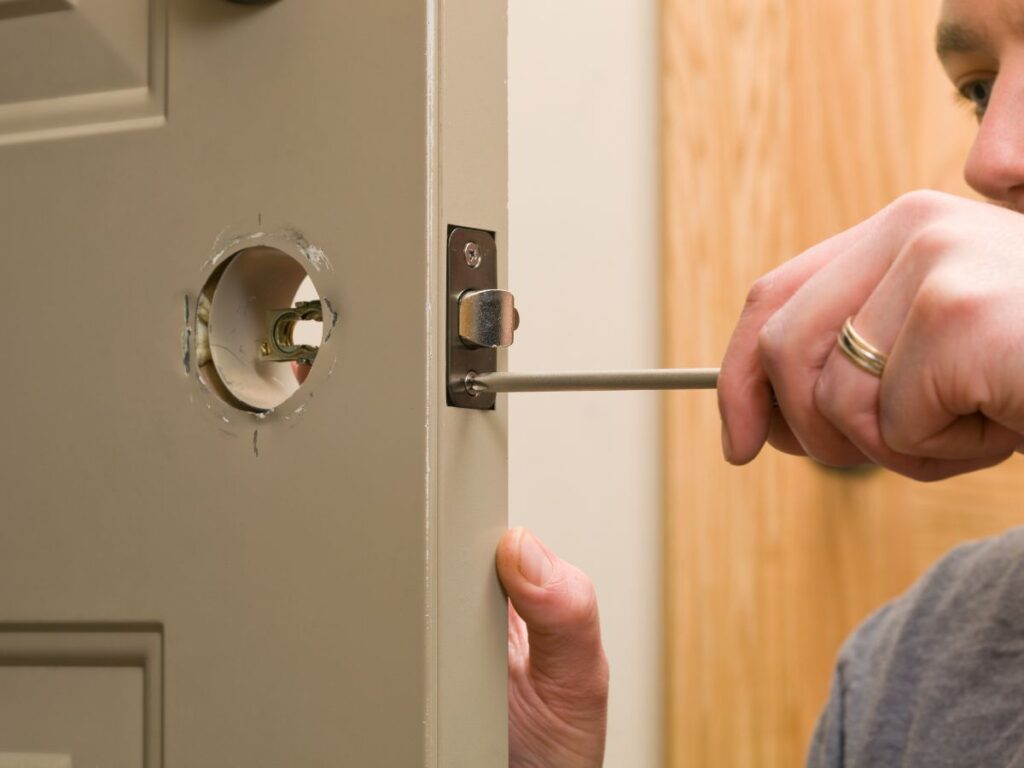
Start by drilling pilot holes at each marked location. This makes it easier to drive the screws and reduces the chance of splitting the frame. Once the holes are ready, fasten the Z-bar starting at the top, then the bottom, and finally the middle. This keeps it from twisting as you secure it.
After all screws are in, test the door several times. Open and close it slowly, then with a bit more force, to make sure the latch works smoothly. If the latch is tight or loose, adjust the Z-bar slightly before tightening the screws again. Taking a few extra minutes here helps avoid callbacks later.

Step#6 Apply Weather Sealant (If Required)
Adding sealant helps protect the door frame from moisture, drafts, and dust. I’ve seen installations last much longer when this step is done right. Even if your storm door comes with built-in weatherstripping, certain frames benefit from extra sealing.
Choose and Prepare the Sealant
- Select the Right Type: For most exterior doors, a silicone-based sealant works best. It stays flexible and holds up against temperature changes.
- Check Color Options: Pick a sealant color that blends with the frame or door finish. This keeps the look clean and professional.
- Clean the Surface: Sealant sticks better to a clean, dry surface. Wipe the frame edges with a damp cloth and let them dry fully.
- Cut the Nozzle at an Angle: Cut the tube tip at a 45-degree angle to control the bead size. A smaller bead is easier to manage around tight corners.
Apply and Smooth the Sealant
Start by running a continuous bead along the edges where the door frame meets the wall or trim. Move at a steady pace to avoid gaps or breaks. Use a sealant tool or a damp finger to smooth the bead, this not only improves the seal but also makes the finish look cleaner.
Check for any missed spots and fill them right away. Once the sealant is applied, allow enough drying time based on the manufacturer’s instructions before testing the door in heavy use. A well-sealed frame helps keep out water and reduces maintenance over time, which is important for properties exposed to harsh weather.
Step#7 Install Pneumatic Door Closer
A pneumatic door closer helps control how the storm door shuts. I’ve found that when it’s adjusted right, it keeps guests from slamming the door and reduces wear on the hinges. This is a small step that makes a big difference in daily use.
Position the Brackets
- Locate the Frame Bracket Spot: Close the storm door and decide where to mount the bracket on the frame. Most closers work best when positioned a few inches below the top of the door.
- Mark the Screw Holes: Hold the bracket in place and mark each screw location with a pencil. This makes drilling cleaner and more accurate.
- Check for Clearance: Make sure the bracket and closer won’t hit trim or other hardware when the door swings open.
- Confirm Alignment with the Closer Tube: Set the closer tube in position temporarily to see if the bracket lines up. A quick check now saves rework later. Vallisco’s closer brackets are precision-made for their frames, so using the supplied hardware will give the best fit and performance.
Attach the Door-Side Hardware
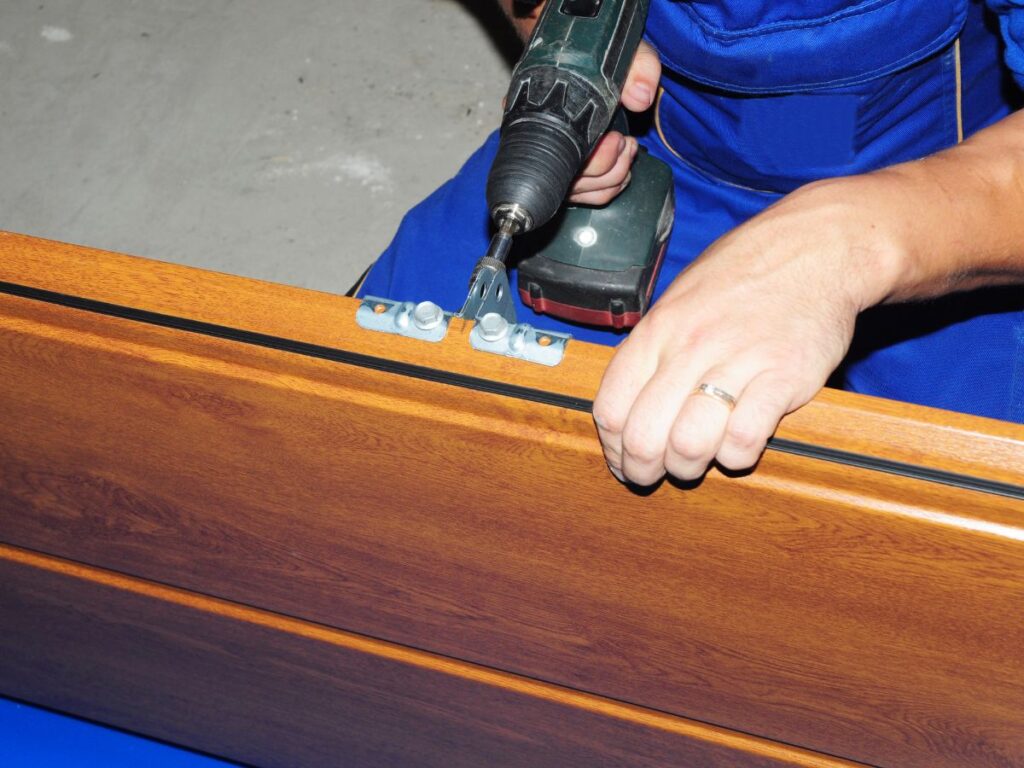
- Install the Closer Pin Bracket: Mount the bracket to the door itself using the supplied screws. Keep it aligned so the closer rod moves straight when opening and closing.
- Use Pilot Holes for a Stronger Hold: Drilling pilot holes before driving screws helps avoid splitting the frame material.
- Connect the Closer to the Door Bracket: Insert the pin into the closer tube and secure it in the bracket. Make sure the rod can move freely without catching it.
- Test the Swing Before Final Tightening: Open and close the door slowly to check for smooth movement before you fully tighten the screws.
Adjust the Closing Speed
A pneumatic closer usually has a screw or knob to adjust tension. Turn it clockwise for a slower close or counterclockwise for a quicker one. Test several times to find the right balance, fast enough to close securely but slow enough to avoid slamming.
If the door won’t stay open when needed, adjust the hold-open feature (if included) so it works at the right angle. These fine adjustments are worth doing now, as they keep the door functioning well and reduce maintenance calls later.

Step#8 Quality Control and Compliance Checklist
Once the storm door is installed, the job isn’t done until you confirm everything is working as it should. I’ve seen crews skip final checks and end up with callbacks that could have been avoided. This step protects your work, your client’s investment, and your reputation.
Check Door Operation
- Open and Close Several Times: Test the door multiple times to confirm smooth movement and proper latch engagement. Any sticking or misalignment should be corrected immediately.
- Verify Pneumatic Closer Function: Make sure the closer slows the door without slamming. Adjust the tension if the closing speed is too fast or too slow.
- Confirm Latch Security: The latch should click firmly into place with minimal force. If it feels loose, realign the latch-side Z-bar.
- Hold-Open Feature Test: If the closer has a hold-open setting, check that it locks and releases properly. This is especially useful for properties with high foot traffic.
Inspect Sealing and Finish
- Look for Gaps in the Seal: Check along the entire frame for any visible light or air gaps. Fill them with sealant or adjust the Z-bar as needed.
- Review Sealant Application: If you applied weather sealant, confirm it’s smooth, unbroken, and covers all critical points. This will help prevent water and air intrusion.
- Examine Hardware Tightness: Gently try to move hinges, brackets, and handles. If any are loose, tighten them now to avoid future wear.
- Surface Clean-Up: Wipe away dust, fingerprints, or sealant residue for a professional finish before handing over the project.
Compliance and Documentation
- Follow Manufacturer Guidelines: For Vallisco storm doors, check their installation manual to confirm all components are fitted as specified. This helps maintain warranty coverage and product performance.
- Local Building Code Review: Verify that the installation meets any relevant safety and accessibility regulations in your area.
- Take Completion Photos: Document the finished work from several angles. Photos are useful for records and client communication.
- Client Walk-Through: If possible, walk the client through the operation and maintenance steps. This builds confidence and shows attention to detail.
Conclusion
When we finished that villa installation, the owner could focus on welcoming guests, not fixing doors. That’s what a proper storm door setup gives you, peace of mind and long-term performance.
From measuring to final checks, each step matters.
This full article walks you through the process in detail, so your crew can work efficiently and avoid costly mistakes.
Vallisco storm doors are made for precision installations and lasting use in demanding conditions.
If you’re ready to upgrade your property’s entrances, read the full guide and get in touch for product support. Contact us today!
Explore Related Resources
If you enjoyed this read, here are a few more articles packed with helpful information:
Still haven’t found what you’re looking for? Don’t hesitate to contact us. We’re available around the clock to assist you.


