One of my earliest consulting jobs involved a manufacturing plant with rows of double hung windows caked in grime. The staff had given up, convinced they couldn’t get them clean.
That was when I stepped in to prove otherwise.
With years of hands-on experience in building maintenance and cleaning systems, I know what works and what doesn’t. You can rely on this review because it’s drawn from real projects where time and results both mattered.
This article will take you through the same process I use with clients: simple steps, professional techniques, and no wasted motion. You’ll finish knowing how to achieve spotless windows that last.
After all, clean glass sends the right message to anyone walking through your doors.
So, let’s begin!
Quick Process Chart
Cleaning double hung windows is more than just wiping glass, it’s a structured process that saves time and ensures professional results. The table below breaks down each step with its objective, key actions, and business value to keep your cleaning efficient and consistent.
| Step | Objective | Key Actions | Business Value |
| Assemble Supplies | Gather tools and cleaner | Use squeegee, cloths, cleaner, gloves, ladder | Saves time, ensures quality results |
| Prepare Work Area | Protect and clear space | Lay cloths, move items, check lighting | Prevents damage, improves safety |
| Remove & Clean Screens | Clean before glass | Vacuum, wash, air dry | Keeps windows cleaner, longer |
| Clean Tracks & Frames | Avoid dirt on glass | Vacuum, scrub, wipe, dry | Extends life, improves efficiency |
| Clean Interior Glass | Spotless inside panes | Spray lightly, wipe top to bottom, check light | Better look, more natural light |
| Clean Upper Sash | Match top and bottom | Lower sash, use safe tools, wipe evenly | Safer process, consistent finish |
| Reassemble & Inspect | Finish and check quality | Replace screens, test, inspect | Protects investment, reduces costs |
Step#1 Assemble Professional-Grade Supplies
Before you start scrubbing, it pays to gather the right supplies. I’ve learned the hard way that cutting corners with cheap tools usually means streaky glass and wasted effort. With the right gear, though, you’ll work faster, cleaner, and with results that actually last.
Essential Cleaning Tools
- Quality Squeegee: A sturdy squeegee makes all the difference for streak-free windows. Cheap ones bend easily, while a professional-grade tool glides smoothly across the glass.
- Microfiber Cloths: Microfiber grabs dust and water better than paper towels. It also won’t leave lint behind, which keeps your windows crystal clear.
- Bucket and Extension Pole: A simple bucket for your solution is a must, and an extension pole helps you safely reach higher windows. These two save you from unnecessary stretching or ladder use.
Cleaning Solutions and Safety Gear
- Commercial Glass Cleaner: Invest in a cleaner made for professional use, not just the bargain stuff. It cuts through grease and fingerprints without leaving cloudy residue.
- Protective Gloves: Gloves aren’t just for harsh chemicals. They also protect your skin from drying out, which makes a real difference if you’re cleaning regularly.
- Step Ladder with Grip Feet: If you must use a ladder, make sure it’s sturdy and slip-resistant. Safety always comes first, especially when working with windows.

Step#2 Prepare the Work Area
Preparation isn’t just about avoiding mess; it’s about keeping your operations safe and efficient. A little planning before cleaning ensures your team works faster, prevents accidents, and avoids costly damage to equipment or office furniture.
From experience, I can tell you that businesses save more time and money by getting this step right.
Protecting the Workplace Environment
- Lay Down Drop Cloths: Use durable cloths or plastic sheets to protect flooring, desks, and electronics near the windows. This reduces cleanup time and keeps water or solution from damaging your assets.
- Move Obstructions: Clear workstations, storage items, or equipment positioned near the windows. An open space speeds up cleaning and lowers the risk of workplace accidents.
- Secure Curtains and Blinds: Remove or tie back coverings before cleaning. This prevents unnecessary replacement costs and allows your team to work without distractions.
Ensuring Safety and Workflow Efficiency
- Check Window Locks: Confirm all locks are disengaged before moving the sashes. Smooth operation avoids delays and protects your team from forcing stuck parts.
- Ensure Good Lighting: Adequate lighting helps workers spot streaks quickly, minimizing rework. This is especially important in large office spaces or facilities where daylight may be uneven.
- Position Ladders Safely: Place ladders on flat, stable surfaces and verify they’re secured. This keeps safety top of mind while allowing crews to move quickly between windows.
Step#3 Remove and Clean Screens
Screens often trap dust, pollen, and debris that undo your hard work on the glass if left dirty.
Taking a few minutes to properly remove and clean them ensures your windows stay clear longer and helps maintain better air quality in your facility. I’ve seen businesses overlook this step, and it always leads to complaints about “dirty windows” even after a full cleaning.
Safe Screen Removal
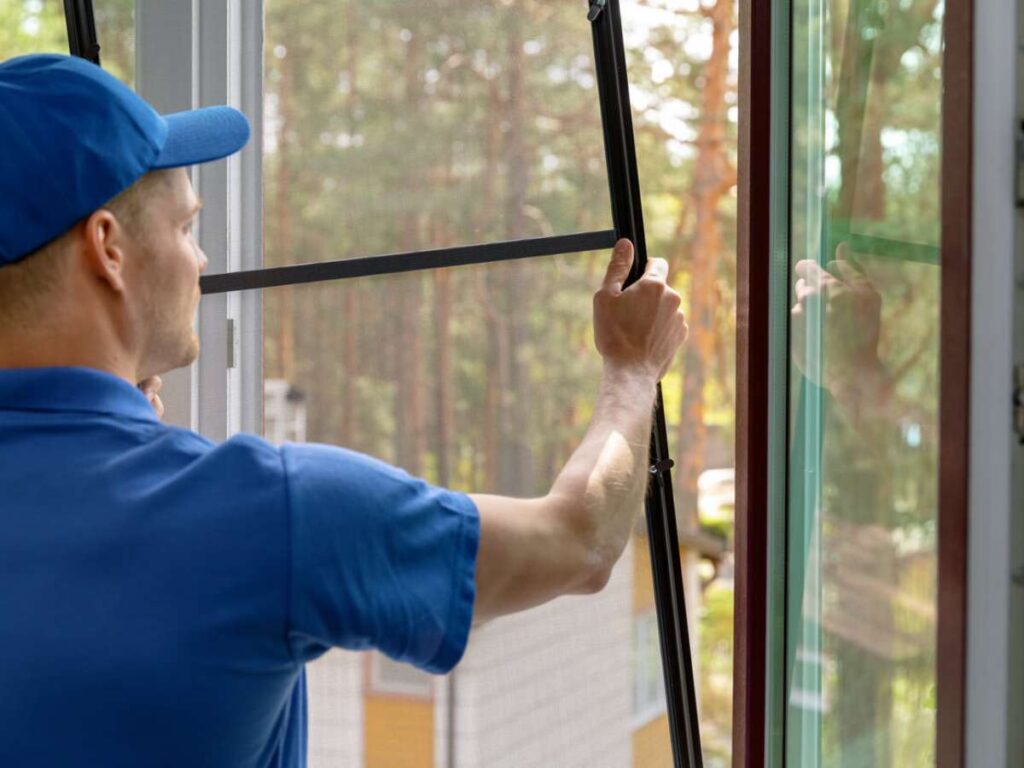
- Release with Care: Gently unlock and lift the screens from their frames. Forcing them can bend the frame, leading to costly replacements.
- Label and Organize: Mark each screen or keep them in order as you remove them. This makes reassembly faster and avoids confusion later.
- Inspect for Damage: Check for tears, bent edges, or loose mesh. Spotting issues early allows for quick repairs before they affect operations, and Vallisco can supply high-quality replacements to keep your windows performing at their best.
Effective Cleaning Process
- Vacuum Loose Dust: Use a handheld or shop vacuum to quickly remove surface debris. This keeps dirt from spreading across your work area.
- Wash with Mild Solution: Apply a mix of warm water and gentle detergent using a soft brush. It lifts grime without weakening the mesh.
- Air Dry Thoroughly: Set screens upright in a dry, shaded spot until completely dry. Reinstalling damp screens can lead to mildew and odors inside the building.
Step#4 Clean Tracks and Frames First
If you’ve ever cleaned the glass first, only to watch dirt from the tracks slide down and ruin your work, you know why this step matters. I’ve made that mistake before, and trust me, it only takes once to learn the importance of starting with the frames. By tackling the tracks and frames first, you not only save time but also create a solid foundation for spotless glass.
Preparing the Tracks and Frames
- Vacuum Loose Debris: Start with a handheld vacuum to clear dust, cobwebs, and grit. This prevents buildup from smearing during the wet cleaning stage.
- Apply Cleaning Solution: Use a mild detergent or specialized cleaner on the tracks and frames. It loosens stuck-on grime without damaging finishes.
- Scrub with Detail Brushes: A stiff nylon brush works best for corners and grooves. This step ensures smooth window movement and prolongs hardware life.
Wiping and Finishing the Area
- Rinse with Damp Cloth: Wipe down the frames with a clean, damp cloth to remove soap residue. This keeps surfaces looking fresh and professional.
- Dry Completely: Use a microfiber towel to finish drying the area. Dry tracks prevent dust from sticking again too quickly.
- Inspect for Wear: Take a quick look at the seals and weather stripping. Noticing early signs of wear can save your business from higher energy costs later.
Step#5 Clean Interior Glass Surfaces
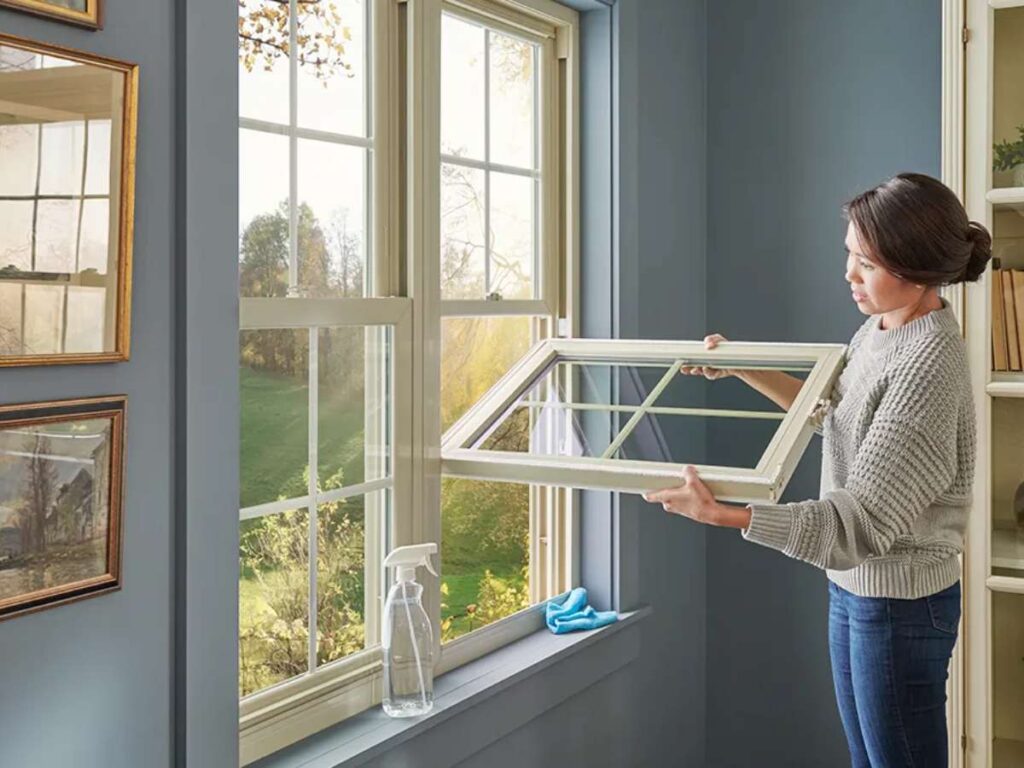
Now comes the part most people think of first: the glass itself. I’ve seen businesses spend hours scrubbing only to end up with streaks, simply because they didn’t use the right technique. Cleaning the inside surfaces correctly not only improves the look of your space but also boosts natural light and makes the entire workplace feel more professional.
Applying the Solution
- Use the Right Cleaner: Choose a commercial-grade glass cleaner over household sprays. It breaks down grease, fingerprints, and smudges more effectively in high-traffic areas.
- Mist Lightly: Spray the solution directly onto the glass, but avoid soaking it. Too much liquid runs down and creates streaks, slowing down the job.
- Work Top to Bottom: Start from the upper edge and move downward. This prevents drips from ruining spots you’ve already cleaned.
Wiping for a Streak-Free Finish
- Use Microfiber Cloths: A high-quality microfiber cloth traps dirt and moisture. Unlike paper towels, it won’t shred or leave lint behind.
- Overlap Each Pass: Slightly overlap each stroke of your cloth or squeegee. This ensures no streaks or gaps are left behind.
- Check in the Light: Step back and view the glass at an angle. Good lighting reveals missed spots before you move on.
Step#6 Clean Upper Sash Surfaces
The upper sash is where many teams cut corners, but leaving it dirty makes the whole job look unfinished. I’ve been on projects where the bottom glass looked spotless, but one streak up top ruined the impression. Taking time to clean the upper sash properly ensures your windows look professional from every angle.
Safe Positioning and Access
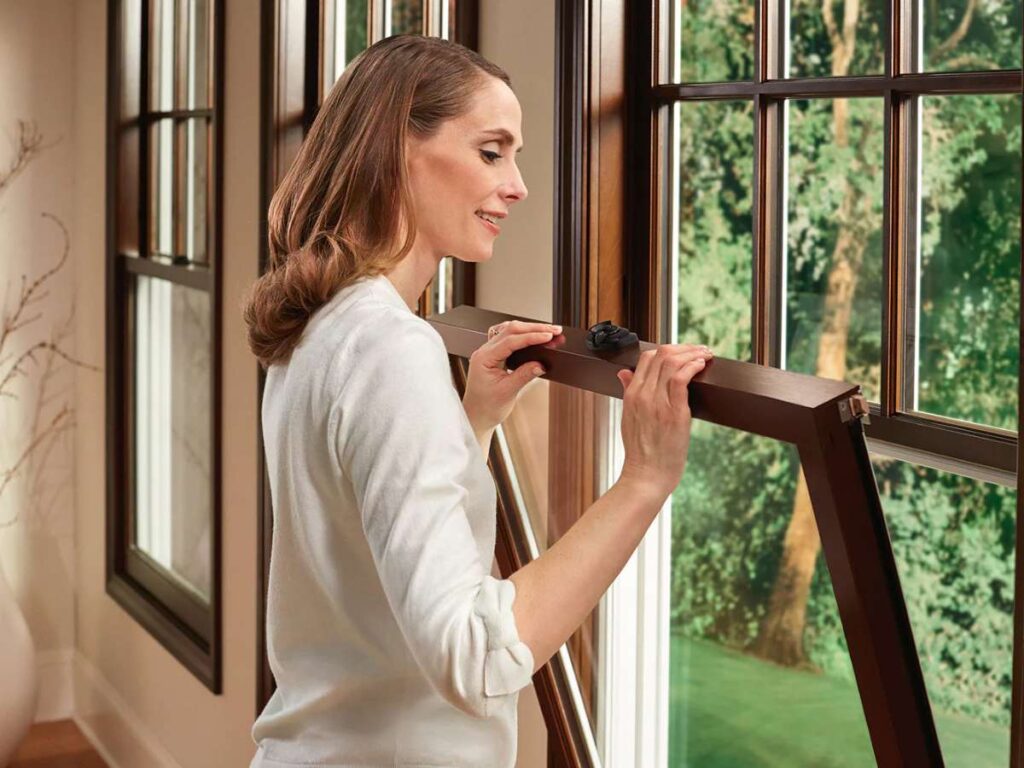
- Lower the Upper Sash Carefully: Slide the sash down slowly to avoid strain on the frame. Proper handling prevents unnecessary wear and keeps hardware intact.
- Use Stable Equipment: A sturdy ladder or extension pole helps workers reach high spots safely. Cutting corners here is not worth the risk of an accident.
- Maintain Good Balance: Keep tools within reach and avoid leaning out too far. Safe, efficient positioning makes the work smoother and quicker.
Cleaning the Upper Glass
- Apply Solution Evenly: Mist the cleaner across the surface without oversaturating. Excess liquid can drip into the frame and cause streaks.
- Wipe with Overlapping Strokes: Just like the lower sash, overlapping each pass ensures a clean finish. This keeps the glass streak-free and consistent.
- Inspect Both Sashes Together: Step back and check both top and bottom panes at once. This final glance confirms a uniform, professional look across the whole window.

Step#7 Reassemble and Inspect
Once the glass, frames, and screens are cleaned, it’s time to put everything back in place. Reassembly and inspection are critical to ensuring the job is complete, consistent, and ready for business use. This step safeguards your investment in both time and effort.
Reinstalling Components
- Replace Screens Securely: Align each screen with its original frame position. Proper placement prevents rattling and ensures long-term stability.
- Check Window Movement: Open and close both sashes to confirm smooth operation. This helps identify issues with tracks or locks before they become bigger problems, and if repairs or replacements are needed, Vallisco provides durable window solutions to keep your facility running smoothly.
- Restore Work Area: Remove drop cloths, put back furnishings, and return the space to its normal setup. This minimizes downtime for employees or operations.
Final Quality Check
- Inspect Glass Surfaces: Review each pane from multiple angles under good lighting. This helps spot streaks or missed spots before completion.
- Evaluate Frames and Tracks: Confirm they are dry, free of residue, and functioning properly. Clean tracks improve energy efficiency and extend hardware life.
- Document and Report Issues: Note any damage, wear, or needed repairs during the inspection. Addressing these early avoids higher maintenance costs later.
Conclusion
Every detail we covered in this guide leads you toward cleaner, streak-free glass that saves effort and looks professional.
Don’t settle for less when your workspace can be brighter, cleaner, and more welcoming.
Take this process back to your team and put it into action.
For long-term value and quality upgrades, contact Vallisco today. Your reliable door and window manufacturer
Check Out These Additional Resources
Need more ideas? Browse through our extended range of products and discover something new:
Still haven’t found what you’re looking for? Don’t hesitate to contact us. We’re available around the clock to assist you.


