Years ago, I helped install a steel door for a small clothing store. It was strong and weatherproof. But it didn’t match the building. The shop had warm lights, wood displays, and soft colors. That steel door? It felt cold and out of place.
The owner didn’t say anything at first. But two months later, she replaced it with a wood-framed door. And she was right to do it.
That job taught me a big lesson: picking the right door before you install it matters. Since then, I’ve worked on all kinds of buildings and I’ve seen how the right door can tie everything together, or quietly throw things off.
In this guide, I’ll show you how to install a commercial door, step by step. But I’ll also help you choose one that fits something that works with the way the building looks, functions, and feels.
So let’s begin!
Step#1 Measure the Rough Opening
Before you install a commercial door, you need to know exactly what you’re working with. The rough opening is the unfinished hole in the wall where the door will sit. Taking accurate measurements here is one of the most important parts of the job . Skip it, and the rest may not line up.
- Measure the Width: Start by measuring the distance across the top of the rough opening from one side to the other. Then measure the middle and bottom. Use the smallest number . This gives you the tightest point, which is the one that matters most for fit.
- Measure the Height: Measure from the finished floor up to the top of the opening on the left side, right side, and center. These measurements may vary slightly if the floor isn’t level. Again, keep the smallest one.
- Measure Wall Depth: Place your tape measure across the side of the wall to check its thickness. Most commercial door frames are made to fit specific wall depths (like 4-7/8″ or 5-3/4″), so getting this right will help match your frame properly.
- Check the Corners: Use a framing square to make sure each corner is square (90 degrees). If the wall is slightly off, you can fix it later with shims but you need to know in advance so you’re prepared.
- Double-Check Your Numbers: Write down all your measurements, then measure them again to confirm. A second check only takes a few minutes and helps avoid big problems during the install.
Once you’ve got solid, accurate numbers, everything else frame, hardware, and door will go in with a lot less trouble.
Step#2 Remove the Old Door and Frame
This part can get a little messy, but it’s not difficult if you go slow. Taking things apart in the right order prevents damage and saves time later.
- Start with the Door: Remove the door leaf first that’s the swinging part. If the hinges are exposed, use a screwdriver or drill to take out the pins. If they’re stuck, tap them out with a hammer and nail. For heavy doors, get someone to help hold it while you pull the last pin.
- Remove the Hardware: Unscrew the lockset, latch, handle, and anything else still attached. That includes closers, kick plates, or door stops. You won’t need them for the new setup, and they’ll just be in the way.
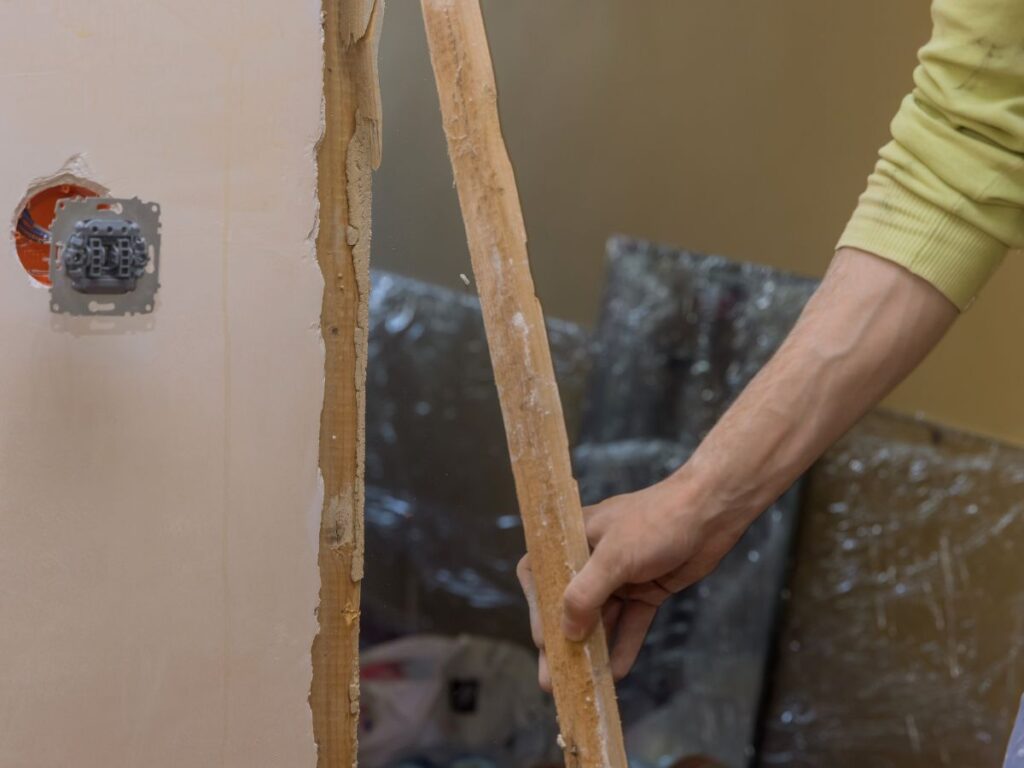
- Pull Out the Frame: Cut any caulk or paint lines around the frame with a utility knife. Then, slowly use a pry bar to loosen the frame, working your way around. Remove fasteners as you go, some are nailed, some are screwed into studs or concrete. I usually start from the bottom and move upward to keep it steady.
- Clear the Opening: Check the wall cavity and remove leftover shims, screws, or debris. Use a broom or vacuum to clean up the space. You’ll need a clear surface before moving to the next step.
Taking out the old door might feel like demo work, but really, it’s just careful prep. And the cleaner you leave the opening, the smoother your new installation will be.

Step#3 Prepare and Clean the Opening
Once the old frame is out, the rough opening is exposed. It might just look like a hole in the wall but don’t skip this part. Small issues now can cause big problems once you start fitting the new door.
Check for Leftovers
Look inside the opening for old shims, nail heads, dried caulk, or plaster scraps. These can block the new frame or throw off your alignment. Use a pry bar or scraper to remove anything stuck, and gently feel along the edges with your hand to catch what you can’t see.
Smooth It Out
Knock down any raised drywall, splinters, or broken pieces using a hammer or chisel. You want the surface to be flat, so the new frame sits snug and level. Check the corners too if they’re damaged, just make a note so you can fix them with shims later.
Clean the Floor Area
This is where the bottom of your door frame will sit, so it needs to be solid and clear. Sweep or vacuum up any dust, dirt, foam, or debris. If there’s a dip or bump in the floor, mark it now you may need to level it before anchoring the frame.
Look for Moisture or Damage
Check the base of the opening for soft spots or water damage. Look for staining, crumbling drywall, or weak areas that might need patching. If anything feels unstable, fix it before you continue.
Prepping the opening may feel like a side task, but it’s actually part of the foundation. A clean, stable surface makes the next steps easier and helps the new door last longer.
Step#4 Assemble the Door Frame
Now that the opening is clean and ready, you can start building. This step always feels like progress you’re no longer tearing out, you’re putting something new in. Whether your frame is pre-welded or comes in parts, this is where things take shape.
Know Your Frame Type
Before you begin, identify what kind of frame you have. Each one installs a little differently.
- Knock-Down Frame: Comes in three pieces the jambs and the header. These are assembled on-site using tabs or screws.
- Welded Frame: Arrives as a single, pre-assembled unit. It’s already squared, so you don’t need to connect anything.
Lay Out the Frame Pieces
Use a flat, clean surface to organize your frame parts. This keeps them protected and makes assembly easier.
- Prepare the Workspace: Lay down cardboard or a moving blanket to avoid scratches. You want a stable surface that won’t damage the parts.
- Position the Parts: Place the two jambs parallel to each other, with the header across the top. Make sure any labels (like “left” or “right”) are facing the correct direction.
- Check the Orientation: If you’re unsure which side goes where, pause and double-check the manufacturer’s instructions. A quick dry-fit can help everything click into place.
Vallisco labels our frames clearly and includes a simple diagram with every shipment to make this part faster and easier. If you’re using one of ours, everything should line up quickly.
Put the Pieces Together
Follow the manufacturer’s connection method to build the frame. This step doesn’t take long, but accuracy matters.
- Connect the Corners: Slide tabs into slots or line up screw holes, depending on the system. Each part should fit snug but not overly tight.
- Secure the Frame: Use a screwdriver or drill to fasten the parts together. Don’t overtighten—you’ll need a little flexibility when placing the frame into the wall.
- Check for Square: Place a framing square in each corner. If something looks off, now’s the time to adjust it.
Do a Quick Dry-Fit (Optional)
Before final installation, hold the frame up to the opening to see how it fits. This small check helps catch problems early and gives you peace of mind before anchoring. A solid frame gives the door the support it needs. If this part is done well, everything that follows becomes a lot easier.

Step#5 Place and Shim the Frame into Position
This is where everything starts to look like a real doorway. You’ve got your frame assembled, and the opening is ready. Now it’s time to position the frame and get it lined up just right.
A shim is a small wedge used to fill gaps between the wall and the frame. It helps keep the frame level, square, and steady while you work.
- Shim Material Options: I like using plastic shims because they won’t compress or rot over time. Wood shims also work, especially for quick adjustments.
- Where Shims Matter: Even if the wall isn’t perfect, shims help you make up for uneven spots. They’re key to keeping the frame stable while anchoring.
Set the Frame in the Opening
Lift the frame and gently position it inside the rough opening. This step sets the tone for the rest of the install.
- Check the Bottom: Make sure the base of the frame is sitting flat on the floor. If there’s a gap, you’ll need to shim underneath or level the surface.
- Check the Sides: Both sides of the frame should touch the wall evenly. This helps prevent the door from sticking or dragging later.
- Check the Hinge Side: Make sure the hinge jamb is on the correct side. You’d be surprised how often this gets flipped by mistake.
Having someone hold the frame makes this easier, but I’ve done it solo too it just takes more patience.
Add the Shims One by One
Start with the hinge side first since it carries most of the weight. Place shims in the right spots, then check and adjust as needed.
- Behind the Hinges: Insert a shim behind each hinge cutout to support the hardware. This also helps prevent movement after the door is installed.
- Top of the Frame: Place a shim near the top to control the overall tilt. A level here will tell you right away if things are off.
- Latch Side: Add a shim near the lock area to help align the strike plate later. This keeps the door from sticking or misaligning.
- Base Corners: Don’t forget to shim near the bottom on both sides. These shims help balance the weight and prevent frame shift.
After each shim, check everything with your level both vertically and horizontally. Make small moves until things line up.
Take Your Time
This part is like fitting puzzle pieces into place. It might take a few tries, but once the frame sits right, the rest of the job gets easier. Getting the frame level and square now saves you from having to fight the door later. And once it clicks into place, it just feels right.
Step#6 Anchor the Frame to the Wall
Once the frame is shimmed and level, it’s time to lock it in place. Anchoring holds the frame tight against the wall so it won’t shift or loosen later. It’s a simple step, but it needs focus and care.
Pick the Right Anchors
Before drilling, you need to know what type of wall you’re dealing with. The fasteners you use depend on the wall material.
- For Wood-Framed Walls: Use wood screws or lag bolts. These grip well and are easy to install with basic tools.
- For Masonry or Concrete: Use tapcon screws or sleeve anchors. They’re built for harder surfaces and provide strong, long-lasting support.
- Locate Anchor Points: Most frames have pre-drilled holes or anchor slots. If not, mark your spots before drilling to keep spacing clean and even.
Drill and Fasten the Frame
Start anchoring from the hinge side, since it carries most of the door’s weight. Go slow and check alignment after each fastener.
- Drill Pilot Holes: Drill through the frame and into the wall using the correct bit for your anchor type. This helps guide the screws and reduces the chance of cracking.
- Insert and Tighten Anchors: Drive each anchor gently and stop once it’s snug. Overtightening can shift the frame or bend the metal.
- Anchor the Second Side: Move to the latch side of the frame and repeat the process. Keep your level close and watch for any movement as you go.
Secure at the Base and Top
The last step is to anchor the frame near the top and bottom edges. These spots add stability and keep the frame square over time.
- Top Anchor Points: Fasten the header to the wall or blocking above the opening. This helps with long-term alignment.
- Bottom Anchor Points: Drive anchors at the base on both sides of the frame. These keep the jambs from spreading or tilting.
Anchoring the frame is what gives it strength. When it’s solid and doesn’t wiggle, you know it’s ready for the door.
Step#7 Hang the Door on the Hinges
Before lifting anything, inspect the hinge areas on both the door and the frame. A quick check now can prevent scratches or bad alignment later.
- Clear the Hinge Area: Make sure there’s no dust, packaging material, or leftover debris. Even small bits can throw off the fit.
- Remove Temporary Pieces: Some frames ship with plugs or placeholder screws. Take these out before hanging the door.
- Tighten All Screws: Check that all hinge screws are secure and flush. A loose hinge plate will shift under pressure and cause problems later.
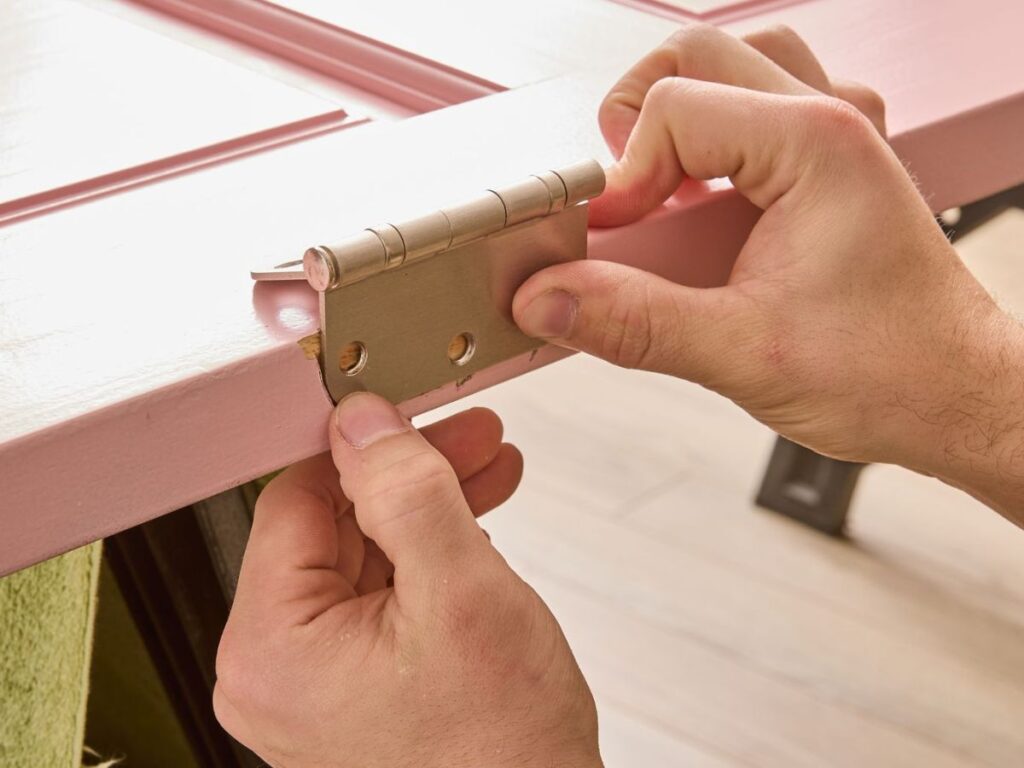
Most commercial doors use butt hinges, which are placed in routed cutouts and fastened with screws. Others may use continuous hinges that run the full height of the door.
Hang the Door Carefully
Standing the door upright inside the frame is easier with a second person. If you’re working alone, go slow and protect the floor.
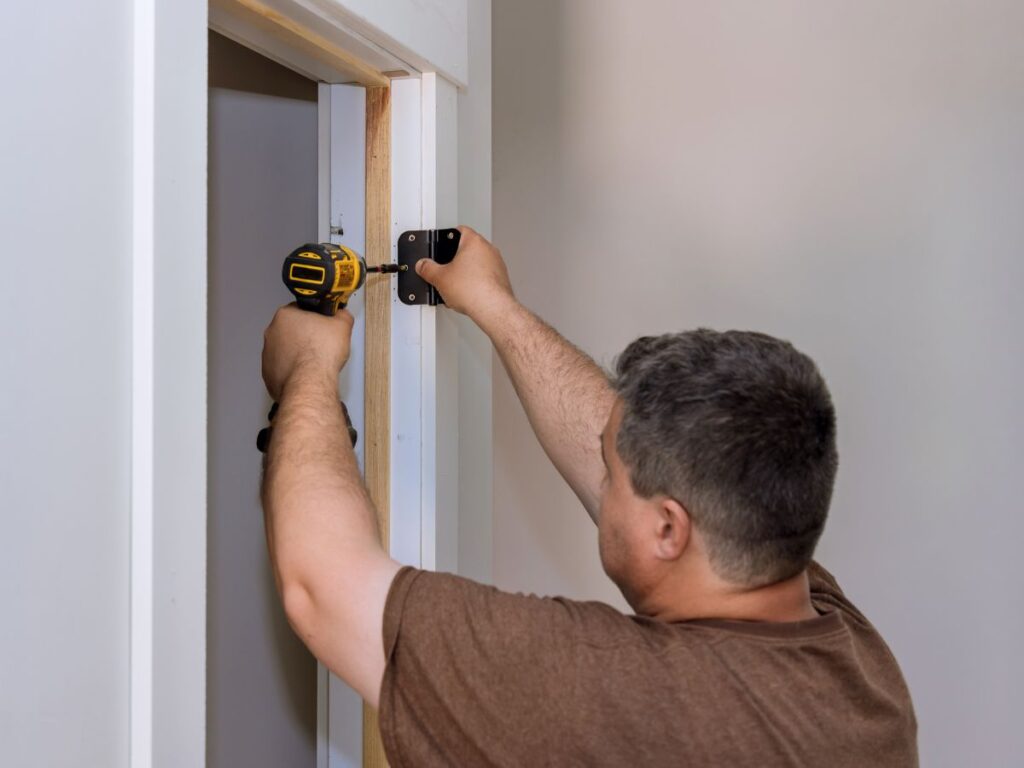
- Start with the Top Hinge: Line it up and insert the hinge pin or fasten the screws. Getting this one right makes the rest easier.
- Secure the Middle Hinge: Once the top is stable, attach the middle hinge next. This gives balance before the final hinge goes in.
- Finish with the Bottom Hinge: Align and fasten the last hinge at the base. Don’t force anything shift the door gently until it fits.
If all three hinges are lined up, the door should sit cleanly inside the frame without resistance.
Test the Swing and Check the Gaps
Open and close the door several times to feel how it moves. Now’s the time to fine-tune.
- Check the Motion: The door should swing smoothly without resistance. Any sticking means something needs adjusting.
- Check the Gaps: Look at the spacing around the top, sides, and bottom. It should be even all the way around.
- Make Adjustments if Needed: If the door drags, adjust the shims or hinge screws slightly. Small changes can fix most alignment issues.
Once the door swings evenly and closes without effort, the hardest part is behind you. It finally looks and feels like a working doorway.

Step#8 Install Lockset, Closer, and Other Hardware
Now that the door is in place, it’s time to add the finishing pieces. These are the parts people interact with handles, locks, closers, and protective hardware. Take your time here, because a small detail now can make a big difference later.
Start with the Lockset
The lockset includes the door handle and latch or locking mechanism. Some are basic, while others include keypads, deadbolts, or electronic parts.
- Insert the Latch: Slide the latch through the edge of the door into the pre-cut hole. Make sure the angled side faces the strike plate.
- Attach the Handles: Line up the inside and outside handles through the latch body. Use the supplied screws to tighten everything together.
- Test the Latch: Before fully tightening, check that the latch lines up with the strike plate. If it sticks or misses, adjust the door or plate slightly.
- Secure the Strike Plate: Fasten the strike plate into the frame using long screws. This gives the latch a solid, secure catch.
Add the Door Closer
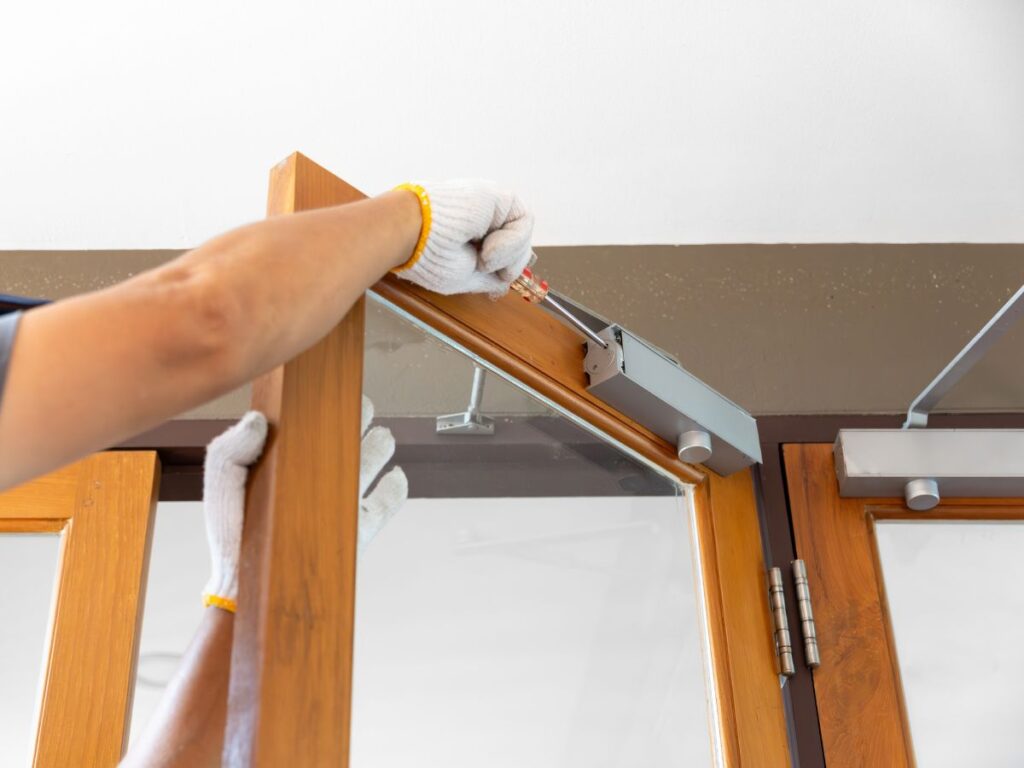
A door closer pulls the door shut after someone walks through. It helps with safety, energy efficiency, and traffic flow in busy areas.
- Position the Closer: Use the included template to mark the mounting holes on the door or frame. Check placement before drilling.
- Mount the Closer Body: Attach the main body using screws, then connect the arm to the top of the door. Keep everything aligned during tightening.
- Adjust the Tension: Use a screwdriver to turn the adjustment screw. The goal is a door that closes slowly and seals completely without slamming.
Other Hardware to Add
Depending on your building type, a few more accessories may be required. These are easy to install but still important.
- Kick Plates: These protect the bottom of the door from scuffs and foot traffic. Center it and screw it into place using the pre-drilled holes.
- Panic Bars: Required for emergency exits, especially in commercial settings. Follow the template and make sure the latch retracts when pressed.
- Weatherstripping: Seals the gaps around the door to block drafts and moisture. Peel-and-stick or screw-on types are both common.
Installing hardware is the final touch that brings the whole door system together. Once everything works smoothly and looks aligned, your door is ready for everyday use.

Step#9 Perform Final Quality Checks
The door is in, the hardware looks good, and everything feels close to finished. But before calling it done, take a few minutes to check the details. A slow, careful walkthrough now helps prevent issues down the road.
Start With the Swing
Open and close the door several times and pay attention to how it feels. Smooth movement is a sign that everything is aligned properly.
- Check for Smooth Operation: The door should move freely without sticking. If it feels heavy or off, check the hinges or door closer.
- Listen for Noises: Creaks, rubbing, or slamming sounds often point to misalignment. Small hinge or tension adjustments can fix them.
Check the Gaps
Even spacing is key for both looks and performance. Gaps that are too wide or tight can cause rubbing or airflow issues.
- Look Around All Sides: There should be a consistent gap on all four edges. If one side looks tight, revisit your shims or anchor points.
- Check Frame Fit: The door should sit flush inside the frame without tilting. Gaps should be small but even from top to bottom.
Test the Lock and Hardware
Try the lock and handle from both sides. Make sure they feel smooth and function without sticking.
- Latch and Strike Plate Alignment: The latch should fall naturally into the strike plate without force. If it catches, adjust the plate slightly.
- Handle and Key Test: Turn the handle and key to check for smooth motion. Any resistance may mean the parts aren’t seated evenly.
- Door Closer Check: Open the door halfway and let it shut. A good closer pulls it closed steadily not too fast, not too slow.
Inspect the Final Details
This is the last step, but it’s just as important as the first. Look everything over with fresh eyes.
- Tighten Loose Screws: Walk around and make sure every screw is snug. A loose fastener today can become a big problem later.
- Look for Damage: Check for scratches, dents, or dings. If you spot one, buff it out or patch it now before the door sees daily use.
- Check the Weatherstripping: Make sure it sits firmly in place and seals all the way around. Gaps here can lead to drafts or leaks.
Vallisco recommend doing this check slowly and with care. It’s the last step, and it matters. A careful look now keeps the door working well long after installation day.
You started with a rough opening and now you’ve got a solid, working door that’s built to last.
Conclusion
Installing a commercial door isn’t just about tools and steps. It’s about doing it right so your space works, feels good, and lasts.
You’ve seen the full process. From measuring the opening to checking the final swing.
I’ve walked this road many times. And trust me, once that door is up and working, it feels great.
So what’s stopping you? You’ve got the guide. You’ve got the know-how. Start your installation today and build something solid.
Contact Vallisco today.
Learn More: Recommended Reads
Want to see more products? We’ve got plenty of options that might just be the perfect fit for you:
Still haven’t found what you’re looking for? Don’t hesitate to contact us. We’re available around the clock to assist you.


