During a site inspection for a villa project, I noticed several windows already showing gaps and drafts—only months after installation. You know how quickly small issues can become big ones.
It was clear the problem started in the production phase. That’s why I started documenting the process in detail.
I’ve worked closely with factories and project managers, so this review is based on direct observation, not guesswork. It focuses on the needs of large property projects, not single-unit buyers.
Here, you’ll find the UPVC window manufacturing process broken down into 8 clear stages. You’ll know exactly what to look for when choosing a supplier and how to avoid costly mistakes.
The right knowledge means stronger projects and fewer headaches.
Let’s begin!
Quick Overview Chart
Before we go into the finer points, it’s helpful to see the entire process at a glance. This table gives you a step-by-step summary so you can understand how each stage connects to the next. It’s a clear view of what happens from the first material mix to the final packed product.
| Step | Process Stage | Key Actions | Purpose |
| 1 | Profile Extrusion | Mix UPVC powder with additives; heat and push through mold; form hollow chambers; add steel reinforcement; cool to harden | Create strong, precise profiles that form the base of the window |
| 2 | Profile Cutting | Measure to exact design; allow for expansion tolerance; cut with precision saws; label for assembly | Prepare each piece to the right size for accurate fitting |
| 3 | Welding or Mechanical Joining | Clean and align corners; heat weld or use screws/brackets; add sealant if needed | Form durable, sealed corners that hold the frame together |
| 4 | Cleaning and Finishing the Welds | Trim excess weld material; check for gaps; buff corners; clean dust | Smooth, clean edges ready for sealing and glazing |
| 5 | Installation of Hardware | Fit hinges, handles, locks; position accurately; test movement | Add functional parts for security and ease of use |
| 6 | Glass Cutting and Glazing | Select glass type; cut to size; smooth edges; secure with beads and gaskets | Install the glass panel with proper fit and sealing |
| 7 | Weather Sealing and Final Assembly | Apply gaskets and sealants; fit trims; test operation | Protect against air and water leaks; complete the frame |
| 8 | Quality Inspection and Packaging | Check dimensions, seals, and hardware; test operation; pack securely | Deliver ready-to-install windows without defects |
Each step has a direct impact on performance, appearance, and durability. To learn more about what happens at each stage and why it matters for your project, read the full guide below.
Step#1 Profile Extrusion
I’ve been inside enough production floors to know this is where it all starts. If the profiles are made well, the rest of the process flows smoothly. If not, you’re already behind before the first cut is made. This is the stage where UPVC powder becomes the strong, shaped profiles you’ll later see as frames.
Selecting and Preparing UPVC Material
- Use of Quality UPVC Powder: The process begins with UPVC powder that’s mixed with stabilizers, pigments, and other additives. Good suppliers choose materials that can handle sunlight, heat, and moisture without breaking down too soon.
- Adding Color Pigments: Color is added at this stage so it’s consistent throughout the profile. This avoids peeling or fading from surface coatings later.
- Inclusion of Stabilizers: Stabilizers help the material keep its shape and strength over time. They prevent the profiles from becoming brittle, which is critical in hot or humid climates.
- Moisture and Contaminant Control: Any moisture in the powder can cause bubbles or weak spots. That’s why the mix is kept dry and clean before it goes into the extruder.
Extrusion and Reinforcement
- Heating and Shaping the Material: The prepared mix is heated and pushed through a mold, called a die, to create the profile’s shape. This is where precision matters because the profile dimensions have to match the final design.
- Hollow Chamber Formation: Inside the profile, hollow chambers are formed. These improve insulation and help with the overall strength of the frame.
- Steel Reinforcement Insertion: In many designs, a steel insert is added inside the profile for extra structural support. This is especially important for large windows or those exposed to strong winds.
- Cooling and Hardening: Once the profile comes out of the die, it’s cooled with water or air to harden it. This step locks in the shape and size so it’s ready for the next stage.
Step#2 Profile Cutting
Once the profiles are cooled and hardened, it’s time to cut them down to size. I’ve seen projects go wrong here when the cuts weren’t accurate, even a few millimeters off can cause headaches during assembly. This stage is about precision, so the rest of your window build fits together without stress.
Measuring for Accuracy
- Taking Exact Dimensions: Each profile is measured to match the window design. This includes the frame, sash, and any additional sections. Accurate measurements keep the final assembly tight and secure.
- Allowing for Expansion and Contraction: UPVC can expand slightly in hot weather and contract in cold. Cuts are planned to leave a small tolerance so the frame stays stable year-round.
- Checking Measurements Twice: Before cutting, experienced operators double-check the measurements. A small error here can mean wasted material and extra production time.
Cutting and Handling Profiles
- Using Precision Saws: High-speed precision saws make clean, square cuts. This reduces the need for extra finishing later and helps with airtight sealing.
- Avoiding Damage During Cutting: Profiles are supported during the cut to avoid chipping or bending. Good handling prevents marks or scratches that would show in the final product.
- Labeling Each Piece: After cutting, each profile is labeled for its place in the assembly. This keeps the build organized and speeds up the welding or joining stage. Vallisco follows this method to keep every order on track and ready for smooth production.
Step#3 Welding or Mechanical Joining
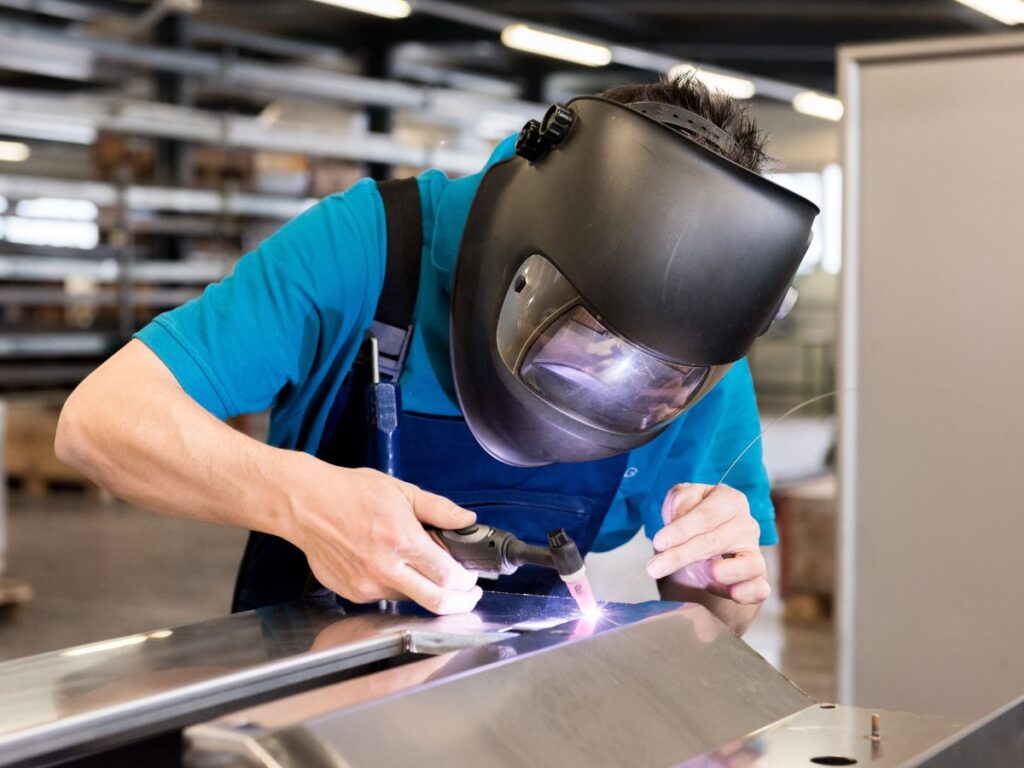
This is where the profiles start taking shape as an actual window frame. I’ve seen how a solid corner joint can hold up for decades and I’ve also seen poor joints fail in just a few years. The method used here directly affects the frame’s strength, sealing, and appearance.
Preparing Profiles for Joining
- Cleaning the Contact Surfaces: Before joining, the profile ends are cleaned of dust, chips, or oil. A clean surface allows the weld or fastener to grip properly.
- Aligning the Corners Accurately: Each cut piece is placed in a jig or fixture to keep it square. This alignment prevents twisting and keeps the final frame true.
- Checking Reinforcement Placement: If the profile includes steel reinforcement, it’s checked to make sure it’s positioned correctly before joining. Misplaced reinforcement can weaken the joint.
Heat Welding Process
- Applying Heat to the Ends: In heat welding, the profile ends are pressed against heated plates until the UPVC softens. This creates a molten layer ready for bonding.
- Pressing and Fusing the Corners: The softened ends are pressed together under pressure. As the plastic cools, it forms a continuous, sealed joint with no gaps.
- Trimming the Weld Bead: Excess material (called the weld bead) is trimmed off for a smooth corner finish. This step improves both appearance and fit for sealing.
Mechanical Joining Option
- Using Screws or Brackets: Some designs use screws or metal brackets to hold the corners together. This is common in certain custom shapes or where welding is not possible.
- Adding Sealants for Weather Protection: A sealant is applied inside the joint to block water and air leaks. This extra step is important in coastal or high-rainfall areas.
- When Mechanical Joining is Preferred: This method can be faster for small production runs or specialty frames. I’ve worked with teams that choose it for quick replacements or non-standard window sizes.

Step#4 Cleaning and Finishing the Welds
Once the profiles are joined, the corners aren’t yet ready for glass or sealing. There’s extra material from the welding process that needs to be removed, and the edges must be smoothed. I’ve noticed that the teams who take their time here often have far fewer problems during final assembly.
Removing Excess Weld Material
- Trimming the Weld Bead: A small ridge of melted UPVC forms along the joint during welding. This is trimmed away using a corner cleaning machine or hand tools.
- Maintaining Frame Shape: Care is taken to trim without cutting into the main profile. Removing too much can change the dimensions and cause poor fit later.
- Checking for Gaps or Voids: After trimming, each corner is checked for any open spots in the weld. Even small gaps can allow air or water to pass through.
- Collecting and Recycling Waste: The trimmed plastic is collected for recycling. Many factories reuse this material in non-structural parts of new profiles.
Smoothing and Preparing for the Next Stage
- Buffing the Surface: Corners are lightly sanded or buffed to remove tool marks. This makes the finished frame look clean and professional.
- Final Corner Alignment Check: Each frame is checked to make sure the corners are still square after cleaning. Any misalignment now will cause issues during glazing.
- Cleaning Dust and Particles: Frames are blown or wiped down to remove plastic shavings and dust. A clean frame keeps seals and glass free from debris.
- Marking for Quality Control: Some manufacturers mark each cleaned frame with an inspection stamp before it moves to hardware installation. This helps track quality through the line.
Step#5 Installation of Hardware
This is the stage where the frame starts to function like a real window. I’ve seen how good hardware can extend the life of a window by years, while poor hardware can cause issues within months. Getting this part right matters for both performance and safety.
Fitting Hinges, Handles, and Locks
- Choosing the Right Hardware: Hardware is selected based on the size, weight, and style of the window. For larger openings, stronger hinges and locking systems are used to support the extra load.
- Accurate Positioning: Hinges, handles, and locks are installed in precise locations for smooth operation. Even a few millimeters off can cause the sash to rub or stick.
- Securing with Durable Fasteners: Stainless steel or corrosion-resistant screws are preferred. They prevent rusting, especially in coastal projects.
- Testing Movement: Each piece of hardware is tested after installation. Handles should turn easily, and locks should engage without forcing.
Adding Functional and Safety Features
- Multi-Point Locking Systems: Many commercial and residential projects use multi-point locks for better security. These lock the sash at several points along the frame.
- Child Safety and Restricted Opening Devices: In hotels or high-rise buildings, restricted opening devices may be fitted. This improves safety without affecting ventilation.
- Weather-Resistant Coatings: Hardware may have powder-coated or anodized finishes to protect against corrosion and wear.
- Branding or Marking Hardware: Some manufacturers brand their hardware or add discreet markings. This helps with warranty tracking and product identification later.

Step#6 Glass Cutting and Glazing
Now the frame is ready for the most visible part of the window, the glass. I’ve been on jobs where the glass choice made all the difference in comfort, noise control, and energy use. The right glass and proper glazing can turn a standard frame into a high-performance window.
Selecting the Glass Type
- Matching Project Needs: The glass is chosen based on the building’s requirements. For example, hotels often need soundproof laminated glass, while greenhouses may use low-iron glass for better light transmission.
- Single, Double, or Triple Glazing: The number of glass layers affects insulation and sound control. Double glazing is common, but triple glazing can be used for colder climates.
- Special Coatings: Low-E (low emissivity) coatings help control heat transfer. These are especially useful for villas or commercial buildings in hot regions.
- Safety Considerations: Tempered or laminated glass is used where safety is a priority, such as near the ground or in busy areas.
Cutting Glass to Size
- Measuring for a Precise Fit: Glass dimensions are taken to match the opening in the frame, leaving just enough space for seals and gaskets.
- Using Professional Cutting Tools: Glass is cut with specialized scoring and breaking tools to avoid rough edges or cracks.
- Edge Finishing: The cut edges may be smoothed to prevent injury during handling and installation.
- Labeling for Assembly: Each glass panel is marked so it goes to the correct frame during glazing.
Installing Glass into the Frame
- Placing the Glass Panel: The glass is carefully set into the frame, resting evenly on setting blocks to prevent stress points.
- Securing with Glazing Beads: Glazing beads hold the glass firmly in place. These are tapped into position and checked for a tight fit.
- Adding Seals or Gaskets: Rubber gaskets or sealants are used to keep air and water out. This is vital for long-term performance.
- Final Inspection Before Next Step: The glass is checked for scratches, chips, or dirt before the window moves on in production.

Step#7 Weather Sealing and Final Assembly
At this stage, the window is almost complete. I’ve learned from past projects that even the best frame and glass won’t perform well without proper sealing. This step protects the window from air leaks, water ingress, and long-term wear.
Applying Seals and Gaskets
- Choosing the Right Seal Material: EPDM rubber and silicone are common choices because they last in both hot and cold climates. The material must fit the project’s weather conditions.
- Installing Around the Glass: Gaskets are pressed into place around the glass to keep water and air from entering. A snug fit helps maintain thermal efficiency.
- Sealing Frame Joints: Any visible joints in the frame are sealed to prevent leaks. This is especially important for large or complex window shapes.
- Checking Seal Continuity: The sealing path is checked to make sure there are no gaps or weak points. A break in the seal can cause early failure in service.
Final Assembly and Function Testing
- Fitting Any Remaining Components: This includes decorative trims, drainage covers, or ventilation slots. These small details add to the window’s performance and appearance.
- Testing Opening and Closing: The sash is opened and closed several times to check for smooth movement. Locking mechanisms are tested to confirm proper alignment.
- Cleaning the Finished Window: Frames and glass are wiped down to remove fingerprints, sealant residue, or dust before packaging.
- Preparing for Quality Inspection: The fully assembled window is set aside for final checks in the next step. This keeps the inspection process organized and efficient.
Step#8 Quality Inspection and Packaging
This is the final checkpoint before the windows leave the factory. I’ve seen how a careful inspection here can save time and money later by catching issues before delivery. Once the quality is approved, proper packaging keeps the product safe until it reaches your site.
Visual and Dimensional Checks
- Inspecting Frame and Glass: Each window is checked for scratches, chips, or visible defects. Even small marks can be a problem for clients who expect a clean finish.
- Measuring Critical Dimensions: The frame size, sash size, and glass placement are measured against the order specifications. Accurate sizing avoids on-site installation delays.
- Checking Corner Strength: Welded or mechanically joined corners are tested for strength. This confirms the frame will hold up during transport and use.
- Reviewing Seal Integrity: Seals and gaskets are examined to make sure they are secure and in the right position. A loose seal now means trouble later.
Functional Testing
- Operating Moving Parts: Handles, locks, and hinges are tested for smooth operation. A window that sticks in the factory will only get worse in the field.
- Testing Locking Systems: Locks are engaged and released several times to confirm they line up correctly and hold firmly.
- Checking Drainage Paths: Any drainage holes or slots are inspected to make sure they are clear. Blocked drainage can lead to water build-up inside the frame.
Safe and Secure Packaging
- Protecting Glass and Frames: Foam sheets, corner protectors, and shrink wrap are used to protect surfaces during transport. This reduces the risk of scratches or cracks.
- Labeling for Delivery: Each packaged window is labeled with project details and installation location. This speeds up unloading and installation on site.
- Organizing for Transport: Windows are stacked or crated in a way that prevents shifting during shipping. Vallisco follows strict packing standards to keep every order safe in transit.
- Final Release: Once packaged, the order is released for delivery to the client or construction site. This marks the end of the production process.
Conclusion
That villa project I mentioned earlier taught me something simple: quality starts at the factory. By now, you’ve followed the 8 steps of the UPVC window manufacturing process from raw profiles to ready-to-ship frames.
This process is the backbone of a reliable installation. Skip one step, and the problems will show later.
Your projects deserve windows made with accuracy and consistency.
Vallisco partners with builders and developers to supply windows that match project needs and avoid costly delays.
If you want the same peace of mind for your next order, contact us today.
Explore More of Our Resources
If you’re searching for more choices, explore our full collection of products. We’ve picked out some great options for you:
Still haven’t found what you’re looking for? Don’t hesitate to contact us. We’re available around the clock to assist you.


