One client tried to save money by installing an automatic door themselves, only to wire the motor to the wrong breaker and knock out half the office lights.
You can guess how well that went.
We’ve guided dozens of businesses through this process, and we know where the headaches usually start.
This guide is your walkthrough: from unpacking the system and mounting the door, to wiring it safely and setting the open-close range.
It’s technical, but we’ll make it simple.
Whether you’re managing a team or rolling up your sleeves, this will help you get it done right the first time.
When mistakes get expensive, knowledge saves you.
Let’s dive in!
Quick Comparison Chart
Installing an automatic door isn’t just about mounting hardware—it’s about getting every step right, from space checks to sensor tuning. Below is a step-by-step summary to help you plan, install, and troubleshoot with confidence.
| Step | Key Focus | Real-World Reminder | Action Summary | Why It Matters |
| 1. Assess the Area | Doorway + Traffic | Low ceiling blocked track | Measure space, check floor, observe flow | Prevents future install issues |
| 2. Choose Door System | Fit + Function | Wrong type causes poor flow | Match door style to space and use | Ensures long-term usability |
| 3. Gather Tools | Prep + Safety | Missing voltage tester delayed job | Collect tools, gear, power backups | Avoids last-minute stops |
| 4. Mount Frame | Structure + Accuracy | Leaning beam misaligned sensors | Level header, mark precisely, mount rails | Supports proper movement |
| 5. Hang Door | Alignment + Balance | Panel hung too low scraped rail | Install evenly, test smooth glide | Prevents wear and malfunction |
| 6. Install Motor | Power + Control | Motor vibrated due to no pads | Secure motor, connect drive, protect wires | Boosts performance and safety |
| 7. Wire System | Electrical Safety | Wires under track were shredded | Plan routes, connect, ground properly | Protects components and users |
| 8. Add Sensors | Detection + Safety | Sensor aimed too high missed people | Mount and align for full coverage | Avoids false triggers or misses |
| 9. Final Setup | Testing + Handoff | Door slammed from skipped test | Program settings, run tests, train users | Ensures safe daily use |
Step #1 Assess the Doorway and Installation Area
I once got called in to troubleshoot an automatic sliding door that wouldn’t open all the way.
Turns out, the ceiling beam was too low and blocked part of the track, something no one caught during the initial walkthrough. That moment reminded me how skipping the basics can turn into expensive fixes later.
This first step might not feel exciting, but it sets the tone for everything that follows. Before you even open the box with your door kit, you need to be sure your installation area is ready.
Measure and Analyze Entry Specs
- Take Precise Doorway Measurements: Measure the width, height, and depth of the doorway opening. These numbers guide what size automatic door system you’ll need and where it can be anchored.
- Check for Ceiling or Wall Obstructions: Look for bulkheads, vents, lights, or signage that may block the track or motor housing. Even a small pipe can interfere with smooth operation.
- Inspect Floor Level and Support: Make sure the flooring is even and free from major slopes or soft spots. The bottom track and sensors depend on a stable foundation to operate correctly.
Understand User Needs and Traffic Flow
- Observe Foot Traffic Patterns: Watch how people move in and out during peak hours. This helps determine whether you need a single or double door, and how fast the system should respond.
- Account for Equipment and Accessibility: If your space serves wheelchairs, hospital beds, or delivery carts, you’ll need extra clearance and stronger opening force. Skimping here can lead to traffic jams or accidents.
- Plan for Environmental Control: If the door separates cleanrooms, loud workspaces, or climate-controlled areas, sealing and speed settings will matter. Your install should support both function and comfort.
- Check Accessibility Compliance: Review local codes to ensure your door setup meets ADA or similar guidelines. Vallisco doors are built to align with common accessibility standards, so pairing them with a compliant installation helps avoid fines or a full redo later.
Step #2 Choose the Right Automatic Door System
Choosing the right type of door system isn’t just about aesthetics.
It’s about matching your environment, your space, and your traffic patterns with a mechanism that performs reliably.
This step is all about making smart, forward-thinking decisions before money or time gets wasted.
Compare Door Types and Mechanisms
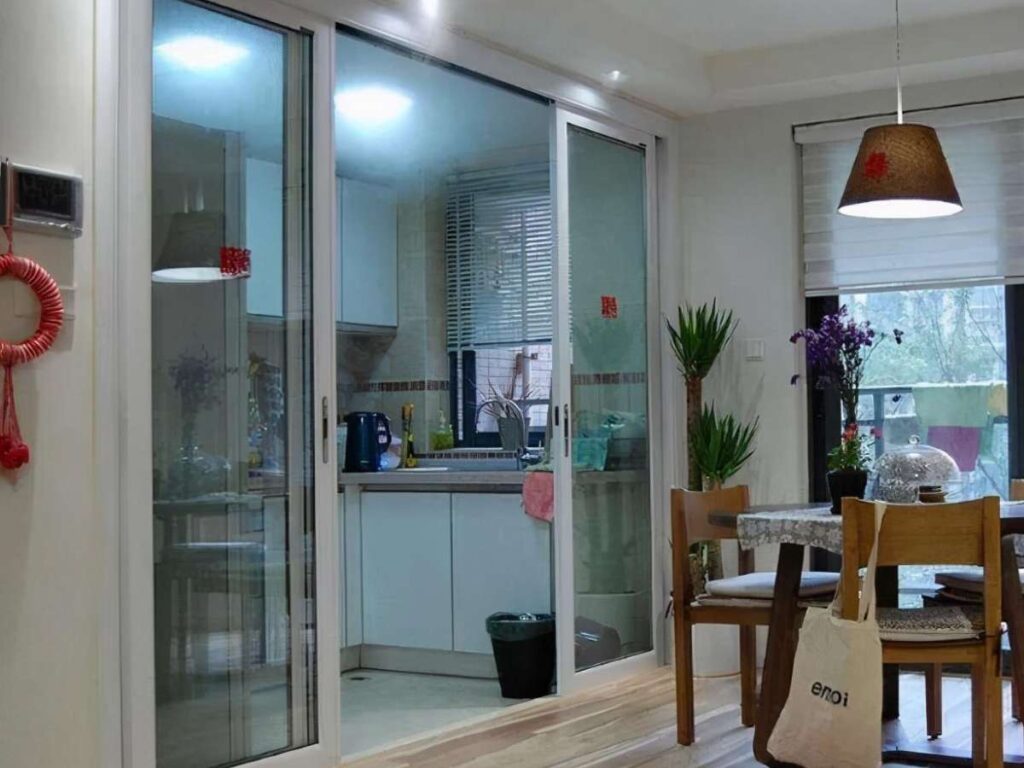
- Sliding Doors for High Traffic: Sliding doors are a strong choice for wide entrances or busy zones like retail, hospitals, or airports. They open smoothly and stay out of the way, making them great for large flows of people.
- Swinging Doors for Narrow Spaces: If your entry is tight but you still want automation, swinging doors can be a clean solution. Just make sure there’s enough clearance in the direction they swing.
- Folding or Telescopic Doors for Tight Quarters: These are great when you need full access but don’t have room for wide panels. They compress as they open, which works well in small lobbies or backroom areas.
Evaluate Environmental and Safety Needs
- Weather Protection Features: If you’re installing on an exterior wall or in a loading zone, go for a system with thermal insulation or weather seals. This helps maintain climate control and keeps the door running smoothly year-round.
- Built-In Safety and Security Options: Think ahead about fire exits, emergency push-to-open buttons, or access controls like keypads or sensors. These features protect your building, and the people using it.
Step #3 Gather Tools Parts and Safety Equipment
One time, I showed up to help a client finish their automatic door installation, and they had everything ready except a voltage tester.
That one missing item meant we had to pause everything until it was safe to wire. It’s a small detail, but it reminded me how much smoother things go when you’re fully prepared.
Before you start mounting brackets or running wires, make sure your toolkit is complete.
Gathering everything in advance will save hours of back-and-forth and help you avoid risky shortcuts. This step sets you up to work efficiently and safely from start to finish.
Essential Installation Tools
- Core Hand and Power Tools: You’ll need a power drill, Phillips and flathead screwdrivers, a tape measure, and a reliable level. These tools are the backbone of your setup process, from aligning tracks to tightening hardware.
- Electrical and Specialized Tools: Have wire strippers and a voltage tester on hand for safe electrical work. Depending on the wall surface, you might also need a hammer drill for mounting into concrete or brick.
- Access Tools for Height: A sturdy ladder or rolling scaffold is crucial if your door motor or sensors sit above standard reach. Don’t risk injury trying to stretch or balance, stability matters here.
Prep and Safety Items
- Personal Protective Gear: Always wear gloves to avoid sharp metal cuts, goggles for eye protection, and a mask or dust shield if you’re drilling into older walls or concrete.
- Installation Accessories: Keep cable clamps, electrical conduit, anchors, and weatherproof sealant on hand. These small parts are easy to overlook but essential for a secure, lasting setup.
- Power and Backup Supplies: Bring long extension cords and a few backup batteries for your tools. You don’t want to stall mid-install because your drill ran out of juice.
Step #4 Mount the Frame and Door Tracks
I once worked with a team that assumed the header beam was level, only to find out after mounting the door that it leaned forward just enough to throw off the sensor alignment.
Lesson learned: never trust a beam until you measure it yourself.
This step is where things get real.
If your base isn’t straight, nothing else will function properly. So take your time, double-check everything, and make precision your goal.
Mark and Prep the Mounting Area
- Locate Wall Supports: Use a stud finder or manual inspection to identify solid supports behind the wall. You’ll need these for anchoring the header securely and distributing the load.
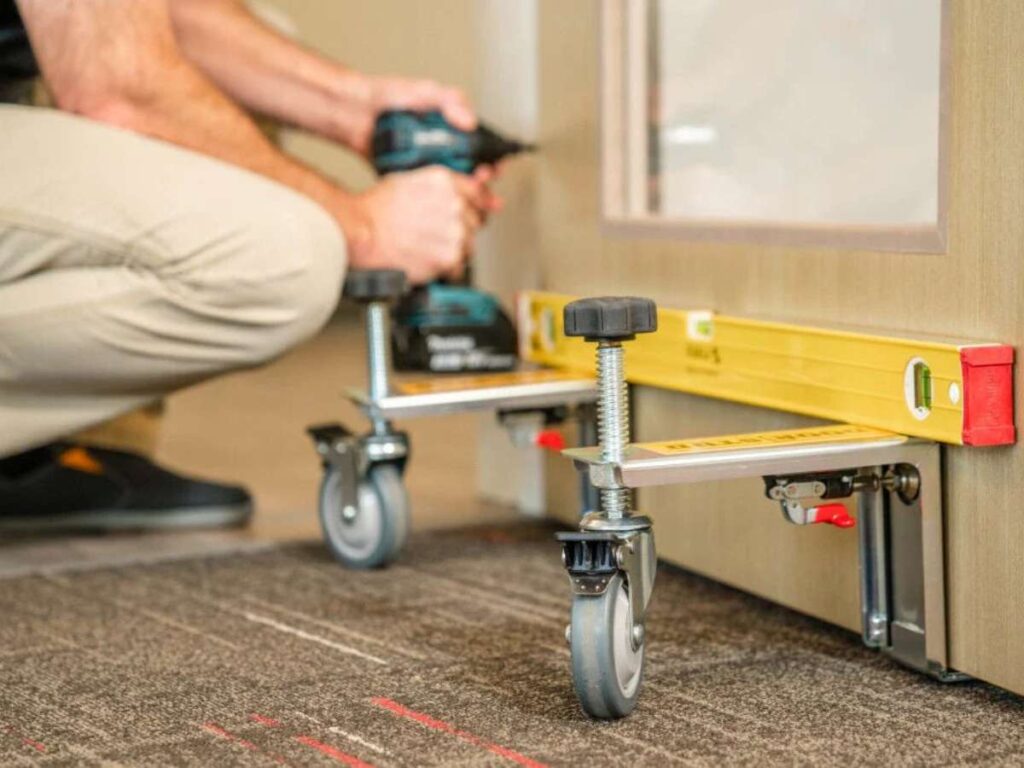
- Mark Mount Points with Precision: Use a chalk line and level to draw reference lines where your frame and tracks will go. This ensures everything sits straight and fits your doorway dimensions.
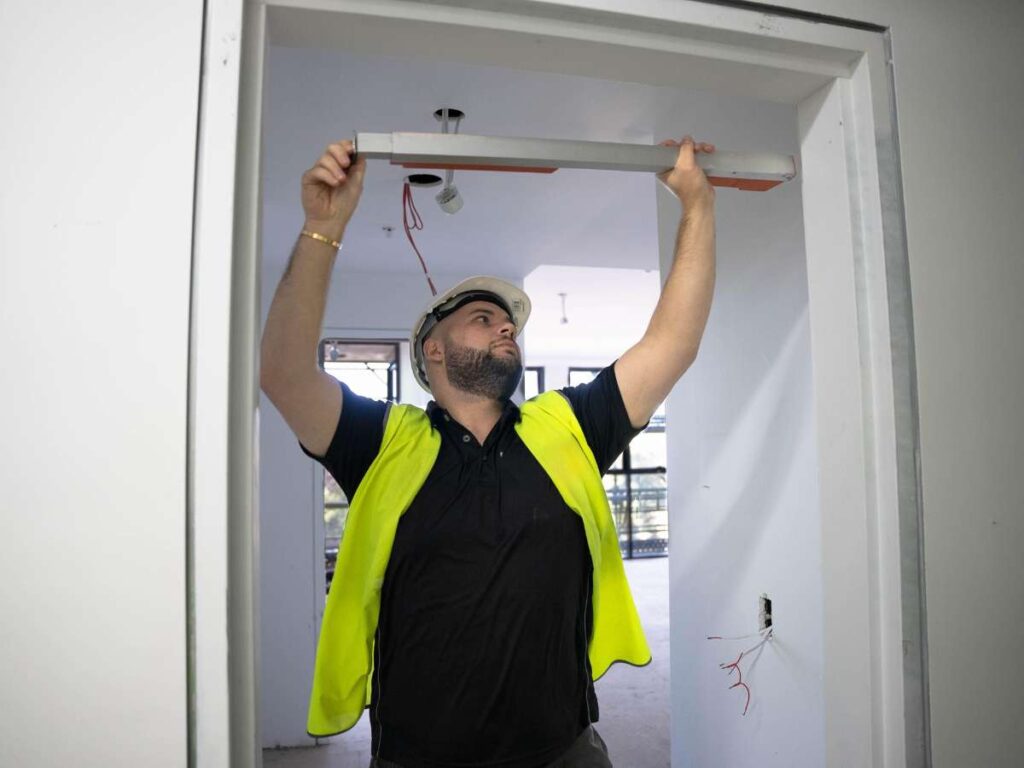
- Double-Check Header Spacing: Before drilling, measure header height from the floor and compare it with your door specs. Even half an inch off can throw off track alignment and door clearance.
Drill and Install Header and Rails
- Prep Anchor Holes First: Pre-drill all holes along your chalk line and insert anchors suitable for your wall type. Anchors are critical for supporting the weight of the motor and door.
- Secure with Heavy Fasteners: Use bolts or structural screws, not drywall anchors or light-duty hardware. The header needs to hold up under motion, vibration, and repeated use.
- Confirm Straightness with a Level: After securing the header, check alignment again using a manual or laser level. Small shifts during drilling can cause misalignment if you don’t recheck.
Secure Side and Bottom Guides
- Mount Side Rails Flushed to Frame: Align each side rail vertically so they sit flush with the doorway. If they’re off, the door won’t glide smoothly or could even jam.
- Check for Obstruction-Free Operation: Make sure both the side guides and bottom track are clear of debris, trim, or any protrusions. Smooth, square rails are essential for trouble-free sliding.
Step #5 Hang the Door and Align It
I once helped with a restaurant entry where the door looked great, until you tried to open it. It scraped the bottom rail, tilted slightly, and left guests pulling instead of gliding through.
The problem? One panel had been mounted just a half-inch too low.
This step is all about precision and balance.
You’ve built the frame, now it’s time to hang the actual door panels and make sure they move exactly as they should. A clean install here will save you endless maintenance calls later.
Mount Door Panels
- Install Rollers or Hinges First: Follow the manufacturer’s instructions closely for attaching rollers, hinges, or pivot brackets. These parts carry the full weight of the door and must be fastened securely.
- Lift and Position Panels Evenly: Always lift with a partner to avoid tilting or dropping the panel during setup. Line up the door with the track or hinge points before securing it fully.
- Use Proper Brackets and Hardware: Rely only on the included mounting brackets and screws designed for your system. Using substitutes can lead to misfits or loose holds over time.
Check Smooth Movement
- Test the Door Manually: Open and close the door several times by hand before connecting the motor. It should glide or swing smoothly without hesitation or drag.
- Adjust for Alignment Issues: If you feel scraping, hear noise, or see uneven spacing, pause and adjust rollers or hinges. A small tweak here can prevent major wear later.
- Ensure Full Opening Range: Make sure the door reaches its full intended width and stays level throughout the motion. Misalignment now will interfere with sensor calibration and automation.
Step #6 Install the Motor and Control Unit
I’ll never forget the office install where everything was perfect, until the motor vibrated so much it rattled the glass door panels.
We had skipped the vibration pads. One small oversight nearly ruined an otherwise clean job.
This is the step where power meets movement.
The motor and controller are the brains and muscle of your automatic door system, and how you mount and connect them will affect not just performance but long-term reliability. Don’t rush this part, secure it properly and protect it from day one.
Mount the Motor Assembly
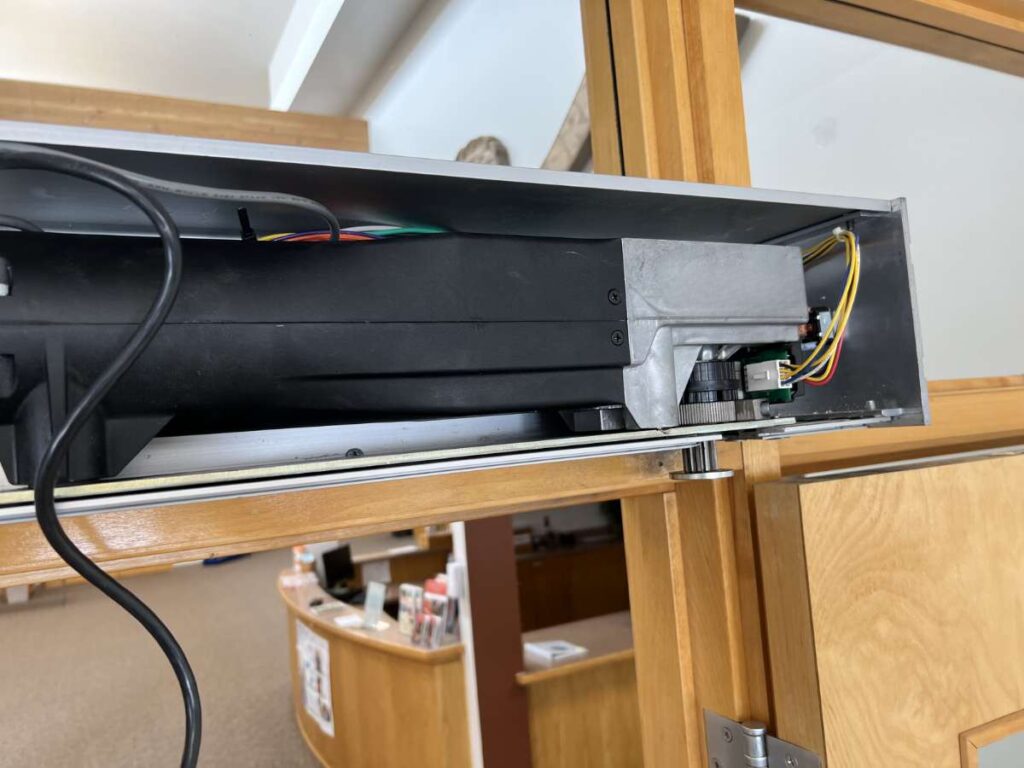
- Secure the Motor in the Right Spot: Mount the motor housing above or beside the doorway based on your system’s design. Make sure it’s accessible for future maintenance without being exposed to damage.
- Use Dampening Hardware if Available: If your kit includes rubber pads or brackets, don’t skip them. They reduce vibration and noise, making the door operate quietly and smoothly.
- Double-Check All Fasteners: Confirm the motor is tightly bolted in place and correctly aligned with the door mechanism. Even slight shifts can affect performance.
Connect the Drive Mechanism
- Attach Drive Components to the Door: Whether your system uses a belt, chain, or gear, link it securely to the moving panel or track. Vallisco systems are engineered for smooth, reliable motion, so each part should move freely without slack or grinding to ensure long-term performance.
- Adjust Tension Carefully: A loose belt will slip; an overtightened one can strain the motor. Set the correct tension according to the manual and test for smooth motion.
- Clear the Drive Path: Make sure nothing, tools, trim, wires, is obstructing the drive path. Even a stray cable can jam the mechanism or cause long-term wear.
Install and Protect the Controller
- Mount the Control Box Safely: Place the control unit near the doorway for easy access, ideally at eye level and out of the direct path of doors or carts.
- Avoid Hazard Zones: Keep the box away from water sources, vents, or dusty areas. Poor placement now can mean expensive replacements later.
- Use Conduit to Shield Wires: Run all cables through conduit to protect them from moisture, foot traffic, or rodents. Clean wiring not only looks professional but extends system life.
Step #7 Wire and Connect Electrical Components
I once walked into a site where the installer had run wires under the track instead of behind the frame. It worked for about a week, until the door shredded the cable insulation.
Fixing that mess took longer than the original install.
Wiring isn’t just about function, it’s about protection, clarity, and longevity.
In this step, you’ll plan your cable paths, connect your power and signal lines, and make sure everything is properly grounded and insulated.
Plan Cable Routes
- Keep Paths Simple and Safe: Choose the shortest, cleanest route between components that avoids unnecessary bends. Fewer turns reduce stress on cables and make future maintenance easier.
- Use Conduit or Trunking: Enclose wires in conduit to protect them from dust, moisture, and impact. It also gives your install a clean, professional appearance.
- Stay Clear of Moving Parts: Never run cables near hinges, sliding tracks, or motor gears. Even minor contact can wear insulation and create a short circuit.
Connect Power and Signal Lines
- Match Wires to the Right Ports: Follow the manual exactly when connecting wires to the control unit. Each terminal is labeled, double-check before tightening anything down.
- Test for Voltage and Continuity: Use a voltage tester to confirm power is live and connections are solid before sealing up your control box. Skipping this step can lead to hard-to-trace errors later.
- Ground and Insulate Properly: Ensure every ground wire is secure and that all exposed terminals are fully covered. Poor grounding is one of the top causes of door malfunction and control board damage.
Step #8 Attach Sensors and Safety Devices
A while back, I visited a facility where the automatic door would open, but not always at the right time.
Turns out, the motion sensor was aimed too high and kept missing people approaching from the side. A simple repositioning fixed it, but it reminded me how critical sensor setup really is.
This step ensures your door doesn’t just open, it opens safely, consistently, and exactly when needed. Sensors and safety devices protect your users and prevent accidents.
Done right, they also improve the overall responsiveness and feel of the system.
Mount Motion Sensors
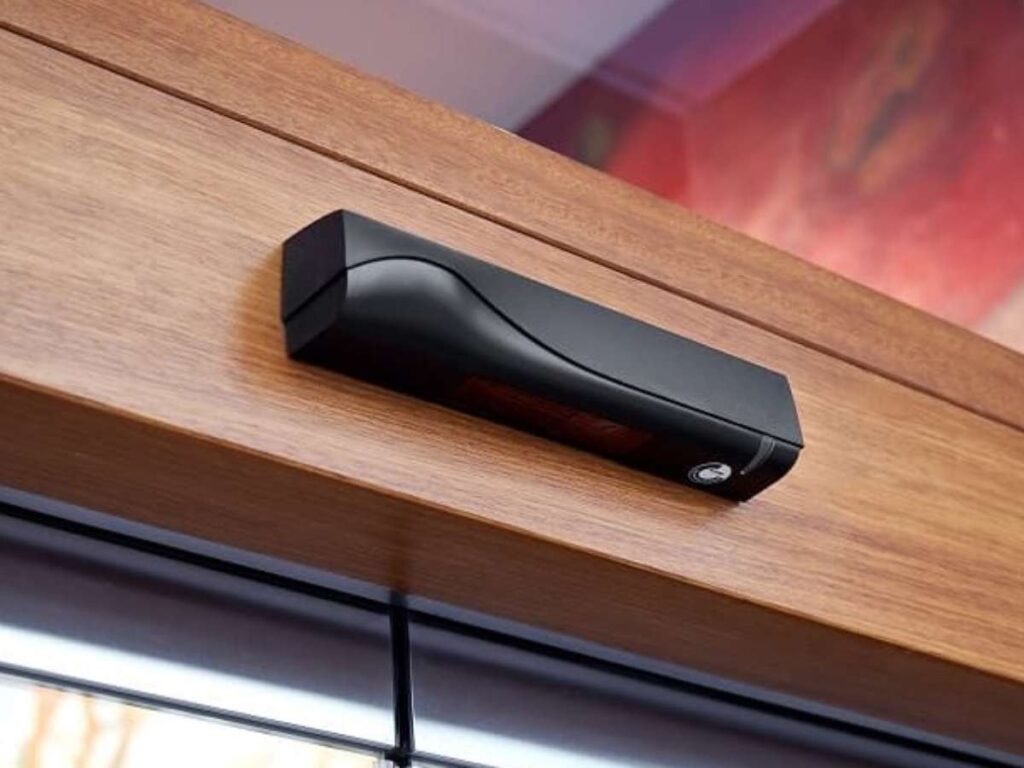
- Install at the Correct Height: Mount motion sensors directly above the door, following the manufacturer’s recommended height, usually around 6 to 7 feet. This gives the sensor a clear view of the approach path.
- Aim for the Approach Zone: Angle the sensor slightly outward so it detects people or objects as they come near the entrance. Proper aiming ensures smooth activation without false triggers.
- Avoid Lighting Interference: Keep sensors away from direct sunlight, reflective surfaces, or strong indoor lighting. These can interfere with detection and cause erratic door behavior.
Install Safety Beams or Mats
- Place Safety Beams Near the Floor: Mount infrared safety beams about 6 to 10 inches off the floor, across the doorway. These beams detect feet or objects and signal the door to stop or reverse.
- Test the Safety Function: After installing, walk through the beam while the door is closing to confirm it responds immediately. If not, adjust sensor alignment until it does.
- Add Pressure Mats if Needed: For some systems or environments, pressure-sensitive mats placed just in front of the door add an extra layer of protection. They’re especially useful in healthcare or industrial spaces.
Step #9 Program Test and Finalize the Setup
One of the most common mistakes I see is people skipping the test run.
I once saw a beautifully installed door that slammed shut after two seconds, startling everyone who walked through.
No one had adjusted the hold-open time.
Now that everything’s installed and wired, it’s time to program the door’s behavior, run full tests, and hand it off safely to the people who will use it daily.
Set Up the Door’s Behavior
- Adjust Speed and Hold Settings: Use the control panel to fine-tune how fast the door opens and how long it stays open. These small tweaks help balance efficiency and comfort for users.
- Configure Auto-Close and Overrides: Set delays for auto-close and choose if manual overrides (like push-to-open) are allowed. You can customize settings based on traffic patterns or security needs.
- Enable Safety and Backup Features: Make sure the safety sensors are active and test any battery backup or emergency modes. These features matter most during outages or unexpected situations.
Run System and Safety Tests
- Simulate Real-Life Use: Walk through the doorway from both sides at different speeds and angles. This helps verify that motion sensors detect people accurately in all scenarios.
- Interrupt Safety Features: Break the safety beam or stand on pressure mats while the door closes. The door should stop or reverse immediately, if not, readjust the sensor positions.
- Test Emergency Power Modes: Shut off power briefly to see if backup systems kick in. It’s better to find out now than during a real emergency.
Clean, Inspect, and Educate
- Clean the Area and Components: Wipe down all glass, tracks, and metal surfaces. Remove tools, packaging, and any leftover debris from the workspace.
- Double-Check Hardware and Wiring: Inspect every fastener, bracket, and wire connection for tightness and security. Even one loose screw can affect performance over time.
- Train the End Users: Walk staff or facility users through the operation basics and safety protocols. A 5-minute orientation can prevent a lot of avoidable support calls later.
Conclusion
We’ve just walked through the full installation process.
It’s all there, laid out in simple steps so you can avoid the pitfalls we’ve seen too many times.
And that client who miswired the breaker? We helped them troubleshoot, rewire, and get the system back online in under a day.
They’ve never had a problem since.
Now it’s your turn. You’ve got the knowledge. You’ve got the plan. All that’s left is action.
Contact Vallisco today. Our experts are ready to walk you through it, step by step.
Check Out These Additional Resources
Need more ideas? Browse through our extended range of products and discover something new:
Still haven’t found what you’re looking for? Don’t hesitate to contact us. We’re available around the clock to assist you.


