I once had a client from a resort in Indonesia who needed over 80 door panels for a renovation. They didn’t want fancy talk. They just wanted to know how the process worked, how long it would take, and what to expect from start to finish.
If you’re here, you probably want the same. You want clear answers.
I work with builders, architects, and property owners across Southeast Asia and Europe. This guide is based on real production experience. I’m not guessing, I’ve done it.
In this article, you’ll see how door panels are made, step by step. We’ll walk you through the process clearly, so you’ll know what happens, when, and why. If you want to place an order or plan a project, this review will help you understand what to expect.
There’s a lot to think about before you order door panels. Understanding the process is the first step.
Let’s dive in!
Quick Overview
If you’re short on time or just need a clear breakdown, this table sums up the key stages. Each step plays a part in getting your door panels built right, from the core all the way to final inspection.
| Step | What Happens | Why It Matters |
| 1. Material Selection | Choose core and surface materials based on use, look, and budget. | Affects strength, appearance, and cost. |
| 2. Design and CAD Modeling | Convert ideas into technical drawings for accuracy in production. | Ensures the build matches your project specs. |
| 3. Cutting and Sizing | Core and frame materials are cut to exact size using machines. | Helps avoid fitting issues during assembly. |
| 4. Frame Construction & Core Insertion | Build the frame and place the core securely inside. | Creates the basic structure of the panel. |
| 5. Surface Treatment & Lamination | Sand, seal, and apply the surface layer for look and protection. | Gives the door its finish and long-term durability. |
| 6. Carving, Grooving, and Decorative Work | Add grooves, carvings, or trim based on your design needs. | Adds style and matches your project’s theme. |
| 7. Assembly and Bonding | Layer all parts together and press them to form one solid piece. | Locks the structure in place for long-term use. |
| 8. Finishing Touches | Clean up edges, fill gaps, and prep the panel for final coating. | Prepares the door for installation or painting. |
| 9. Drying, Curing, and Final Inspection | Let materials set, check quality, and pack panels for delivery. | Ensures the panel looks right and ships safely. |
If you’re planning to build or renovate with new doors, understanding these steps helps you plan better and avoid delays. Want to go deeper? Scroll down to read the full guide for detailed insights into each part of the process.
Step#1 Material Selection
Choosing the right materials is where everything begins. I’ve seen how much this decision affects the look, weight, cost, and durability of each door panel. If you’re planning a build or renovation, this part matters more than most people think.
What You Need To Decide First
- Solid Wood or Engineered Wood: Solid wood panels are heavier and cost more. Engineered wood, like MDF or HDF, is stable and easier to work with. Many clients go this route for large orders.
- Purpose of the Door: Is it for a bathroom, a hallway, or a front entrance? Wet areas need moisture-resistant cores. High-traffic doors might need stronger or denser boards.
- Indoor or Outdoor Use: If your door faces the weather, it needs extra protection. That affects which type of wood, glue, and surface layer we use.
- Client Preference on Look and Feel: Some prefer a natural grain finish. Others want a smooth, painted surface. This choice affects both the core and the top layer.
Types of Materials Used
You’ve got options , each one has its own strengths.
- Solid Wood: Classic and strong, solid wood is perfect for projects where design and weight are valued, such as villas or full-house builds. It requires extra care in wet climates to maintain its appearance and durability.
- MDF (Medium-Density Fiberboard): A cost-effective engineered wood that’s great for painted finishes and indoor use. It’s less durable in damp environments but ideal for interior room doors.
- Plywood: Made from layered wood sheets, plywood resists moisture better than MDF. It can handle surface pressure, making it suitable for kitchens, bathrooms, and humid areas.
- Aluminum: Lightweight and rust-resistant, aluminum is popular in modern construction. It’s often used for panel frames or external doors in commercial and residential spaces.
- Steel: Stronger than aluminum, steel offers superior security and durability. It’s ideal for high-security doors or areas with heavy use.
- Glass Panels: Available in tempered, frosted, or double-glazed styles, glass panels add natural light and style to a space. They are often paired with wood or metal frames for patio doors and decorative dividers.
- uPVC: Low-maintenance and resistant to moisture and UV rays, uPVC works well in utility spaces. It’s also a popular choice for greenhouses and bathrooms.
Step#2 Design and CAD Modeling
Once you’ve picked the material, the next step is to shape your idea into a real plan. This is where we move from concept to actual design. I often walk clients through this stage myself, especially if they’re ordering many pieces across different room types.
How The Design Phase Starts
- Gathering Size and Style Requirements: You share your specs, height, width, thickness, and design features. This includes patterns, grooves, inlays, or any carving details.
- Understanding Project Needs: Suppliers usually ask how the doors will be used. Are they all the same, or do different spaces need different models?
- Matching With Existing Themes: If you already have a look going (like arched entries, slim frames, or a wood tone), we make sure the new panels match that.
- Basic Drafts Or Sketches: Some clients already have drawings. Others send photos or a simple sketch. Either way works, designers take it from there.
What Happens In CAD Modeling
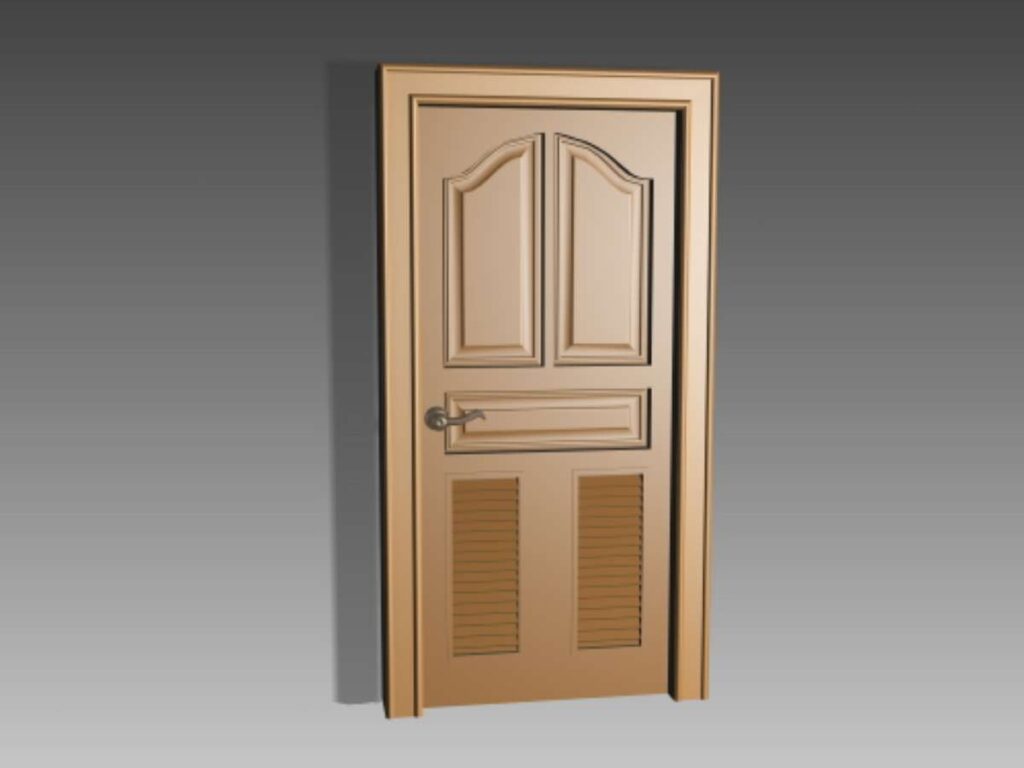
- Detailed 2D and 3D Files Are Created: Vallisco has engineers who create drawings that show all panel layers and cuts. These files are used later in production.
- Measurements Are Locked In: Every millimeter matters. The CAD file gives the team exact dimensions so everything fits as planned.
- We Show You Before We Build: You get to see the CAD drawings before anything is made. That way, you can request changes early, before materials are cut.
- Helps Coordinate With Other Teams: If your project has plumbers, electricians, or glass workers, the CAD file helps them align their work with ours.
Step#3 Cutting and Sizing of Core Components
After your design is finalized, the actual build starts. This step is all about turning raw material into precise core parts. I always say, good cutting upfront saves time later in assembly and finishing.
Cutting Process And Preparation
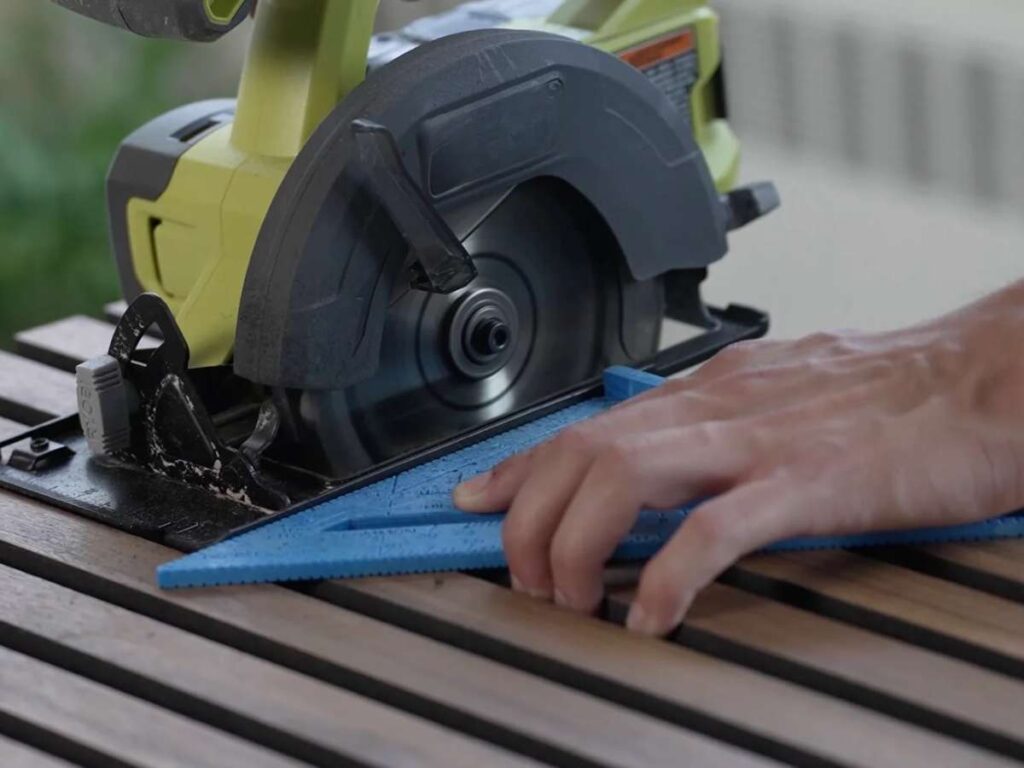
- Using CNC Or Panel Saw Machines: Vallisco uses machines that can follow digital drawings with high accuracy. This helps cut sheets, cores, and frames to the exact size.
- Marking Sections Based On CAD Files: Each panel is marked before the cut. These markings help guide cuts for both outer edges and interior grooves.
- Adjusting For Expansion Gaps: For some projects, we leave tiny space allowances. These help with temperature or moisture changes, especially in wood-based panels.
- Sorting Parts By Use: Once cut, the components are grouped, frames in one stack, cores in another. This avoids mix-ups later during assembly.
Focus On Accuracy And Labeling
- Edges Must Be Clean And Straight: Uneven cuts affect the whole panel. Inspectors inspect edges right after cutting to avoid problems down the line.
- Thickness And Depth Checks: Not all cuts are flat. Some pieces need grooves or slots. They double-check their depth to match the CAD drawing.
- Every Piece Gets Labeled: Labels help us trace each part back to your design. If you’re ordering many doors in one batch, this keeps everything organized.
Step#4 Frame Construction & Core Insertion
This stage is where the door panel really starts to take shape. Bringing the frame and the core together to build the main body. I’ve helped clients who thought this part was simple, but small mistakes here can affect strength, balance, and lifespan.
Building The Frame
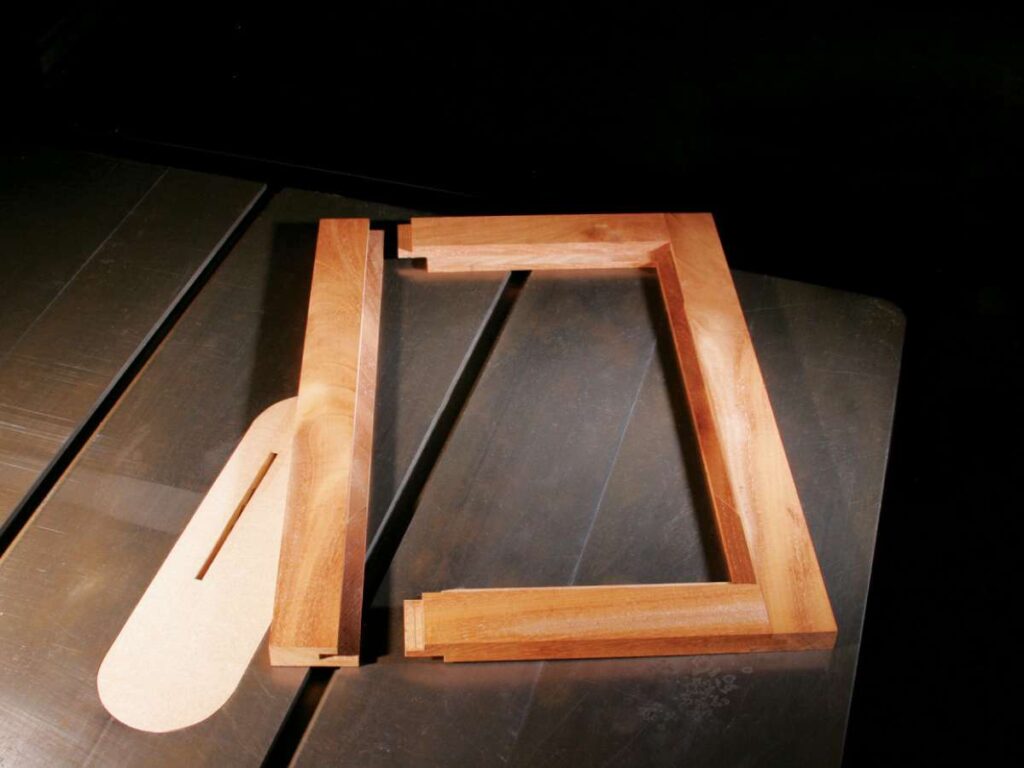
- Choosing The Right Frame Material: Frame materials depend on what you chose earlier, solid wood, aluminum, or a combination. The goal is to give the door a strong outline while keeping the weight manageable.
- Cutting And Joining Frame Sections: Frame pieces are cut at exact angles and joined using dowels, adhesives, or screws. A tight fit is important to avoid gaps or misalignment. Once joined, the frame is clamped to hold shape while drying.
- Adding Support For Heavy Or Wide Doors: For wider panels or heavy cores, they add extra support inside the frame. This helps stop sagging or bowing over time. I always suggest this for hotel or villa projects with large entry doors.
Inserting The Core Material
- Placing The Core Into The Frame: Once the frame is dry, the core material, whether MDF, honeycomb, or another type, is set inside. The fit needs to be snug to prevent shifting. They also leave space around it if needed for acoustic or thermal insulation.
- Securing The Core With Adhesive: Industrial adhesives are applied to bond the core to the frame and panel skins. The glue is evenly spread to prevent bubbles or weak spots. The bonding strength here will affect how well the door holds up in the long term.
- Checking For Flatness And Gaps: Before moving to the next stage, they check that the full panel is flat and the core sits evenly inside the frame. Any warping or looseness is fixed right away. You don’t want surprises later during finishing or installation.
Step#5 Surface Treatment & Lamination
Now that the frame and core are in place, it’s time to give the panel its outer skin. This is what your clients or guests will see and touch, so it needs to be smooth, strong, and good-looking. I always tell clients, this step is where function meets appearance.
Getting The Surface Ready
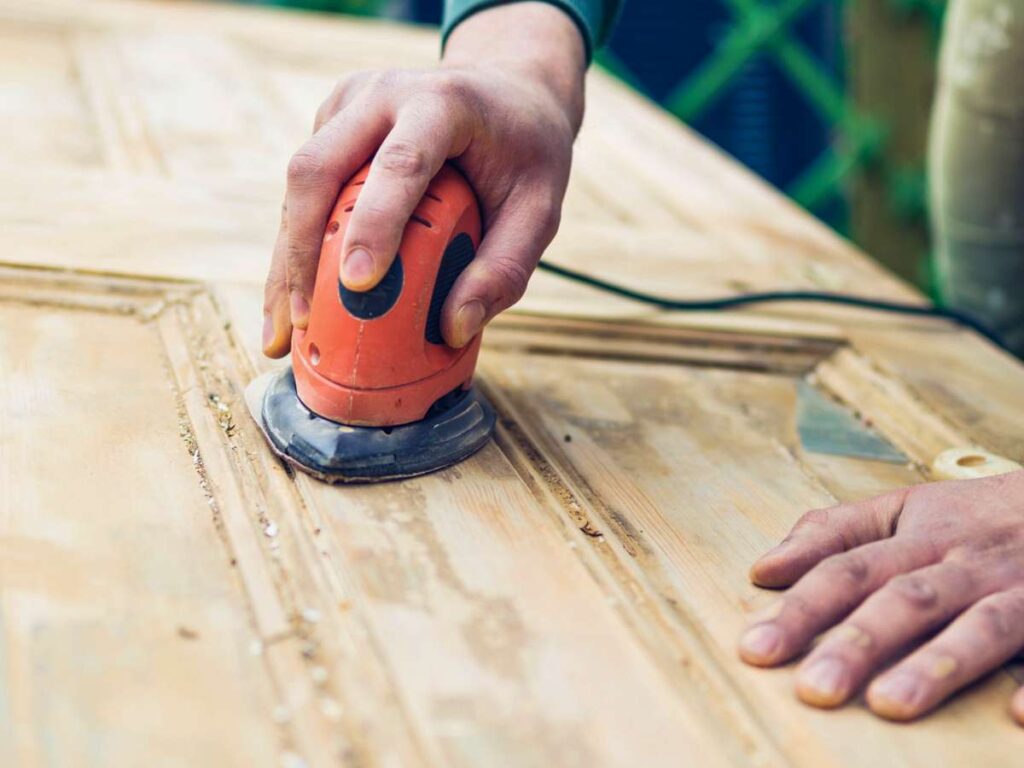
- Sanding The Base Layer: Before anything goes on the surface, they sand the outer face to remove rough edges or dust. This helps create better adhesion for the next layers. It also prevents bumps or air pockets later on.
- Sealing With Primer Or Base Coat: Some doors get a base coating depending on the material and final finish. This step blocks moisture and helps the surface hold paint or laminate better. It also creates a more uniform color tone underneath.
- Fixing Small Imperfections: Any chips or gaps in the surface are filled and leveled out. Manufacturers do this before lamination to avoid uneven finishes. It’s a small step, but it makes a big difference.
Applying Laminate Or Veneer
- Choosing The Finish Layer: You can pick from laminates, natural wood veneers, or PVC skins. It depends on the look you’re going for, matte, gloss, wood grain, or plain. We help clients match this to their project style.
- Bonding With High-Pressure Or Cold Press: They use different press machines depending on the material. The process makes sure the finish layer sticks flat with no wrinkles or gaps. Strong bonding here also protects against peeling or cracking later.
- Trimming And Cleaning The Edges: After lamination, we trim the edges and clean up any glue residue. The result is a sharp, clean border. This sets a solid base for carving or other design work in the next steps.
Step#6 Carving, Grooving, and Decorative Work
This is where the plain panel starts to show its personality. Whether you’re going for something modern, classic, or detailed, this step brings design into the build. I often work with clients to match these touches with the overall style of their villa, hotel, or housing project.
Adding Design To The Surface
- Grooves And Linear Patterns: Straight or curved lines can be added using CNC routers. These patterns are common in hotel doors and can match interior styles. They also give flat panels more visual depth.
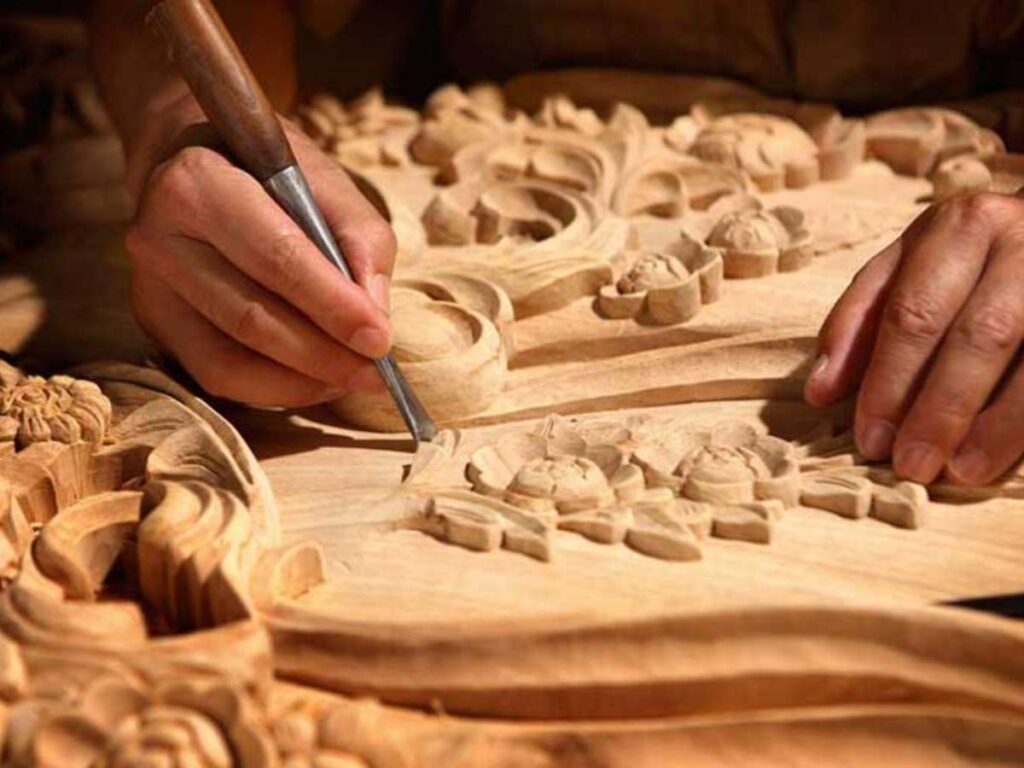
- Carving Panels With Custom Designs: If your project calls for specific motifs or logos, they can carve them onto the surface. This is often requested for villas or boutique hotels that want a signature look. The design is first mapped in the CAD file to guide precision tools.
- Applying Moldings Or Trim Pieces: Instead of carving into the panel, some doors get separate moldings fixed on top. This method is good for achieving a raised profile. It’s a flexible way to get the style you want without deep cutting.
Keeping Quality And Detail In Check
- Sanding Around Decorative Cuts: After carving or grooving, we sand down the design area to keep edges clean. This stops splinters or raised grain from showing under paint or stain.
- Checking Symmetry And Alignment: Whether it’s one groove or a full carving, each design must be centered and level. The team checks spacing by hand and with tools. Misaligned patterns are easy to spot once installed, so we handle that upfront.
- Holding Back On Overdesign: Some clients want simple, clean lines. Others ask for bold shapes. I often suggest a balanced look, so the design fits the space but doesn’t overpower the room.
Step#7 Assembly and Bonding
At this point, all parts are ready, the core, the frame, and the surface panels. Now it’s time to bring them together into one solid piece. I always tell clients this is the part where strength and build quality really come through.
Bringing All Parts Together
- Layering The Panel Components: The frame, core, and decorative surfaces are stacked in order. Each layer is positioned based on the CAD model to match the final size and design. This step must be done carefully to avoid shifting during bonding.
- Applying The Right Adhesive: Depending on the material, we use industrial glue or resin for a strong hold. Some projects require moisture-resistant glue, especially for bathrooms or outdoor doors. The adhesive is spread evenly to avoid air pockets.
- Using A Hydraulic Or Cold Press: Once the layers are set, we use a press machine to apply pressure. This helps the glue cure evenly and keeps all parts flat. I’ve found this step also helps reduce future warping.
Securing Structure And Durability
- Clamping For Extra Hold: Some areas of the door, especially edges or thick panels, get extra clamping. This keeps pressure balanced where machines may not reach fully. It’s a small step, but it gives added strength.
- Curing Time Before Moving Forward: After pressing, they give the panel time to set. Rushing this part can lead to weak spots.
- Final Trim And Edge Cleanup: Once the glue is dry, we check all edges. Any glue overflow or rough spots are trimmed and sanded down. This preps the door for paint, sealant, or final finish in the next stage.
Step#8 Finishing Touches
This small step may not seem big, but it make a real difference in how the final product looks and feels. I’ve seen many projects where this stage turns a good panel into a great one.
Adding Detail And Smoothing Out
- Edge Sanding and Corner Rounding: We go over all outer edges to make sure they’re smooth and safe to touch. Corners are often slightly rounded to avoid sharp spots. This makes the door more comfortable to handle and better for long-term use.
- Filling Minor Gaps or Marks: Even with careful work, small gaps or marks sometimes show up after assembly. They use filler to level these out before any coating is applied. It helps keep the surface clean and even.
- Light Re-Sanding Between Layers: If a sealant or primer was used earlier, they do quick sanding to keep the surface smooth. This helps the final finish go on without bumps. I always make sure this step isn’t skipped, even on bulk orders.
Getting Ready For Final Coating Or Hardware
- Surface Cleaning Before Coating: Before paint or stain goes on, they wipe the surface to remove dust or leftover filler. A clean base helps the coating stick better and last longer. This prep also avoids bubbles or patchy spots later.
- Marking Points For Hinges And Locks: They pre-mark or pre-cut hinge and lock slots depending on the client’s request. This makes installation faster and helps avoid mistakes on-site.
- Protecting Finished Surfaces: Once all final touches are done, we wrap or cover the door for transport. This protects the panel during shipping or storage. I always recommend this, especially for large projects with multiple units in one order.
Step#9 Drying, Curing, and Final Inspection
After all the building and finishing work, the door panels need time to set and go through final checks. This step protects your investment and helps us spot anything that could affect the door’s look or performance. I’ve learned over the years that a careful inspection now prevents problems later.
Letting Materials Set Properly
- Allowing Proper Drying Time: Paint, stain, glue, and sealants all need time to dry completely. Rushing this part can lead to surface issues or weak bonding.
- Using Controlled Environments When Needed: For certain finishes, they use rooms with controlled temperature and airflow. This keeps the coating even and reduces the risk of dust or moisture getting into the surface. It’s common in larger or high-value orders.
- Avoiding Handling Before Curing Is Done: Even if a door looks dry, it might not be fully cured. They avoid stacking, wrapping, or moving it until the materials are set. This helps avoid fingerprints, smudges, or dent marks.
Final Review Before Shipping
- Checking Surface and Build Quality: The team inspects each door for scratches, dents, or finish flaws. They also check that the structure is strong and balanced. Any panel that doesn’t meet the mark is held back for correction.
- Verifying Dimensions and Cutouts: Before wrapping, they check the measurements again. Hinge slots, handle cuts, and panel thickness are reviewed to make sure they match your specs. I’ve seen this extra step save clients a lot of time on-site.
- Packing With Care For Transport: Once everything checks out, the door is cleaned, wrapped, and stacked safely for delivery. They pack each one to avoid scratches or corner damage. If you’re ordering in bulk, they also label each piece to match your floor plan or room layout.
Conclusion
That resort client in Indonesia? They placed the order, and their doors were delivered on time, exactly as expected. Why? Because they understood the process.
From picking materials to final checks, each step plays a role in the final result. If you want the same confidence for your own project, go back and review the full guide above.
It’s built to help you plan smarter and avoid surprises. Whether you need 10 doors or 100, clear planning starts here.
Contact Vallisco today to talk about your next build. We’re ready to help you get it right, every step of the way.
Explore Related Resources
Want to see more? We’ve gathered additional product choices to give you even more variety:
Still haven’t found what you’re looking for? Don’t hesitate to contact us. We’re available around the clock to assist you.


