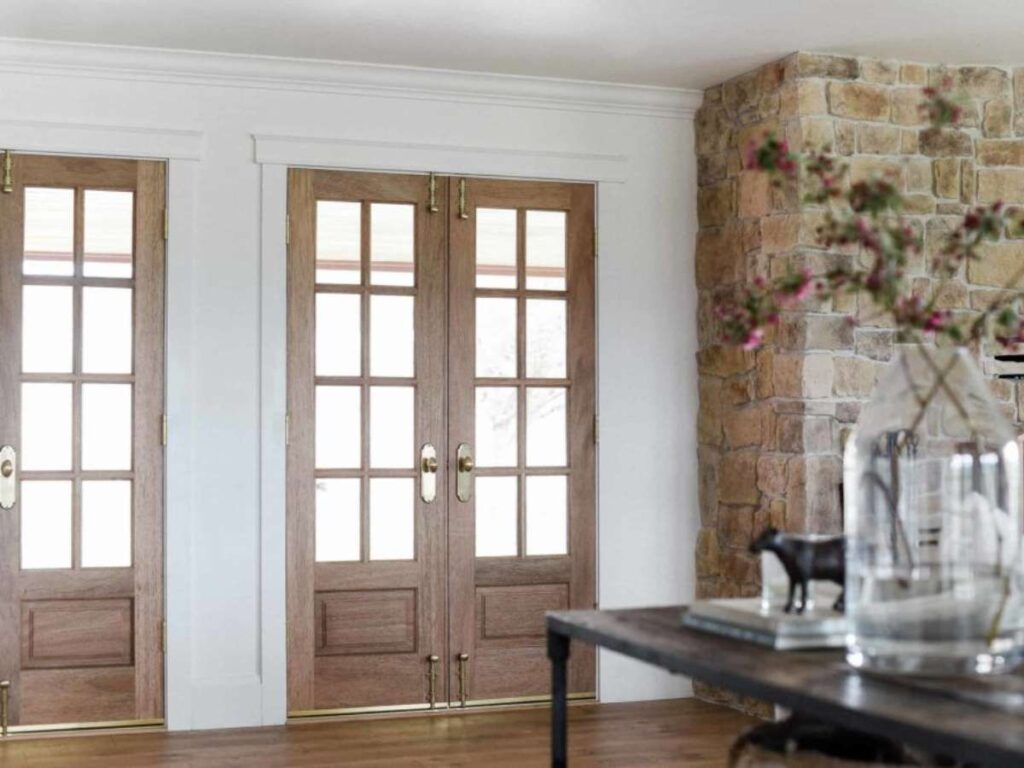
A few months ago, we supplied doors for a new guesthouse in Thailand. The owner asked us detailed questions about how the French doors were built. Having clear answers helped us win the deal.
That’s why it helps to understand the process yourself.
We’ve worked with builders, architects, and villa owners for years. What we’re sharing here comes from experience, not theory.
In this guide, we’ll explain the full French door manufacturing process in simple steps. You’ll know what to expect from start to finish, so you can plan your purchase with confidence.
Good planning starts with good information.
So let’s get down to it!
Quick Overview
Before you place an order or begin installation planning, it helps to understand how a French door is actually made. I’ve worked with teams who saved time and avoided issues just by having a clear view of the steps involved. This table gives you a quick snapshot of each phase:
| Step | What Happens | Why It Matters |
| 1. Design Consultation & Specification Gathering | Project needs, measurements, and layout details are collected and reviewed. | Helps avoid design errors and supports smooth planning across teams. |
| 2. Material Selection | Wood type, glass type, and finishes are chosen based on location and usage. | Ensures the door performs well in your specific climate and setting. |
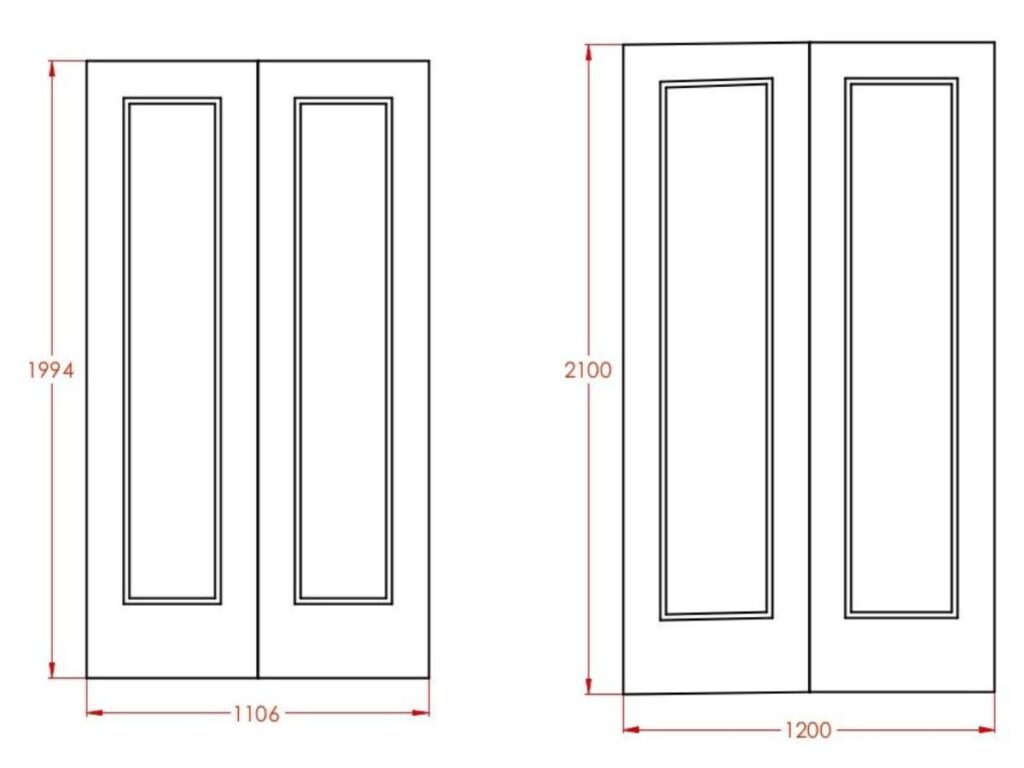
| 3. CAD Modeling & Technical Drawings | Scaled drawings are created to plan and confirm all dimensions and components. | Reduces installation issues and allows for early adjustments. |
| 4. Cutting & Sizing the Components | Wood and other parts are cut to size using machines for precision and consistency. | Keeps door parts uniform, which improves strength and fit. |
| 5. Assembly of Frame, Sash & Glass | The frame and sash are built, and glass panels are fitted and sealed. | Brings all materials together into one working door unit. |
| 6. Hardware Installation | Hinges, locks, handles, and multi-point systems are installed. | Makes the door functional, secure, and ready for use. |
| 7. Finishing Touches | Painting, staining, surface checks, and cleaning are completed. | Gives the door a clean, professional look that lasts. |
| 8. Packaging & Delivery | Doors are packed with protective materials and prepared for shipping. | Prevents damage in transit and keeps your project on schedule. |
This quick view gives you the basics, but each step has more detail that can affect your project timeline, cost, and final result. If you’re planning an order or working with a new supplier, it’s worth reading the full breakdown. Keep going to get a clear step-by-step guide!
Step#1 Design Consultation & Specification Gathering
This is where everything begins. Before any wood is cut or glass is ordered, you and your team need a clear plan. I’ve seen projects go off track just because this first step was rushed, don’t skip it.
Initial Discussion
- Understanding Your Project Scope: We start by asking how many doors you need, where they’ll be used, and what type of building they’re for. This helps us think about both looks and function.
- Choosing the Right Door Style: You might want full-glass panels, divided panes, or something with more privacy. We’ll go over different layouts and help you decide what fits your space best.
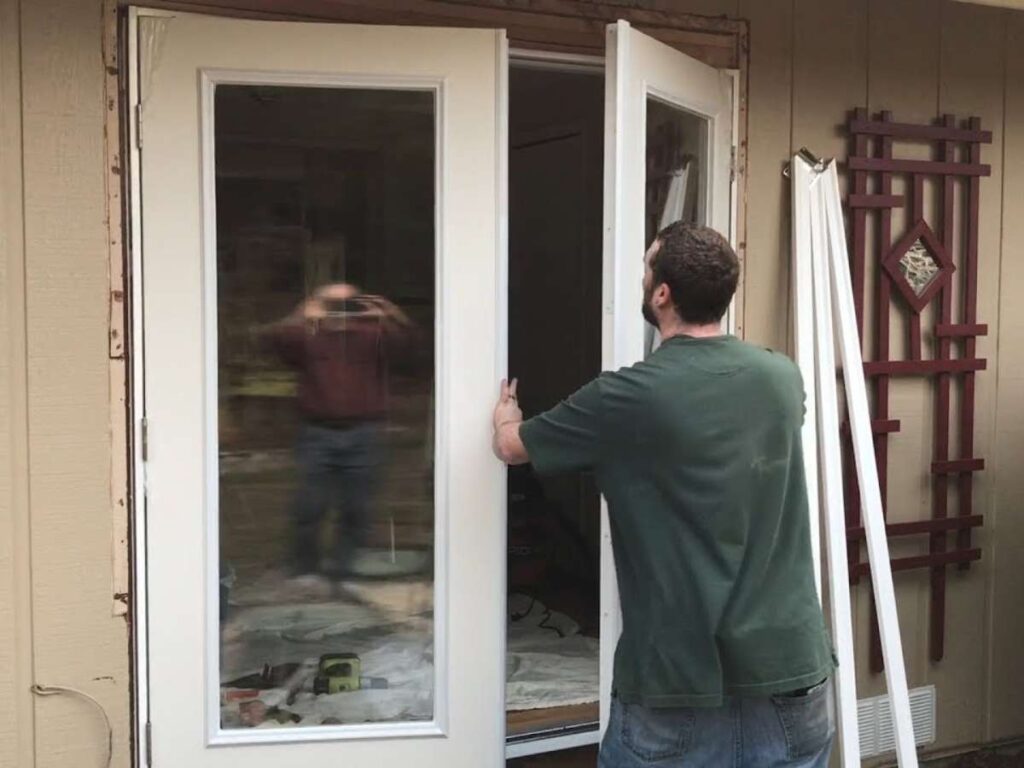
- Measuring Openings and Checking Site Conditions: Exact measurements matter. We also check for moisture levels, wall thickness, and climate, especially for villas or coastal hotels.
- Discussing Usage and Frequency: Will the doors open several times a day or just now and then? Knowing how often they’ll be used helps us recommend stronger hinges or different frame types.
- Budget and Timeline Planning: We talk about your budget early. That way we can match your needs without wasting time on options that don’t fit.
What To Know
- Floor Plans or Site Photos: If you have layout drawings, send them. Photos also help us understand light direction and surrounding structures.
- Design Preferences or Samples: If there’s a style you like, let us know, even a photo helps. This saves time and avoids confusion later.
- Material or Finish Requirements: Some clients ask for wood types that match existing interiors. Others want something that handles humidity better, like engineered timber.
- Local Building Codes: For larger projects, we may ask you to confirm local door regulations. This prevents issues with installation or customs if shipping overseas.
- Access to the Site Contact: Having someone on-site who can answer technical questions saves a lot of back and forth. This is especially helpful for hotels or B&Bs under renovation.
Step#2 Material Selection
Once your door design is confirmed, the next step is picking the right materials. I’ve seen this part get overlooked, but it directly affects how long the doors last and how they look over time. You don’t want to redo anything later because the wood warped or the glass wasn’t right for the space.
Choosing The Right Wood For The Job
- Solid Hardwood: This is a good choice for villas, hotels, or guesthouses where quality matters. Options like oak, mahogany, or teak hold up well over time.
- Engineered Wood: If your building is near the sea or in a humid place, engineered wood might be better. It’s stable and less likely to twist or crack.
- Wood Grade: We look at grain, color, and strength grade to match your project needs. Some clients want a clean finish, while others prefer a more natural look.
- Sustainability Options: Some builders ask for FSC-certified or low-emission materials. If your client requires this, mention it early so we can offer the right types.
Picking Glass And Other Core Materials
- Tempered Glass: This type of glass is heat-treated and stronger than regular glass. It breaks into small pieces instead of sharp shards.
- Double or Triple Glazing: If you’re working on a hotel or B&B in a cooler area, glazing helps keep indoor temperatures steady. It also cuts down on outside noise.
- Low-E Glass: This has a coating that reflects heat while letting light in. It’s often used in European markets where energy codes are strict.
- Sealants and Adhesives: These materials hold the glass in place and protect the door from air and water leaks. We choose them based on your location and door usage.
- Hardware Compatibility: Some materials don’t work well with certain locks or hinges. We think about this now so you don’t run into problems during assembly.

Step#3 CAD Modeling & Technical Drawings
Once the materials are confirmed, we move into the technical part of the process. This step helps turn your design idea into something we can build, precisely and correctly. I’ve found that a good drawing can prevent mistakes later on and save everyone time on site.
Turning Ideas Into Technical Plans
- Detailed CAD Drawings: Every part of your French door is drawn to exact scale using CAD (computer-aided design). This includes the frame, sash, hinges, and glass layout.
- Dimension Confirmation: We confirm all key measurements based on your project specs. If we spot anything unusual, we’ll reach out to make sure it’s not a mistake.
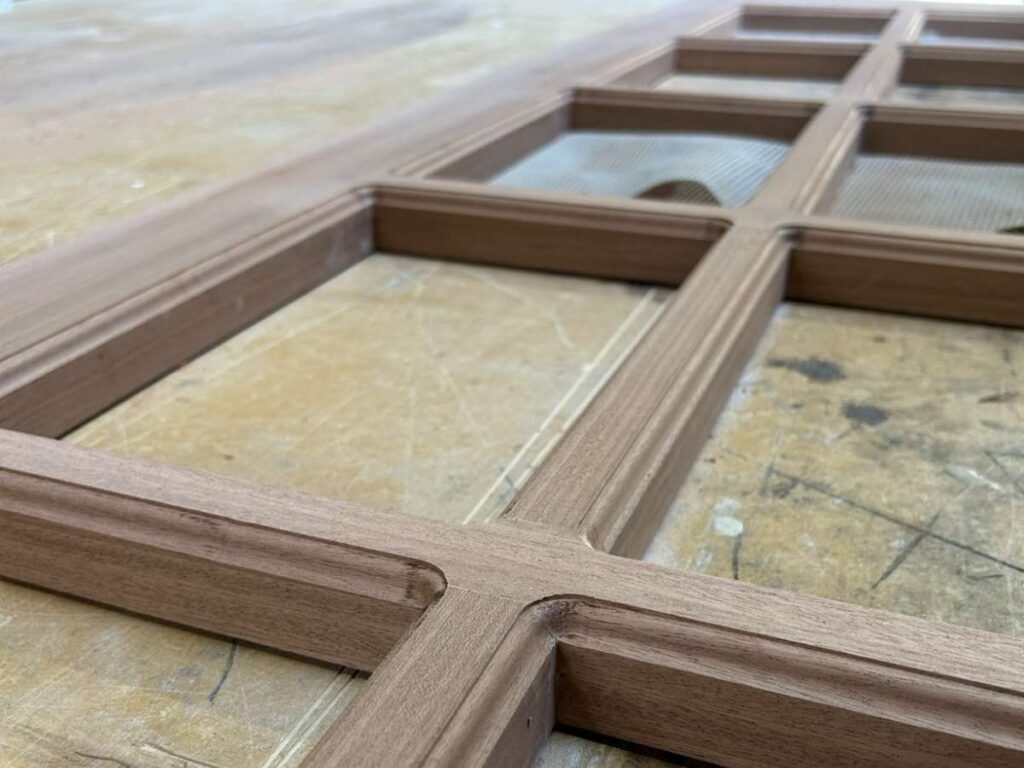
- Glass Panel Layout: Whether it’s full glass or divided panes, the layout is planned here. These details help us position the mullions and confirm glass sizes early.
- Cross-Section Views: We include cross-sections to show how each layer fits together, wood, glass, sealant, and hardware. These views help your team understand installation and insulation better.
Making Sure Everything Fits
- Site Conditions: We adjust the design if your site has uneven walls, shifting floors, or other on-site quirks. These things matter, especially for larger doors.
- Hardware Placement: Lockset and hinge positions are marked clearly. That means fewer surprises when the installer unpacks the door.
- Clearances And Gaps: We set clear spacing between the frame and sash for easy opening and closing. This also helps with air tightness and long-term use.
- Drainage and Weather Strips: If your doors face outside, we add these features into the drawings. It’s better to build them in than fix them after delivery.
Sharing And Approval Process
- PDF Files Sent For Review: Once the drawings are done, we send them to you as PDFs. That way, you and your team can review everything before production.
- One-Time Revisions: If anything looks off or needs a change, we do one round of edits. After that, we’ll ask for your final approval.
- Stamped Drawings: Some jobs need stamped files from a licensed engineer. If that’s something you need, tell us during the design step so we can include it.
- File Storage: We keep your drawings on file in case you reorder or need replacements in the future. Just send us your project name or reference number.

Step#4 Cutting & Sizing the Components
Now that the drawings are approved, the actual building begins. This step is about turning raw materials into pieces that fit together perfectly. I’ve seen how small mistakes in cutting can lead to big problems later — that’s why precision matters here.
Preparing Each Part With Precision
- Cutting the Frame Components: Stiles, rails, and mullions are cut to exact measurements based on your approved drawings. This keeps the frame square and the glass panels aligned.
- Sash Pieces: The sash holds the glass and needs to be cut cleanly. We also notch or groove these parts if they need seals or hardware later.
- Glass Stops and Beads: These thin strips keep the glass in place. Each one is cut to size, so they hold firm without cracking or leaving gaps.
- Batch Cutting for Larger Orders: If your project includes several doors, we often use batch-cutting systems. This speeds things up while keeping all units consistent in size.
Equipment And Quality Control
- High-Precision Machines: Vallisco uses CNC or semi-automated saws to avoid human error. These machines cut cleaner and keep all parts uniform.
- Labeling Each Component: Every cut piece is labeled with a code or mark. This helps during assembly, especially when we’re building multiple doors at once.
- Edge Checks and Re-Sanding: After cutting, we inspect edges for splinters or tear-outs. Rough areas are sanded right away to prep them for finishing.
- Final Size Confirmation: Before the pieces go to assembly, we do one more size check. It’s easier to fix a wrong cut now than later in the process.
Step#5 Assembly of Frame, Sash & Glass
Once all the parts are cut, it’s time to start putting them together. This step takes the project from loose pieces to something that starts to look like a real door. If you’re managing a project timeline, this is usually one of the most active stages.
Building The Frame And Sash
- Joining Stiles and Rails: Each corner is joined using screws, dowels, or mortise-and-tenon joints. This keeps the frame strong and aligned.
- Squaring the Frame: A square frame helps the door swing properly and seal tight. Builders use jigs or clamps to hold everything in place during setup.
- Assembling the Sash: The sash pieces are fitted around the glass space based on earlier drawings. Reinforcements may be added for larger doors or heavier panes.
- Dry Fit Check: Parts are often assembled without glue first to test alignment. This step helps spot any warping or mismatch before final bonding.
Securing Glass Panels
- Inserting the Glass: Glass is fitted into the sash opening with a small clearance to avoid stress during temperature changes. The right sealant or gasket is added for support.
- Adding Stops or Beads: Small strips of wood or synthetic trim are pinned or clipped in to secure the glass. These can be removed later for repairs or replacements.
- Sealant Application: A thin layer of sealant is added between the glass and frame edges. This protects against leaks and helps with insulation.
- Cleaning and Inspecting: Each unit is cleaned to remove dust or smudges from assembly. Technicians check for chips in the glass or scratches on the frame before final approval.

Step#6 Hardware Installation
This part might look simple, but it plays a big role in how the door works day to day. I’ve seen projects get delayed because a latch didn’t line up or the handle wasn’t right for the frame. Taking the time to get the hardware right makes things smoother for your team and your clients later on.
Installing Core Door Components
- Hinge Placement: Hinge slots are pre-cut into the frame and sash based on the door’s size and weight. This helps the door swing properly without sagging.
- Lock and Latch Positioning: The lock body is installed inside the stile, and strike plates are added to the frame. Careful alignment prevents jamming or misfires later on.
- Drilling for Handles: Handle positions are measured and marked once the door has been dry-fitted. This prevents mistakes and avoids drilling into weak areas.
- Multi-Point Lock Systems: Some doors need locking points at the top, middle, and bottom. These are placed during this stage if the design calls for it.
Checks and Adjustments Before Finishing
- Screw Tightness: Overtightening can crack wood or strip threads, while loose screws cause rattling. Each screw is set with just the right tension.
- Hardware Finish Inspection: Handles and hinges are checked for chips or surface defects. Clean, polished hardware adds to the finished look of the door.
- Function Testing: Each door is tested to make sure it opens smoothly and locks without resistance. This helps catch small issues before packaging.
- Final Adjustments: Tiny shifts during assembly can affect hardware fit. Minor tweaks are made here to help with long-term performance.

Step#7 Finishing Touches
At this point, the door is fully assembled and the hardware is in place. But before it’s ready to leave the workshop, it goes through its final round of prep. I always remind clients, the small details added here can make a big difference once the door is installed.
Surface Treatments And Visual Checks
- Sanding and Smoothing: All visible surfaces are sanded to remove any marks from cutting or assembly. This gives the door a smooth finish before painting or staining.
- Paint or Stain Application: Doors are either stained to show the natural wood grain or painted for a uniform look. Multiple coats may be applied, depending on the material and final color.
- Drying and Curing: Once the finish is applied, doors are left to dry fully. This step is often temperature-controlled to avoid uneven drying or smudging. Vallisco handles this stage with care, following their in-house process for finish durability.
- Glass Cleanup: Any tape, fingerprints, or dust on the glass is cleaned off. The goal is to make sure the door looks sharp the moment it arrives at your site.
Final Quality Control Before Packaging
- Edge and Corner Inspection: Technicians check that corners are sealed and edges are smooth. These areas are common spots for chips or finish cracks.
- Sealant Review: Sealant lines around the glass and joints are checked one last time. Any gaps are filled before the door moves to packaging.
- Labeling and Documentation: Each door is tagged with project info or customer reference numbers. This helps your team organize them easily once they arrive.
Step#8 Packaging & Delivery
Once the door passes final inspection, it’s ready to be packed and shipped. I always tell clients, this last part matters just as much as the others. A well-made door still needs to arrive in good shape, and that comes down to how it’s protected during transport.
Protecting the Product Before It Leaves
- Foam and Wrap Layers: Each door is wrapped in protective film and lined with foam or padding. This reduces the risk of scratches, corner damage, or surface dents during handling.
- Reinforced Corners: Extra corner guards are used to prevent crushing or cracking. These parts are especially vulnerable when doors are moved or stacked.
- Crate or Pallet Packaging: Single doors may ship in crates, while bulk orders are stacked on custom pallets. Both options keep the doors upright and stable during transport.
- Labeling and Load Order: Each package is clearly labeled with order details, project reference, and destination. This helps your team sort and identify the shipment faster on arrival.
Getting It To Your Site Safely
- Loading Procedures: Doors are loaded using soft straps or cushioned forks. Direct pressure from chains or hard edges is avoided to protect the finish.
- Local and Export Delivery: Whether your site is in Southeast Asia or Europe, shipping is arranged based on local rules and timelines. Custom clearance support is available for overseas orders if needed.
- Delivery Timeline: You’ll get a confirmed schedule once the order is ready to ship. Tracking info is provided so your site team can prepare for unloading.
Conclusion
Understanding how French doors are made helps you plan smarter. The villa job I shared at the start? It came together smoothly because we followed a process, step by step.
That same process is here for you in this guide. From drawings to delivery, each part fits into the bigger picture. Whether you’re managing a home build or updating a hotel, knowing the workflow keeps things on track.
Need a supplier that knows how to handle custom needs? Vallisco works with builders across Southeast Asia and Europe.
Contact us today, we’re ready to support your next project.
Explore More Helpful Resources
There’s more to explore! Check out our additional product selections to find exactly what you’re looking for:
Still haven’t found what you’re looking for? Don’t hesitate to contact us. We’re available around the clock to assist you.


