On one of my projects, a greenhouse kept losing heat because the door bottom was leaving a half-inch gap. The fix was simple, but the wrong install had cost the owner weeks of higher bills.
That’s the risk when the install isn’t done with the right steps from the start.
I work with engineering teams and property managers to install and repair doors for hotels, villas, B&Bs, and greenhouses. Years of on-site work have taught me the right process to get a perfect seal every time.
In this guide, you’ll learn how to measure, cut, and fit an automatic door bottom in a way that lasts. Follow this, and you won’t be chasing callbacks.
Let’s make sure your next install is done right the first time.
So, let’s get started!
Quick Guide
Before we dive deeper, here’s a quick look at each step. This gives you a simple roadmap before we break it all down in detail.
| Steps | Key Actions | Why It Matters | Mistakes To Avoid |
| Step #1: Inspect Your Door and Floor Clearance | Check damage, hinges, gap | Ensures proper fit | Skipping inspection |
| Step #2: Select the Right Automatic Door Bottom | Choose style, size, adjustability | Matches door specs | Wrong type or size |
| Step #3: Mark and Measure Door Bottom | Mark mount, measure, plan cut | Prevents misalignment | Inaccurate measurements |
| Step #4: Cut the Automatic Door Bottom to Fit | Use right tool, cut clean | Maintains seal function | Uneven or rushed cut |
| Step #5: Mark Drill Holes and Pre-Drill the Door | Align, mark, drill straight | Smooth installation | Misaligned holes |
| Step #6: Attach the Automatic Door Bottom to the Door | Level, center screws, align | Even seal contact | Over-tightening screws |
| Step #7: Adjust the Drop Seal Plunger | Set height, balance pressure | Stops drag, seals gap | Over-adjusting plunger |
| Step #8: Test Door Operation and Seal Compression | Open/close, check contact | Confirms smooth use | Ignoring test phase |
| Step #9: Final Tightening and Inspection | Secure screws, clean area | Professional finish | Loose hardware |
Now let’s break down each of these steps so you can tackle your project with total confidence.
Step#1 Inspect Your Door and Floor Clearance
Before you start cutting or drilling, I know from experience that taking a few minutes to check your door and floor gap can save you hours later. This step keeps you from running into fit issues and makes sure your seal works the way it’s meant to.
Check the Door’s Condition First
- Inspect For Warping Or Damage: Look at the lower edge for bends, cracks, or rot that could stop the seal from sitting flush.
- Check Hinge Tightness And Alignment: Make sure hinges are secure so the door does not sag and change the gap at the bottom.
- Test For Smooth Swing: Open and close the door to check for drag or resistance that could interfere with the seal.
- Examine The Threshold Surface: Spot any dents, raised areas, or loose parts that may block a proper seal.
Measure Your Floor Clearance
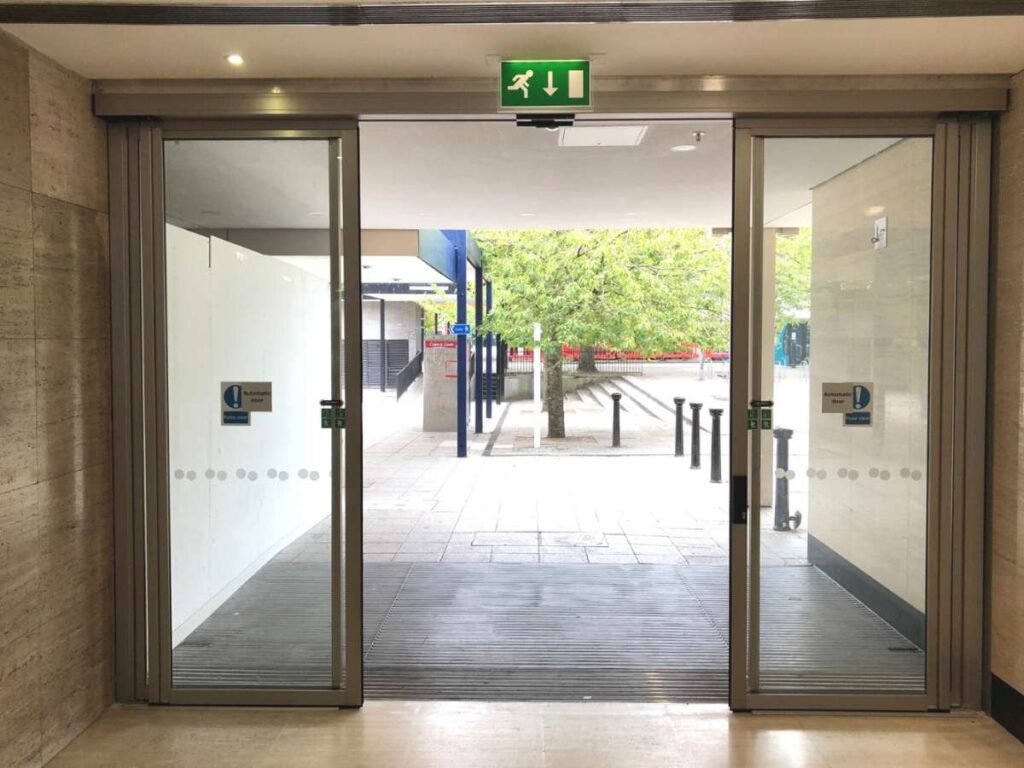
- Measure The Gap With The Door Closed: Use a tape measure from the bottom edge to the floor at multiple points for accuracy.
- Check For Uneven Flooring: Compare measurements at the hinge side, latch side, and center to see if the gap changes.
- Know The Ideal Clearance Range: Most drop seals work best with a gap between ⅜ inch and ¾ inch.
- Plan For Large Variations: If the gap differs more than ¼ inch from one side to the other, prepare for adjustments during installation.
Step#2 Select the Right Automatic Door Bottom
Now that you’ve checked your door and measured the clearance, the next step is picking the right hardware. I’ve seen many installs fail just because the wrong model was chosen. Taking a few minutes here will save you a lot of trouble later.
Match the Seal Type to Your Door
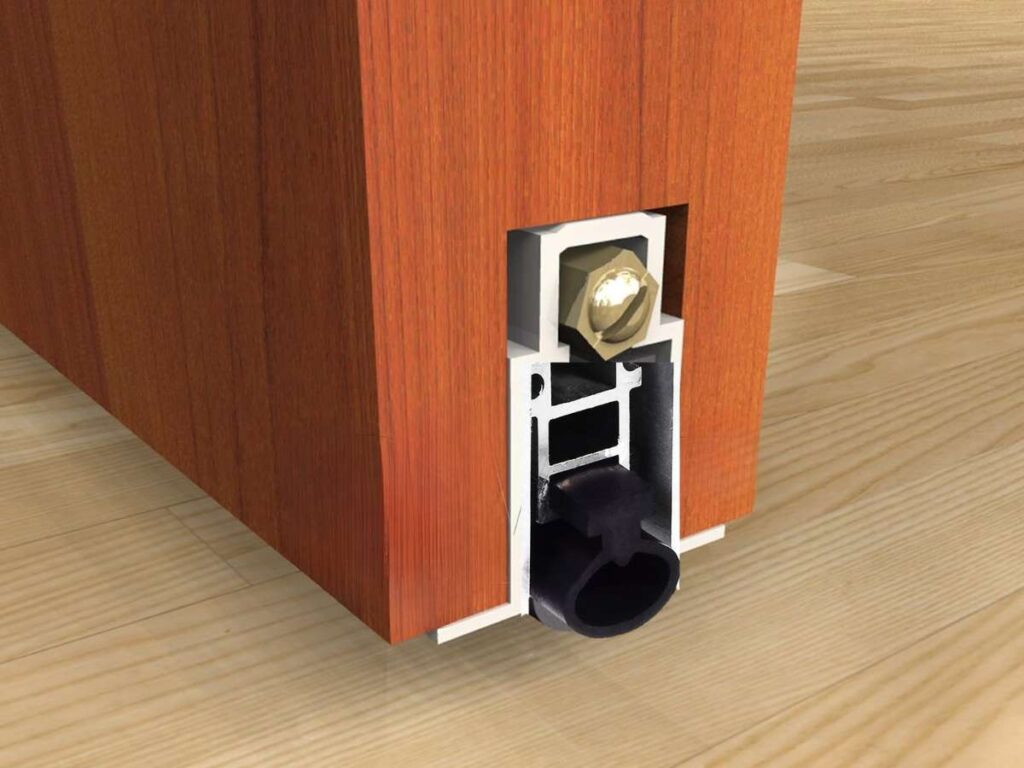
- Choose the Correct Mounting Style: Surface-mounted, semi-mortise, and full-mortise models work differently. Pick one that fits your door’s design and the space available.
- Select a Compatible Drop Mechanism: Some seals drop on the hinge side, others on the latch side. I’ve found matching the drop side to your door’s main traffic direction makes operation smoother.
- Check for Fire or Acoustic Ratings: If the building has specific requirements, make sure the seal is rated for them to avoid compliance issues.
Confirm Size and Adjustability
- Measure the Door Width Accurately: Order a seal that’s slightly longer than the door width so you can trim it for a perfect fit. Getting this step right is important, and that’s why Vallisco delivers door solutions made to match your project’s exact specifications.
- Look for Adjustable Plunger Designs: An adjustable plunger gives you more control over seal pressure, which helps if the floor isn’t perfectly level. I use these on most commercial projects.
- Consider End Caps and Finishes: The right finish and hardware style help the seal blend in with the door, which can be important for client-facing spaces.
Step#3 Mark and Measure Door Bottom
Once you’ve got the right automatic door bottom, it’s time to get your measurements spot on. I’ve learned that even the best hardware will fail if your marks are off by more than a few millimeters. This step sets you up for a smooth install with no awkward adjustments later.
Mark the Door for Placement
- Identify the Mounting Side: Decide if the seal will drop on the hinge side or latch side based on your chosen model. This choice affects how you’ll position it.
- Draw a Light Guide Line: Use a pencil to mark a straight reference line along the bottom edge. I always make it light enough to erase after installation.
- Mark for Plunger Position: Place a small mark where the plunger will sit so it aligns with the closing edge of the door.
Measure the Door Width
- Record the Exact Width: Measure from edge to edge with the door closed for accuracy.
- Account for End Caps: If your seal has removable end caps, measure without them, so you cut only the main body. I’ve made that mistake before and had to reorder.
- Double-Check Your Tape Reading: A second check can save you from cutting the seal too short.
Plan the Cut Allowance
- Leave a Small Overlap: Order or cut the seal slightly longer than needed so you can trim to fit.
- Factor in Floor Variations: If the floor isn’t perfectly level, plan your cut to allow the seal to still make contact at the lowest point.
- Mark the Final Cut Line Clearly: Use a square to keep the line straight, avoiding a crooked cut that affects the seal’s drop.
Step#4 Cut the Automatic Door Bottom to Fit
With your measurements marked, it’s time to cut the seal to the right length. I’ve handled plenty of installs where a rushed cut meant buying a replacement. Taking a steady, careful approach here will make the rest of the installation go much smoother.
Prepare for Cutting
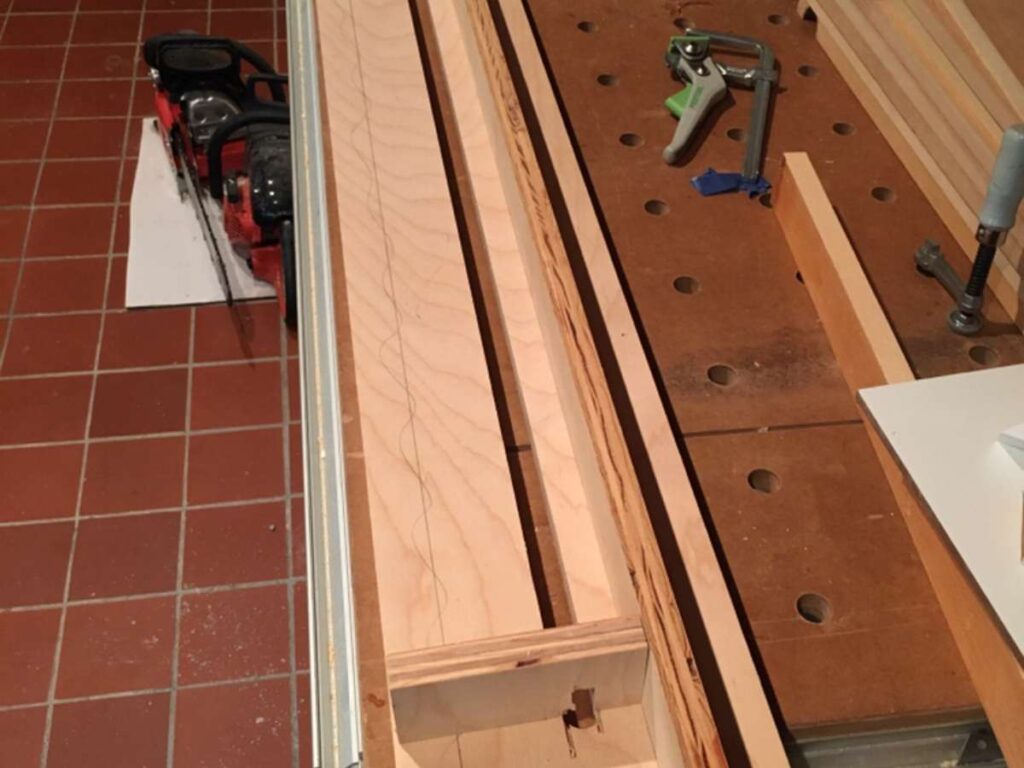
- Choose the Right Cutting Tool: Use a fine-tooth hacksaw or a miter saw with a blade made for aluminum. This helps you get a clean, even cut.
- Secure the Seal Before Cutting: Clamp the seal firmly to keep it from shifting while you work. I prefer a padded clamp to avoid scratching the finish.
- Wear Protective Gear: Safety glasses and gloves are a must to protect you from sharp edges and debris.
Make the Cut
- Follow Your Mark Exactly: Cut along the marked line without rushing to avoid a jagged edge.
- Cut in One Smooth Motion: A steady, continuous stroke gives the cleanest result. I’ve noticed stopping mid-cut often leads to a rougher edge.
- Deburr the Edges After Cutting: Use a file to remove any sharp metal burrs so the seal slides smoothly into place.
Step#5 Mark Drill Holes and Pre-Drill the Door
Now that your seal is cut to size, it’s time to get it ready for mounting. I’ve learned that taking a few extra minutes to mark and pre-drill saves a lot of frustration during installation. This step keeps the hardware aligned and prevents damage to the door surface.
Mark the Drill Hole Locations
- Position the Seal on the Door: Hold the seal in its exact install position to see where the screw holes will land.
- Mark Through the Mounting Slots: Use a sharp pencil or fine-tip marker for precise hole locations. I like to keep the seal level by checking with a small bubble level before marking.
- Check for Even Spacing: Make sure your marks match the factory hole pattern to keep the seal secure along its length.
- Avoid Edge Splitting: Keep holes far enough from the door’s bottom edge to prevent cracking or splitting during drilling.
Pre-Drill the Holes
- Use the Correct Drill Bit Size: Match your drill bit to the screw diameter for a snug fit without stripping.
- Drill Straight and Even: Keep the drill perpendicular to the surface for clean holes. I’ve found that angling the bit even slightly can cause screw alignment issues later.
- Clear Out Debris: Blow out or brush away sawdust and chips from each hole before mounting the seal.
- Test Fit the Screws: Thread a screw into one hole to confirm it seats properly without forcing it.
Step#6 Attach the Automatic Door Bottom to the Door
With your holes pre-drilled, you’re ready to secure the seal to the door. I like this step because you can finally see how the hardware will look in place. Getting it lined up and tightened correctly now means you won’t have to make big adjustments later.
Position the Seal for Mounting
- Align With Your Drill Marks: Place the seal so each slot matches the pre-drilled holes. This is where accuracy from the last step pays off.
- Check for Level: Use a bubble level to make sure the seal runs straight across the door. I often adjust by a hair here to get a perfect line.
- Hold Steady While Mounting: Keep one hand on the seal to prevent shifting as you start the first screws.
Secure the Screws
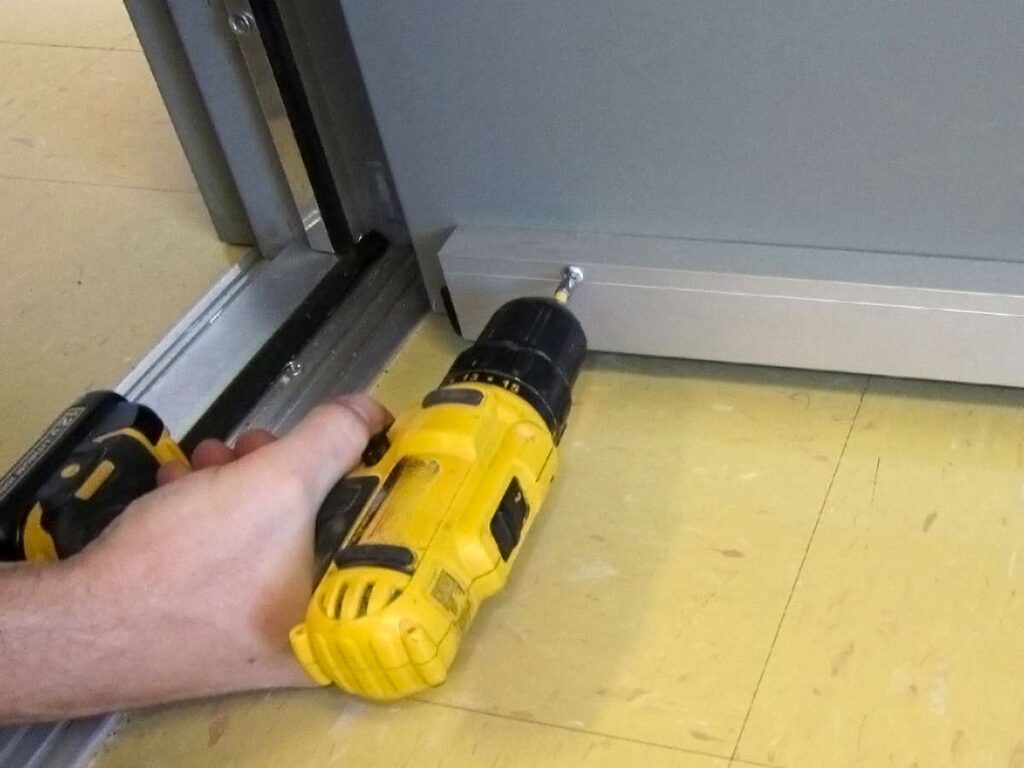
- Start From the Center: Drive the middle screw first, then work outward to keep the seal evenly positioned.
- Avoid Over-Tightening: Too much torque can distort the seal housing and affect its drop action.
- Check Alignment As You Go: After every couple of screws, look along the seal to confirm it hasn’t shifted. I make small tweaks here if needed.
Verify Smooth Operation
- Open and Close the Door Gently: Make sure the seal housing isn’t rubbing the threshold or dragging on the floor.
- Test the Drop Action: Watch the plunger engage and the seal lower when the door closes.
- Confirm a Consistent Seal: Look along the bottom to check that the drop seal makes even contact across the entire width.
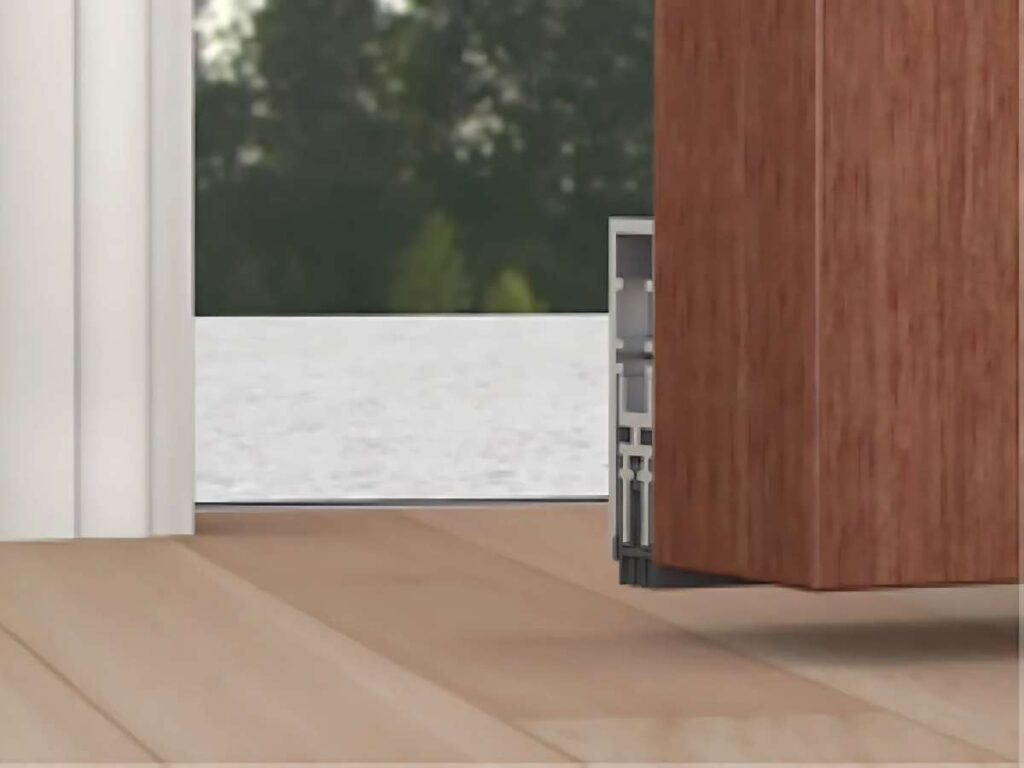
Step#7 Adjust the Drop Seal Plunger
With the seal attached, it’s time to fine-tune the plunger so it drops just enough for a proper seal without dragging. I’ve worked on installs where this small step made the difference between a smooth-closing door and one that scraped every time. Your goal is to balance a tight seal with smooth door movement.
Set and Test the Plunger Height
- Turn the Plunger Screw Gradually: Use a screwdriver to adjust the plunger in small increments so you don’t overshoot the ideal height.
- Aim for Gentle Contact: The seal should touch the floor or threshold lightly, not press hard. I often start a bit higher and work my way down.
- Test Door Operation After Each Adjustment: Open and close the door slowly to check for drag or resistance.
Check Seal Contact Across the Door
- Inspect the Seal From End to End: Look at both the hinge and latch sides to confirm even contact.
- Balance Any Uneven Pressure: If one side seals tighter than the other, tweak the plunger or mounting screws until it’s consistent.
- Repeat Until Performance Is Even: Keep testing and adjusting until the door closes smoothly with full, even sealing.
Step#8 Test Door Operation and Seal Compression
After adjusting the plunger, the next step is making sure the door works smoothly and the seal compresses evenly. I like this stage because it’s where you see all your work come together. A few careful checks now can prevent issues after the install is complete.
Test the Door’s Movement
- Open and Close the Door Repeatedly: Run it through several cycles to confirm smooth motion without drag or resistance. If you use doors from Vallisco here, you’ll notice that the quality build helps the seal operate smoothly without constant readjustments.
- Watch the Seal in Action: Check that it drops fully when closing and lifts cleanly when opening. I find standing on the latch side gives the clearest view.
- Listen for Any Unusual Sounds: Scraping or rubbing noises often mean the seal is set too low or is slightly misaligned.
Check and Balance Seal Compression
- Inspect the Seal Across the Width: Look for even contact from the hinge side to the latch side.
- Adjust for Gaps or Excess Pressure: If certain spots press too hard or leave space, make small tweaks to the plunger or mounting screws.
- Confirm Under Real Conditions: Test with normal traffic flow while HVAC is running to see if air pressure affects the seal.
Step#9 Final Tightening and Inspection
With the door tested and the seal adjusted, the last step is locking everything in place and giving it a full inspection. I always take a few extra minutes here because it’s the best way to hand over a job I know will last. This step is about making sure nothing comes loose and the seal works as intended every time.
Secure All Fasteners
- Tighten Each Screw Evenly: Go over every mounting screw and give them a final turn to lock them in place.
- Avoid Over-Tightening: Too much pressure can warp the seal housing, so keep it snug but not forced. I’ve found that steady, even torque works best.
- Check Plunger Lock: Make sure the plunger adjustment screw is secure so it won’t shift over time.
- Confirm End Caps and Covers: If your seal has decorative or protective caps, make sure they’re firmly attached and aligned.
Perform a Final Inspection
- Check Seal Alignment: Stand back and look along the bottom edge to confirm it’s straight and even.
- Test the Drop Action Again: Open and close the door to make sure the seal still operates smoothly after tightening.
- Look for Uniform Seal Contact: Verify that the seal touches the floor or threshold evenly from one side to the other.
- Clean the Work Area: Wipe away pencil marks, dust, or metal shavings, so the installation looks professional when you hand it over.
Conclusion
Back at that greenhouse project, the gap under the door is gone and the heat stays inside where it belongs.
Every step you have followed here, from inspection to final tightening, works together to make sure your seal performs for years.
If you take the time to do it right, you will avoid callbacks and save on repairs. Now it is your turn to put this process into action on your projects.
Need expert-grade doors and hardware that fit right the first time?
Contact Vallisco today for precision-built solutions that match your project requirements!
Check Out These Additional Resources
Need more ideas? Browse through our extended range of products and discover something new:
Still haven’t found what you’re looking for? Don’t hesitate to contact us. We’re available around the clock to assist you.


