I remember my first bulk order of vinyl windows for a small hotel project in Bali. The client wanted quality, consistency, and on-time delivery, and they were counting on me to find the right supplier.
That experience taught me how important it is to understand the making process before you place an order.
I’ve worked with many builders, villa owners, and hotel teams over the years. My reviews come from hands-on experience and long-term relationships with reliable manufacturers.
In this article, you’ll see:
- How vinyl windows are made from raw material to finished product
- The steps that affect quality and lifespan
- What to check before confirming a large order
Once you know the process, you’ll be able to order with confidence.
So let’s get down to it!
Quick Overview Chart
If you need a fast reference, this table sums up the process we’ve gone through. It’s a clear look at the main stages from raw material to a finished, ready-to-install window. Keep this in mind when discussing orders with your supplier.
| Step # | Title | Task | Why It Matters |
| 1 | Material Selection and Preparation | Choose and mix raw PVC and glass sheets | Affects long-term strength, UV resistance, and clarity of the finished product |
| 2 | Profile Extrusion | Shape vinyl into hollow frames using heat and dies | Impacts structural integrity, insulation, and finish consistency |
| 3 | Frame Fabrication | Cut, weld, and reinforce profiles to build frames and sashes | Determines how square the frame is and how well it will perform under stress |
| 4 | Making the Insulated Glass Unit | Build IGUs using glass panes, spacers, and sealants | Controls energy efficiency, sound insulation, and moisture protection |
| 5 | Glazing and Assembly | Install the glass into the sash and join components into a full unit | Affects sealing, movement, and how well parts fit together |
| 6 | Adding Locks, Handles, and Other Parts | Install hardware like locks, rollers, and handles | Directly impacts security, usability, and customer satisfaction |
| 7 | Final Checks and Testing | Inspect, measure, and test for leaks, size, and performance | Ensures what you ordered meets your project specs and quality standards |
A good understanding of these steps will help you ask the right questions and set the right expectations for your project. To read more, explore detailed guides or talk directly with trusted manufacturers who can walk you through their own process.
Step#1 Material Selection and Preparation
From my experience, the first stage makes or breaks the rest of the process. If the materials are poor, no amount of skill later can fix it. You and your supplier should always agree on standards before production begins.
Choosing The Right PVC Blend
- Base PVC Quality: The main ingredient is polyvinyl chloride (PVC) in powder form. High-grade PVC resists yellowing, cracking, and brittleness over time. If your project is in a hot or humid region, this matters even more.
- Additives for Strength: Manufacturers mix in stabilizers, fillers, and impact modifiers. These additives give the frame better weather resistance and help it hold shape in changing temperatures.
- Color Consistency: Pigments are added at this stage. A good blend will have even color all the way through, so scratches are less visible.
- UV Resistance: In sunny climates, UV inhibitors protect the material from fading and becoming brittle. Your supplier should match these to your climate.
Preparing And Handling The Mix
- Dry Blending: The PVC powder and additives are combined in a mixer. Uniform mixing ensures every section of the window frame performs the same.
- Heat And Cool Cycle: The mix is briefly heated to bind the ingredients, then cooled before storage. This prevents clumping and keeps it ready for extrusion.
- Storage Conditions: Even before production, materials should be kept away from moisture and direct sunlight. Poor storage can lead to defects later.
- Batch Consistency: Each batch should be logged with a reference code. This makes quality control easier if an issue comes up during your project.
Materials To Prepare
Before production begins, it helps to have a clear list of the key materials and components. This keeps your supplier organized and ensures the right items are ready for the next stage. Here are the essentials you should expect to see prepared:
| Material / Component | Purpose | Notes for Quality |
| PVC Powder | Base material for frames | Choose high-grade for durability |
| Stabilizers | Prevent damage from heat and light | Match to climate conditions |
| Impact Modifiers | Improve strength | Needed for larger windows |
| Pigments | Provide frame color | Even distribution prevents streaks |
| UV Inhibitors | Protect against sunlight | Important for outdoor exposure |
Step#2 Profile Extrusion
This is the stage where raw material starts to take shape. I’ve stood beside extrusion lines and seen how much precision is needed here. If the profiles aren’t right, the whole window will be off, no matter how good the rest of the work is.
Heating and Feeding The Material
- Loading The Mix: The prepared PVC blend is fed into the extrusion machine’s hopper. This step needs a steady feed to avoid inconsistencies in the profile.
- Controlled Heating: The material moves through heated zones, each at a specific temperature. The right heat makes the PVC soft enough to shape but not so hot that it burns or discolors.
- Consistent Flow: The machine pushes the softened PVC forward at a steady rate. Any fluctuation here can cause thickness changes in the profile walls.
Shaping Through The Die
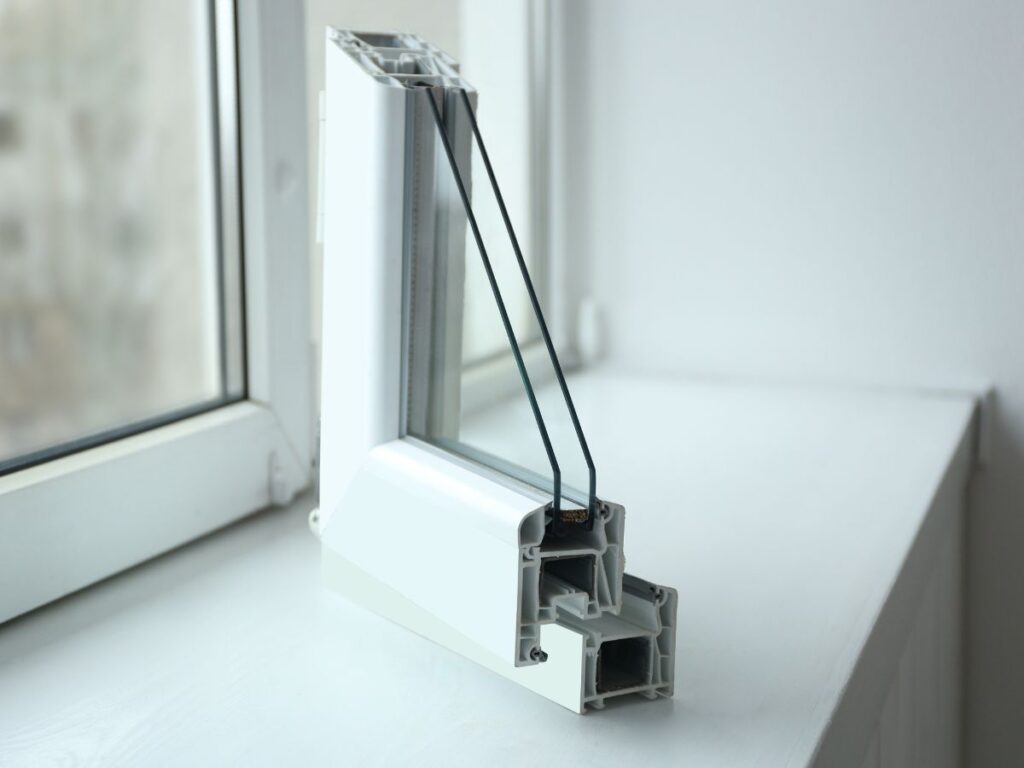
- Precision Die Design: The die is a metal tool that shapes the molten PVC into the exact profile needed for frames and sashes. The design must match your project’s specifications exactly.
- Smooth Surface Finish: The die also affects how smooth the surface will be. A clean, well-maintained die reduces sanding or rework later.
- Dimensional Accuracy: Even small deviations can cause problems with glass fitting or hardware installation. That’s why calibration is checked throughout the run.
- Customization Options: Some suppliers can produce profiles with integrated color or surface texture at this stage, saving time in later finishing steps. Vallisco, a manufacturer of vinyl doors, also applies similar precision for their profiles to meet client needs.
Cooling and Cutting
- Immediate Cooling: As the shaped profile exits the die, it enters a water bath or air-cooling chamber. This locks in the shape and prevents warping.
- Handling With Care: While cooling, the profile is still soft on the inside. Workers or automated systems must handle it gently to avoid bends or dents.
- Length Cutting: Once cooled, profiles are cut into standard lengths for storage or sent straight to fabrication. Accurate cuts help reduce waste in later steps.
- Quality Check: The surface is inspected for cracks, bubbles, or discoloration before moving forward. Early detection saves both time and material costs.

Step#3 Frame Fabrication
This is the part where the profiles start becoming a real window frame. I’ve seen projects succeed or fail here depending on the precision of the cuts and joints. If your supplier gets this stage right, you’ll save time and avoid costly fixes later.
Cutting and Measuring Profiles
- Accurate Measurements: Each profile is measured according to the window’s final dimensions. Even a few millimeters off can cause poor fitting for glass or hardware.
- Angle Cutting: Corners are cut at precise angles, often 45 degrees, to allow for strong, clean joints. This makes the finished frame both stable and neat.
- Multiple Size Runs: If you have a mix of window sizes in your order, profiles are sorted and labeled early to prevent confusion during assembly.
- Tool Maintenance: Well-maintained cutting tools produce smoother edges, which improves joint quality and reduces the need for extra finishing work.
Joining and Welding
- Heat Welding: Most vinyl frames are welded at the corners using heat. The ends are softened, pressed together, and fused into a single piece. This creates a strong, sealed joint that resists water and air leaks.
- Cleaning The Joints: After welding, excess material is trimmed away for a smooth finish. This is both for looks and to keep the frame fitting correctly into openings.
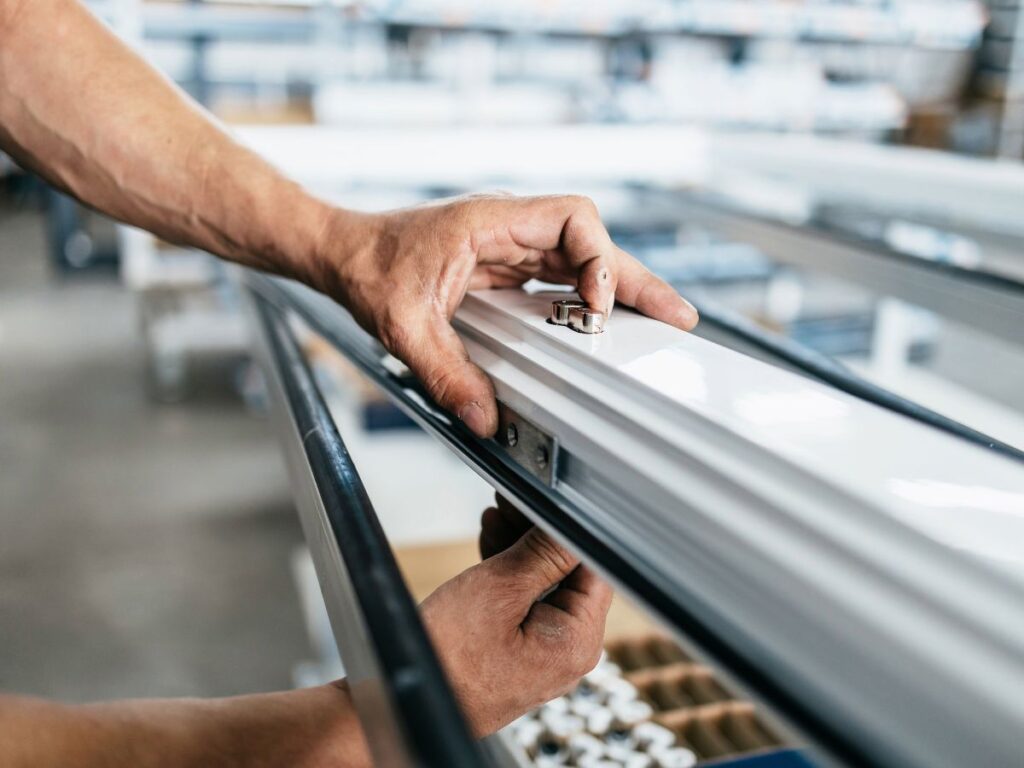
- Reinforcement Inserts: Some frames need metal inserts in certain sections for extra strength, especially for large windows or doors. This is decided during the design phase and installed here.
- Alignment Checks: Frames are inspected to make sure all corners are square and true. Misaligned frames can cause problems with glazing and installation.
Adding Drainage Paths And Details
At this stage, drainage holes or channels are added to let water escape if it gets past the outer seals. This is an important feature of long-term durability, especially in regions with heavy rain.
Some designs also require slots or recesses for hardware mounts, weatherstripping, or decorative trims. Getting these right during fabrication avoids delays later in assembly.
It’s also common for suppliers to mark or code each frame piece for easy matching in the glazing stage. This simple step speeds up the workflow and reduces errors during final assembly.

Step#4 Glass Unit Manufacturing
The glass is more than just a see-through panel, it’s the part that controls light, heat, and noise. I’ve worked on projects where the right glass choice made a huge difference in comfort and energy performance. You want to be sure the glass unit is made with the same care as the frame.
Preparing Glass Panes
- Glass Cutting: Large sheets are cut to match the exact size of the window opening. Precision here is key because even a slight size difference can cause fitting problems.
- Edge Polishing: The cut edges are smoothed to prevent cracks and make handling safer during assembly. This step also improves the glass’s lifespan.
- Cleaning And Inspection: Each pane is cleaned to remove dust or oil that could affect sealing. It’s also inspected for scratches or small flaws that might weaken it over time.
- Glass Types: Depending on your project, you might choose clear, tinted, low-E coated, or laminated glass. Each type offers different benefits for insulation, safety, or appearance.
Building The Insulated Glass Unit (IGU)
- Spacer Insertion: Two or more glass panes are separated by spacers, which keep them the right distance apart. The spacer material affects insulation and durability.
- Gas Filling: Many IGUs are filled with inert gas, such as argon, between the panes. This reduces heat transfer and improves energy efficiency.
- Primary And Secondary Seals: A primary seal keeps the gas inside, and a secondary seal adds structural strength and moisture protection. Both must be applied evenly to avoid leaks.
- Final Inspection: The finished IGU is checked for alignment, seal integrity, and clarity. This is the last chance to spot defects before glazing.

Step#5 Glazing and Assembly
This is where the frame and the glass finally come together. I’ve seen this stage done well, and I’ve also seen rushed jobs that caused callbacks months later. Getting it right saves you time, money, and frustration.
Placing The Glass Into The Frame
- Glass Positioning: The insulated glass unit (IGU) is carefully placed into the frame. It must sit square and even to avoid stress points that can cause cracks.
- Setting Blocks: Small blocks are used to support the glass and keep it in the correct position. These also help distribute weight evenly across the frame.
- Sealant Application: A bead of sealant is applied where the glass meets the frame. This forms a tight barrier against air and moisture.
- Weatherstripping: Extra sealing materials may be added for better insulation and noise reduction, especially for projects in busy or harsh environments.
Securing and Aligning The Sashes
- Locking The Glass In Place: Clips, glazing beads, or gaskets are fitted to hold the glass firmly. They prevent movement that could damage seals over time.
- Frame Alignment: The sashes are adjusted so they fit perfectly within the main frame. Poor alignment can make windows hard to open or close.
- Checking Seal Pressure: The pressure between the frame and glass should be even all around. This keeps the IGU stable and prevents early seal failure.
- Temporary Supports: For large units, temporary braces may be used until the assembly is complete and stable.
Final Assembly And Adjustments
At this point, the frame, sash, and glass form a single unit. Handles, locks, or other hardware may be installed here if they weren’t added earlier. Each moving part is tested to make sure it works smoothly.
Some projects require extra steps, such as adding decorative grids or applying protective films. It’s also common for the supplier to label each finished unit for easy sorting during delivery and installation.
Before the unit leaves this stage, a final visual check is done to confirm that the seals are clean, the glass is spotless, and the frame is free from dents or scratches.
Step#6 Hardware and Finishing Touches
This stage gives the window its function and final look. I’ve learned that even high-quality frames and glass can feel cheap if the hardware is poor or the finishing is sloppy. You want every detail to reflect the quality of your project.
Installing Functional Hardware
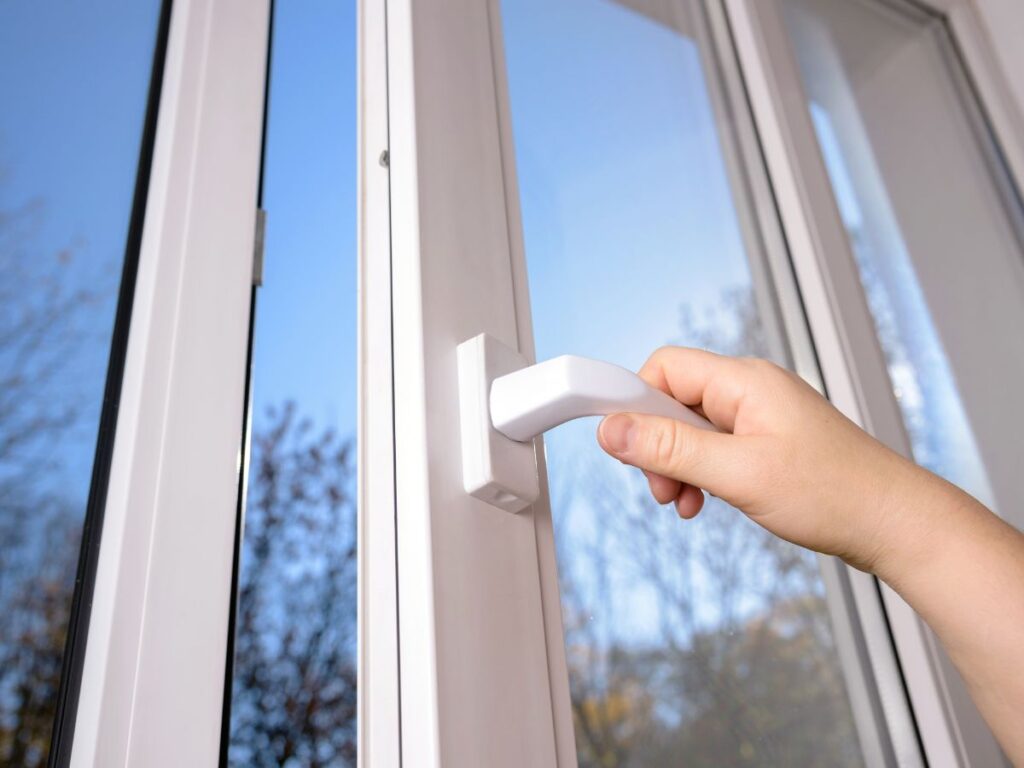
- Locks and Latches: These are fitted according to the window style. A good fit keeps operation smooth and adds security without straining the frame.
- Hinges and Sliders: Moving parts must be aligned correctly to avoid sticking or uneven wear. High-traffic windows benefit from heavy-duty hardware. Vallisco, known for manufacturing durable doors, also applies the same careful fitting for their hardware to keep performance high.
- Handle Placement: Handles should be installed at a comfortable height and position for the intended users. This is especially important for hospitality or commercial properties.
- Smooth Operation Checks: Each piece is tested to confirm it opens, closes, and locks easily. Adjustments are made on the spot to avoid later service calls.
Applying the Finishing Details
- Surface Cleaning: Frames and glass are wiped clean to remove dust, adhesive, or fingerprints left during assembly.
- Seal Protection: Final sealants or gaskets are inspected and, if needed, re-applied for a neat, continuous look.
- Decorative Elements: Grilles, trim caps, or other design features are added based on the project requirements.
- Protective Wrapping: A film or wrap is applied to shield surfaces from scratches during shipping and installation. This is removed only once the window is in place.
Step#7 Final Checks and Testing
This is the stage where the work gets its final approval. I’ve seen projects where a quick, careless check led to problems after delivery , you don’t want that. Careful testing now means fewer issues later on site.
Inspecting Build Quality
- Frame Alignment: The frame is checked to confirm it’s square and true. Even a slight twist can cause problems during installation.
- Seal Integrity: All seals around the glass and frame are examined for gaps, bubbles, or uneven application. Any flaw here can lead to water or air leaks.
- Hardware Function: Handles, locks, and hinges are tested for smooth movement. This makes sure the window is ready for daily use.
- Surface Condition: The frame and glass are inspected for scratches, dents, or marks. Damaged parts are replaced before shipping.
Performance Testing
- Opening And Closing Cycles: The sashes are opened and closed several times to check ease of movement and stability. This helps catch alignment or balance issues.
- Air And Water Resistance: Some suppliers use specialized equipment to test against leaks. It’s especially valuable for projects in areas with heavy rain or strong winds.
- Glass Clarity: The glass is checked for smudges, dust, or internal defects that could affect appearance or performance.
- Final Sign-Off: A supervisor or quality manager approves the unit for packing. This step ensures the product meets both your specs and the supplier’s standards.
Certifications and Standards
Depending on where your project is located, different standards may apply. Not all factories follow the same ones, so it’s worth asking upfront.
Look out for:
- Air Infiltration and Water Penetration Ratings
- Impact Resistance (for storm-prone regions)
- Thermal Performance (U-values, SHGC)
- Glass Safety Certifications like tempered or laminated markings
- Compliance Tags or Stamps from third-party testing bodies
You don’t always need formal lab tests, but if your build requires it (like hotels or large villas), ask to see the lab reports or factory QC records before sign-off.
Conclusion
When I think back to that hotel project in Bali, I remember how much smoother it went because we understood every step of the window-making process.
From material choice to final testing, each stage shapes the final result. Now you’ve seen how vinyl windows are made, you can approach your next order with more confidence.
If you’re planning a villa, hotel, or housing project, working with a supplier who values precision matters. Vallisco manufactures and supplies quality vinyl windows for projects like yours.
Contact us today to discuss your needs and get the right solution for your build.
Explore Related Resources
If you enjoyed this read, here are a few more articles packed with helpful information:
Still haven’t found what you’re looking for? Don’t hesitate to contact us. We’re available around the clock to assist you.


