Before we can build the right door, we need the right numbers from you. We’ve had people send in rough guesses or quick measurements. And honestly, that’s where problems start.
As someone who checks door sizes every single day, I’ve seen how even a small mistake just a couple of centimeters can mess up a good order.
Sometimes the door doesn’t fit. Sometimes it rubs the floor or doesn’t close right. Other times, the whole frame has to be adjusted. That’s extra time. Extra cost. Extra stress.
You don’t need to go through that.
That’s why we put this guide together to show you exactly how to measure your opening or wall space the right way. Step by step. No confusion.
By the end, you’ll know exactly what to do. And your new door will fit the way it should clean and easy.
So let’s begin!
Quick Comparison Chart
Before we dive into the full breakdown, here’s a quick side-by-side snapshot. This table gives you a clear picture of what’s involved so you’re not going in blind.
| Step | What You Measure | Why It Matters | How to Measure | Common Mistakes to Avoid |
| 1 | Door Type | Tells you what kind of door you’re working with slab or pre-hung | Decide if you’re keeping the frame (slab) or replacing everything (pre-hung) | Skipping this step and guessing based on looks |
| 2 | Door Width | Helps the door fit snugly without rubbing or gaps | Measure top, middle, and bottom of the door or frame; use the smallest number | Measuring just once, rounding up, or including trim |
| 3 | Door Height | Ensures the door doesn’t drag, bind, or leave a gap | Measure left and right sides from floor to top of slab or frame; use the shorter height | Measuring from a threshold or uneven flooring |
| 4 | Door Thickness | Makes sure hinges and latch align properly | Measure edge of the slab from front face to back face | Assuming all doors are the same thickness |
| 5 | Jamb Width | Keeps the frame flush with the wall especially for pre-hung doors | Measure across the frame from inside edge to inside edge; exclude casing | Forgetting about added materials like tile or shiplap |
| 6 | Swing Direction | Tells which way the door opens and where the hinges go | Stand with your back to the hinge side and see which way it swings left or right, in or out | Mixing up left/right or in/out swing directions |
| 7 | Final Output | Organizes all your measurements into one clear, sharable format | Double-check everything and record it using a clean list or table format | Messy notes, forgotten dimensions, or using rough guesses |
Now that you’ve got the big picture, let’s walk through each step so nothing gets missed.
Step#1 Determine Door Type
Before you start measuring, you need to figure out what kind of door you’re working with. This may seem basic, but it’s one of the top reasons people end up with the wrong size.
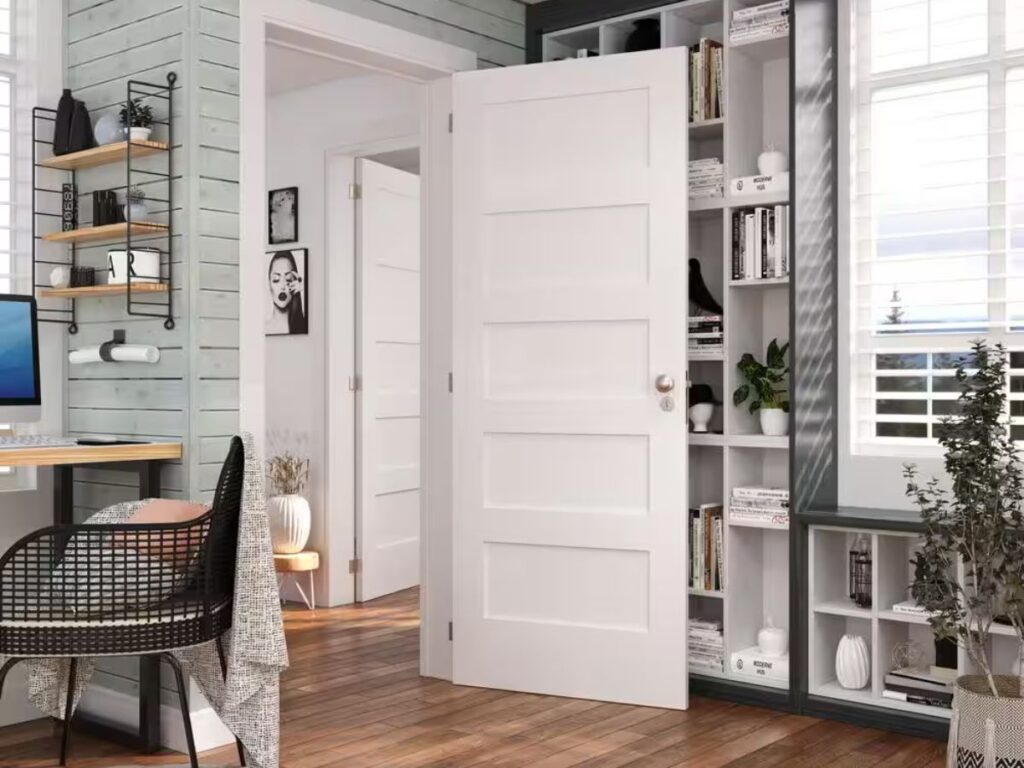
Slab Door
A slab is just the flat door panel. No hinges. No frame. No holes for a handle or lock. It’s made to fit into an existing frame that’s still solid and square. Slabs are common for bedrooms, closets, or anywhere the door frame is already in place.
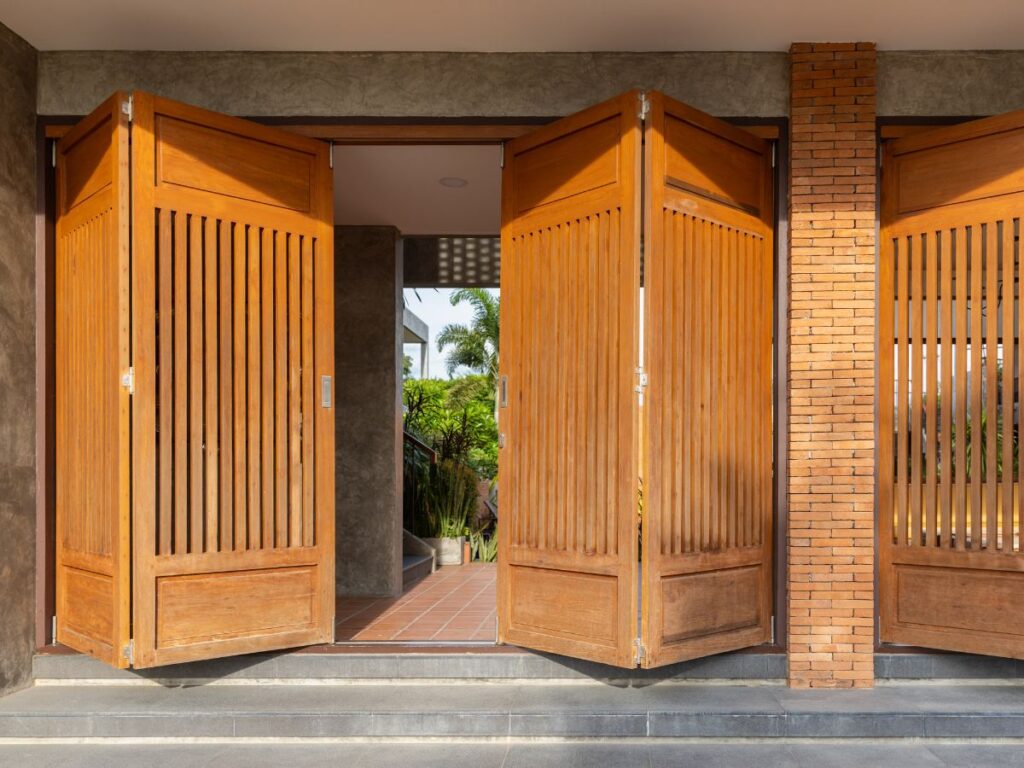
Pre-Hung Door
A pre-hung door comes ready to install with its frame, also called a jamb. It usually includes the panel, hinges, and sometimes pre-drilled holes for the handle. This type is better if your old frame is damaged, or if you’re building a new opening from scratch.
Why It Matters
Each type needs different measurements. A slab door uses just the panel dimensions. A pre-hung door needs the full opening size, including the frame and wall space.
If you don’t get this right from the beginning, you could end up with a door that doesn’t fit or worse, have to start over.
Step#2 Measure the Width
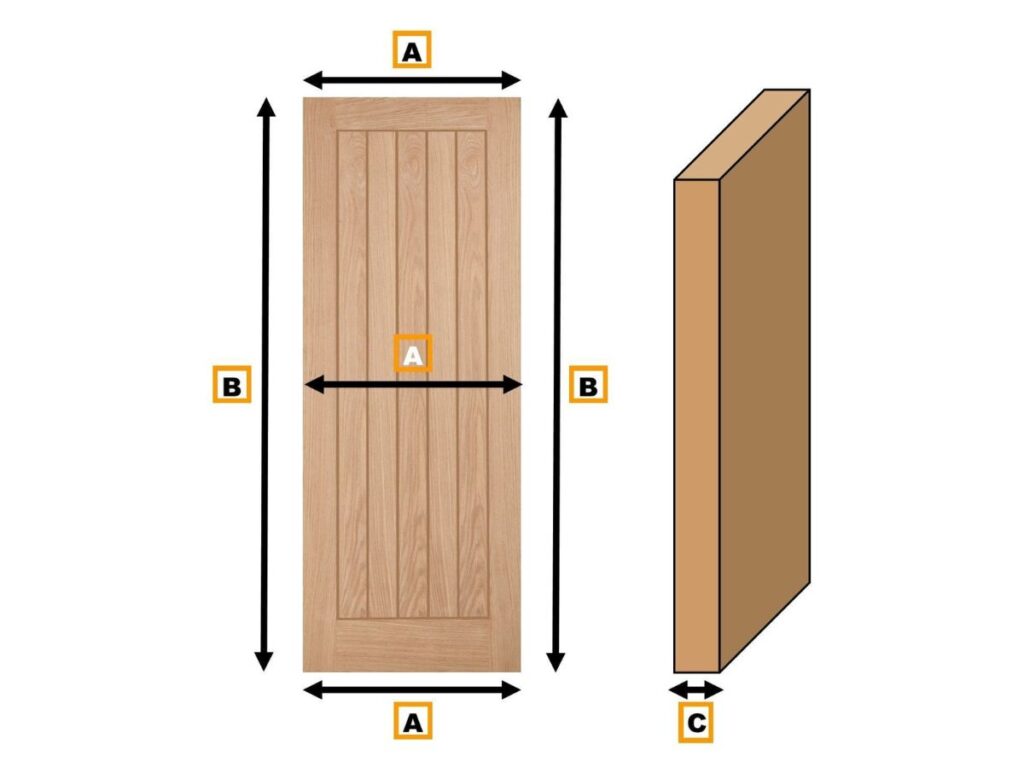
I’ve seen it happen too many times people feel confident with just one quick measurement, and then the door doesn’t fit. Width is the first thing to measure, but it’s also where the most mistakes happen.
Where to Measure
- Installed Door: Open the door and measure across the face from the left edge to the right edge. Keep the tape flat and level for accuracy.
- Missing Door: Measure the space between the inside edges of the frame. This tells you the actual opening your new door must fit into.
How Many Spots to Measure
- Top, Middle, and Bottom: Measure width in all 3 areas to check for shifts or warping. The numbers might vary slightly, and that’s normal.
- Use the Smallest Width: Go with the smallest of the three measurements. This helps avoid ordering a door that ends up being too wide.
What to Avoid
- Outside Trim: Don’t include trim or casing in your measurement. These parts are decorative and not part of the usable opening.
- Guessing or Rounding Up: Don’t eyeball it or round your number to the next whole inch. Even a little too big is still too big.
Double-check your numbers before moving on. Vallisco builds your door to the exact size you provide, so getting this right makes everything easier down the line.
Step#3 Measure the Height
After width, height is your next critical number. It might seem straightforward, but there are a few places where things can quietly go wrong.
What Door Height Means
- Top to Bottom of the Slab: If your current door is still installed, measure the entire height of the panel itself. Avoid including any added trim or bottom seals.
- Top to Bottom of the Opening: If the door has already been removed, measure from the finished floor to the top inside edge of the frame. This gives the full height the new door needs to fill.
How to Measure Door Height
- Start at the Floor: Place your tape on the floor itself, not on top of a threshold or rug. Measuring from anything other than the real floor can throw off the result.
- Measure to the Top Edge: Stretch the tape to the top edge of the door slab or frame opening. Keep it vertical and avoid bending around any trim.
- Take Two Measurements: Check the left side and the right side of the opening. Slight floor slopes or uneven frames can make a difference.
- Use the Shorter Height: Go with the smaller of the two numbers. It’s safer to adjust a slightly short door than force a tall one into place.
Things That Can Throw You Off
- Raised Flooring: Carpet, laminate, or floating floors can sit higher than the original subfloor. Always measure from the true floor level.
- Thresholds and Door Bottoms: Some doors sit on thick sills or have weatherstrips that make the panel appear taller. These add-ons should not be part of your height measurement.
- Frame Damage or Settling: A tilted or warped frame can shift the actual height on one side. That’s why two measurements matter.
In one project, the original height was taken from a worn-out threshold that had sunk over time. The result? A brand-new door that didn’t line up and scraped with every swing.
Write down the shortest number you got. Once that’s set, you’re ready to measure door thickness next.
Step#4 Measure the Door Thickness
Once you’ve measured width and height, there’s one more number to complete the door slab sizing: thickness. This part often gets skipped, but it can affect how the door fits inside the frame and how it functions.
What Exactly Is Door Thickness?
- Flat Surface to Flat Surface: Door thickness is the distance from one side of the slab to the other. It excludes the frame, casing, or trim.
- Fit and Function Depend on It: Getting this wrong can lead to a slab that won’t sit flush or hardware that doesn’t align.
How to Measure Door Thickness
- Use the Latch Edge: If the door is still there, open it and measure the edge where the latch is. Place a ruler or tape across the door’s thickness from front to back.
- If the Door Is Missing: Check the slot inside the frame where the old slab sat. It’s not perfect, but it gives a close estimate if the slab is gone.
Most Common Door Thickness Sizes
- 1-3/8 Inches for Interior Use: This is standard for bedrooms, closets, and other indoor doors.
- 1-3/4 Inches for Exterior Use: Front, back, and garage entry doors usually follow this size for better strength and insulation.
Mistakes to Avoid
- Assuming Every Door Is the Same: Not all doors follow the same thickness even in the same house. Measuring takes less time than reordering.
- Skipping the Check on Old Frames: A non-standard thickness could cause sticking, gaps, or misaligned hardware if it doesn’t match the frame.
Once you’ve confirmed the slab thickness, you’re ready to look at the next part of the frame jamb width.
Step#5 Check the Jamb Width (for Pre-Hung Doors)
If you’re replacing the whole frame with a pre-hung door, you’ll need one more size: the jamb width. This tells you whether the new frame will sit flush with your wall or stick out.
What Jamb Width Actually Refers To
- Wall Thickness, Not Trim: Jamb width is the full thickness of the wall the frame fits into. It includes drywall or plaster on both sides and the space between them.
- The Trim Doesn’t Count: Casing or decorative trim goes around the jamb but isn’t part of the actual measurement. Don’t include it.
How to Measure the Jamb Width
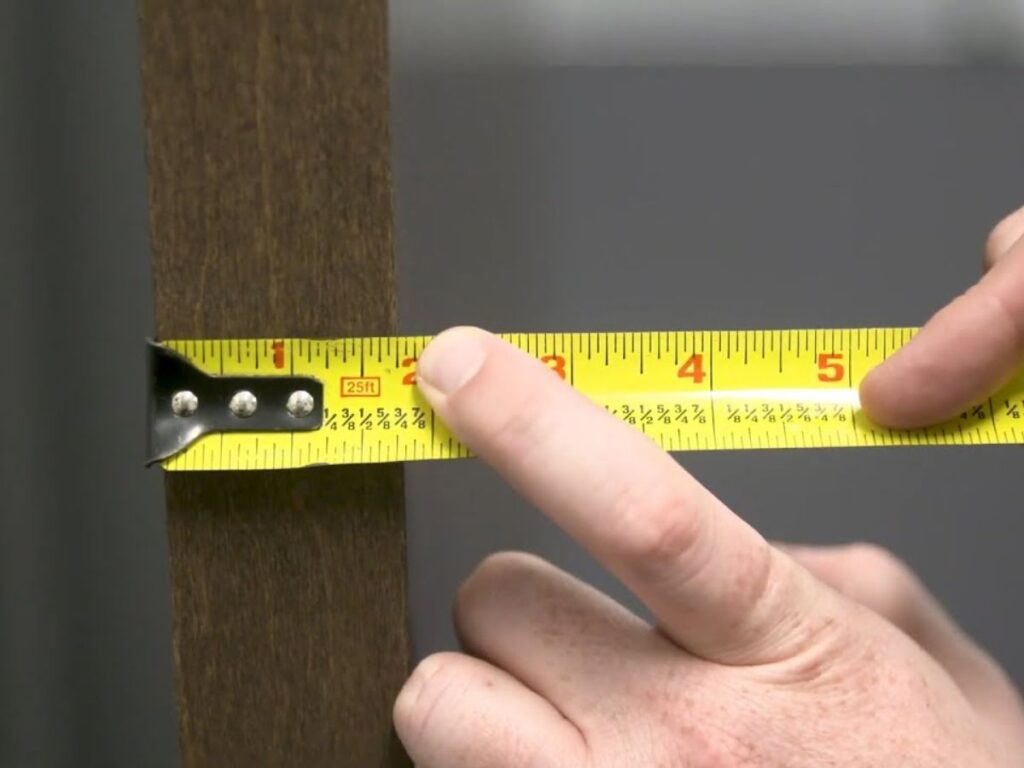
- Measure Across the Frame, Not Around It: Open the door and place your tape straight across from one inside edge of the frame to the other. Make sure you don’t curve around the casing.
- Check in a Finished Area: If your wall includes tile, shiplap, or extra paneling, measure after those finishes are installed. They can add thickness you need to account for.
Common Jamb Sizes You Might See
- 4-9/16 Inches: Fits a standard 2×4 wall with drywall on both sides. This is common in many residential interiors.
- 6-9/16 Inches: Works for 2×6 construction, often found in exterior or load-bearing walls with added insulation.
Why This Step Gets Overlooked
- “Standard” Isn’t Always Standard: Some people assume all jambs are the same size. But finished basements, older homes, or remodeled areas often have added layers that change wall thickness.
- Misfit Frames Cause Extra Work: A frame that’s too narrow or wide will either sit inside the wall or stick out past it. That leads to patchwork fixes, which add time and frustration.
Double-check this step before placing your order. Once you’ve written down the correct jamb width, the next thing to figure out is how your door should swing.
Step#6 Identify Swing Direction
This step tells you how the door will open and which side the hinges should be on. It’s something many people overthink, but it only takes a minute to get it right.
Why Swing Direction Matters
- Hinge and Hardware Placement: Swing direction tells us where the hinges, latch, and strike plate should go. If this part is wrong, the door won’t work even if the size is perfect.
- Avoiding Layout Problems: A door that swings the wrong way can block walkways, bump furniture, or just feel awkward in daily use. This simple step avoids those issues.
The Quick Way to Check Swing Direction
- Use the Hinge Side Trick: Stand with your back against the side of the frame where the hinges are located. Pretend to open the door like you normally would.
- Which Way Does It Move?: If it swings open to your left, that’s a left-hand swing. If it opens to your right, it’s a right-hand swing.
Check for In-Swing or Out-Swing
- Look at the Room Flow: If the door opens into the room, it’s an in-swing. If it opens away from the room, it’s an out-swing.
- Think About the Setup: Exterior doors often open outward, while interior ones usually open inward. Still, there are exceptions based on how the room is arranged.
When You’re Not Sure
If you’re unsure, don’t guess. Take a photo of the doorway from both sides one showing the hinges, and one showing the swing path. It gives a clear view of how the door functions and helps confirm what you’re seeing. A few seconds to double-check now can save you from reordering later.
Swing direction is the last key detail before placing your order. Vallisco uses the info you provide to prep hinge placements and hardware positions that match your layout.
Step#7 Final Output
You’ve made it through every measuring step. Now it’s time to pull it all together in one place clearly and cleanly.
What to Do With Your Measurements
- List Every Size You Took: By now, you should have door width, height, thickness, jamb width (if needed), and swing direction. These are the details your supplier will rely on to build the right door.
- Go Back and Double-Check If Needed: One missed number or unclear note can delay the whole order. Even if you’re confident, it helps to look one more time.
Use a Clear Format for Sharing
- Keep It Straightforward: Write your sizes in a way that’s easy for anyone to read and understand. A simple table helps keep things organized and leaves less room for confusion.
- Sample Layout You Can Follow:
- Door Type: Pre-hung
- Width: 36 inches
- Height: 80 inches
- Thickness: 1-3/4 inches
- Jamb Width: 4-9/16 inches
- Swing Direction: Left-hand in-swing
You can use this layout to fill in your own numbers. If you’re not sure whether to use finished or rough opening sizes, it’s always a good idea to ask your supplier first.
Why This Final Step Matters
Getting every number right helps avoid delays, rework, or unexpected issues during install. Clear specs help your builder plan, your manufacturer prepare, and your door arrive ready to install.
I’ve heard from people who wished they double-checked after the wrong door was already delivered. This step helps you avoid that. Now that everything’s written down and double-checked, you’re ready to place the order with confidence.
Conclusion
You’ve now got everything you need to measure for a new door. We walked through each step: width, height, thickness, jamb width, and swing. All in plain terms, no fluff.
As someone who’s seen this process trip people up, I can tell you: getting it right up front makes everything easier.
So grab your tape, check your notes, and take the first step today.
Your next door should fit clean, open smoothly, and look great. Let’s make that happen.
Still feeling unsure? Or ready to order? Contact Vallisco today.
Explore Related Resources
If you enjoyed this read, here are a few more articles packed with helpful information:
Still haven’t found what you’re looking for? Don’t hesitate to contact us. We’re available around the clock to assist you.


