One of our clients in Bali had a greenhouse door that wouldn’t latch during the rainy season. Staff had to push a chair against it to keep it closed.
You might have run into the same kind of problem, especially in high-traffic buildings.
I’ve been supplying and adjusting doors for hotels, villas, and other commercial spaces for years. I know the fastest ways to get them to work again.
In the guide below, you’ll find a clear plan for how to adjust commercial door performance so it opens, closes, and latches the way it should.
Your guests and staff will notice the difference right away.
So let’s get started!
Quick Overview Chart
Sometimes you just need the main points in one place. This table sums up the key actions from each step so you can quickly plan or check your work. Keep it handy as a reference when you’re adjusting your commercial door.
| Step | What to Do | What to Look For | Why It Matters |
| 1. Inspect Door Alignment and Condition | Observe how the door opens, closes, and sits in the frame. | Dragging, gaps, tilt, sticking, scraping. | Helps you understand where the problem is before adjusting anything. |
| 2. Tighten or Replace Hinge Screws | Check and tighten all screws on hinges, closer, and strike plate. Replace if stripped. | Loose screws, stripped threads, movement at hinge. | Keeps the door stable and prevents shifting. |
| 3. Adjust the Hinges for Proper Fit | Use shims or shift hinges slightly to fix door position. | Uneven gaps, door leaning or dragging. | Realigns the door with the frame to stop sticking and rubbing. |
| 4. Examine and Adjust the Door Closer | Turn adjustment screws on closer to fix door speed and latch. | Slamming, not closing fully, slow or uneven motion. | Controls how the door shuts. Helps with safety and performance. |
| 5. Check and Realign the Strike Plate | Shift or refit the metal plate on the frame where the latch goes. | Latch not catching, hitting above or below plate. | Ensures the door stays closed and locks properly. |
| 6. Lubricate All Moving Parts | Apply silicone spray to hinges, latch, and closer arm. | Dry or noisy parts, stiffness, friction. | Reduces wear, noise, and makes movement smoother. |
| 7. Inspect Weatherstripping and Door Sweep | Check seals for damage. Adjust or replace as needed. | Torn seals, gaps, poor insulation, drag. | Helps with energy efficiency and keeps debris and pests out. |
| 8. Test the Door and Make Final Adjustments | Open, close, and observe the door. Re-check any issues. | Drag, latch issues, closer speed, noise, or misalignment. | Confirms everything is working as it should. Last chance to fine-tune. |
Want the details? Read the full guide to see exactly how to handle each step and keep your door working at its best.
Step#1 Inspect Door Alignment and Condition
I’ve seen many property owners jump straight into turning screws without first checking the basics. A quick, careful inspection can help you spot the real cause before you start making changes. This step saves you time and avoids fixing the wrong problem.
Check Alignment and Position
- Look at the Door From All Angles: Stand inside and outside to see if it sits straight in the frame. A tilt to one side usually points to hinge or frame issues.
- Check for Uneven Gaps: Compare the space between the door and the frame on all sides. Wider gaps at the top or bottom can cause trouble with latching and sealing.
- Open and Close Slowly: Listen for scraping sounds or feel for resistance. These signs mean the door is rubbing against the frame or floor.
Examine Door and Frame Condition
- Inspect the Hinges and Frame: Look for cracks, dents, or loose areas where the hinges connect to the frame. Damage here can stop the door from staying aligned.
- Check the Door’s Surface and Edges: Warping, swelling, or chipped edges affect how well the door fits in the frame.
- Look for Light or Air Leaks: If you see daylight or feel air passing through when the door is closed, there’s a sealing or alignment problem to address later.
Step#2 Tighten or Replace Hinge Screws
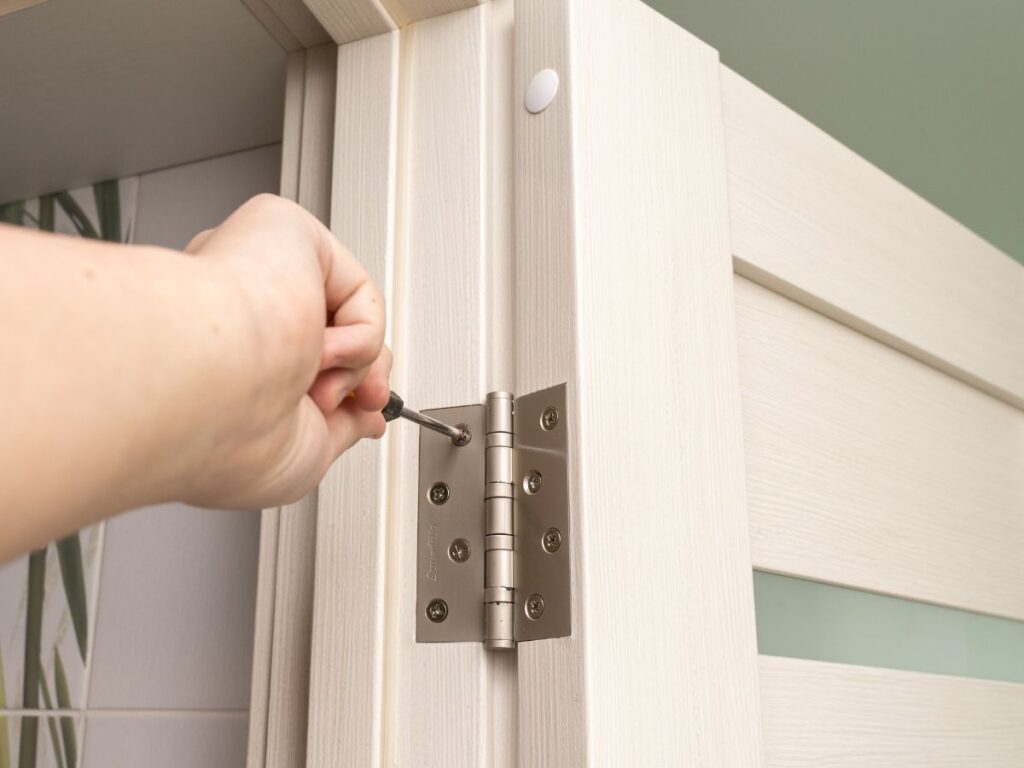
Loose hinge screws are one of the most common causes of door alignment issues I see on-site. They may seem small, but they hold the door’s weight and keep it steady. A quick check and adjustment here can make a big difference in how the door moves.
Start With the Basics
Grab a screwdriver or a drill. Open the door halfway so it’s easier to work with. Now check every hinge screw—top, middle, and bottom.
Here’s what to do:
- Look for gaps between the hinge plate and the frame or door.
- Tighten any loose screws until they feel snug.
- Check the hinge movement as you go. The door should move more smoothly with each fix.
If a screw just keeps turning but won’t tighten, it may be stripped.
Check All Hinge Screws
- Inspect Each Screw Head: Look for any screws that are loose, stripped, or sticking out. Even one loose screw can cause the door to sag or shift in the frame.
- Use the Right Screwdriver or Bit: Match the tool to the screw head to avoid stripping it. A stripped screw is harder to remove and may require extra work.
- Tighten in Small Turns: Turn the screwdriver in short, firm twists. Overtightening can damage the wood or metal around the hinge.
Replace Damaged or Missing Screws
- Swap Out Stripped Screws: If a screw no longer grips the frame, replace it with one of the same size and type. This restores the hinge’s stability.
- Choose Longer Screws for More Support: In some cases, a longer screw can reach deeper into the frame, adding strength. This is especially useful for heavy commercial doors.
- Keep Spare Hardware on Hand: Having extra screws ready saves time, especially if you manage multiple doors in a property.
Step#3 Adjust the Hinges for Proper Fit
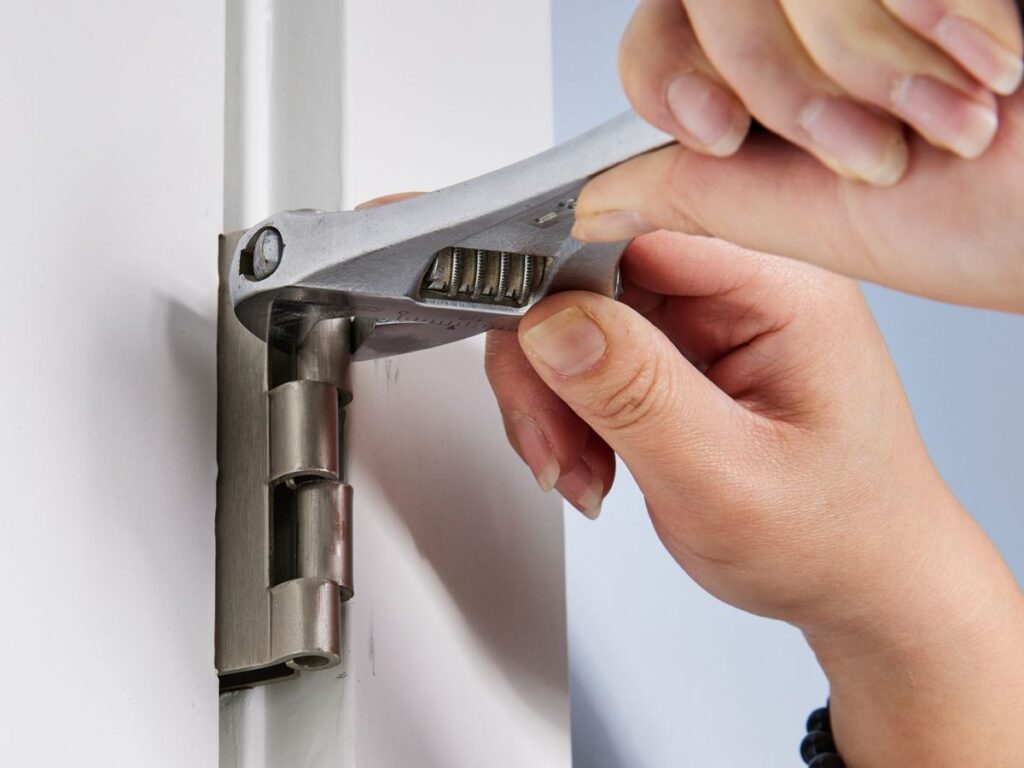
Once the screws are tight, it’s time to fine-tune the hinges themselves. I’ve seen doors that still sag or rub even with brand-new screws. Small hinge adjustments can realign the door so it swings smoothly and closes securely.
Shift Hinges for Better Alignment
- Loosen Screws Slightly: This gives you room to move the hinge without damaging the frame. Keep the screws in place, just not fully tight.
- Lift or Lower the Door by Hand: Support the door’s weight and move it slightly to where it fits better in the frame.
- Tighten Screws in New Position: Once aligned, retighten the screws firmly to hold the hinge in its new spot.
Adjust Hinge Depth
- Check Hinge Recess Depth: If the hinge is set too deep in the frame, the door may lean inward. Too shallow, and it can stick out and catch on the frame.
- Use Shims if Needed: Thin cardboard or plastic shims can push the hinge out slightly for a better fit.
- Reinstall the Hinge Securely: Always test the movement before fully tightening all screws.
Ways to Adjust the Hinges
You don’t always need new parts to make the door fit better. Try one of these methods depending on what you see:
- Add a Shim Behind a Hinge: A shim is a thin piece of material (like cardboard or plastic) placed between the hinge and the door or frame. Use it behind the bottom hinge if the top corner of the door is rubbing. Use it behind the top hinge if the bottom corner is dragging.
- Loosen and Shift the Hinge Slightly: On metal doors or frames, you might be able to loosen the screws, move the hinge a bit, then tighten it again in a better spot.
- Swap Hinge Positions: If one hinge is more worn than the others, switching it with another can help balance the door.
Step#4 Examine and Adjust the Door Closer
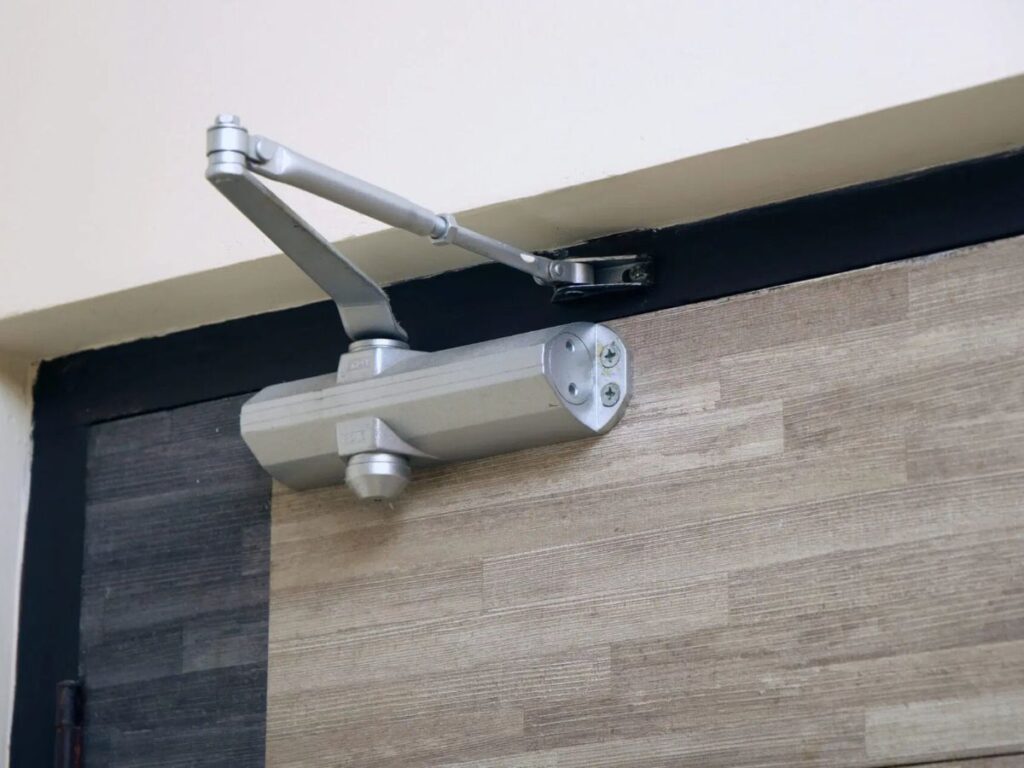
A door closer does more than shut the door—it controls how smoothly and safely it happens. I’ve seen many cases where a simple adjustment fixed slamming doors or ones that wouldn’t close all the way. This step can improve both safety and comfort in your building.
Inspect the Door Closer Mechanism
- Look for Leaks or Damage: If your closer is hydraulic, check for oil leaks. Leaking closers often need replacement instead of adjustment.
- Check the Mounting Screws: Loose screws can make the closer shift and affect performance. Tighten them before changing any settings.
- Identify the Adjustment Screws: Most closers have labeled screws for speed, latch, and backcheck. Knowing which is which will save time.
Make Adjustments for Proper Operation
- Adjust Closing Speed: Turn the speed screw in small increments. Too fast can be dangerous, too slow can cause latching problems.
- Fine-Tune the Latch Speed: This controls the final few inches before the door closes. Adjust so it latches firmly without slamming.
- Set the Backcheck Resistance: This slows the door before it reaches full open, protecting walls and hinges from damage.
- Test After Each Change: Small adjustments make a big difference. Always test the door several times before moving to the next step.
Step#5 Check and Realign the Strike Plate
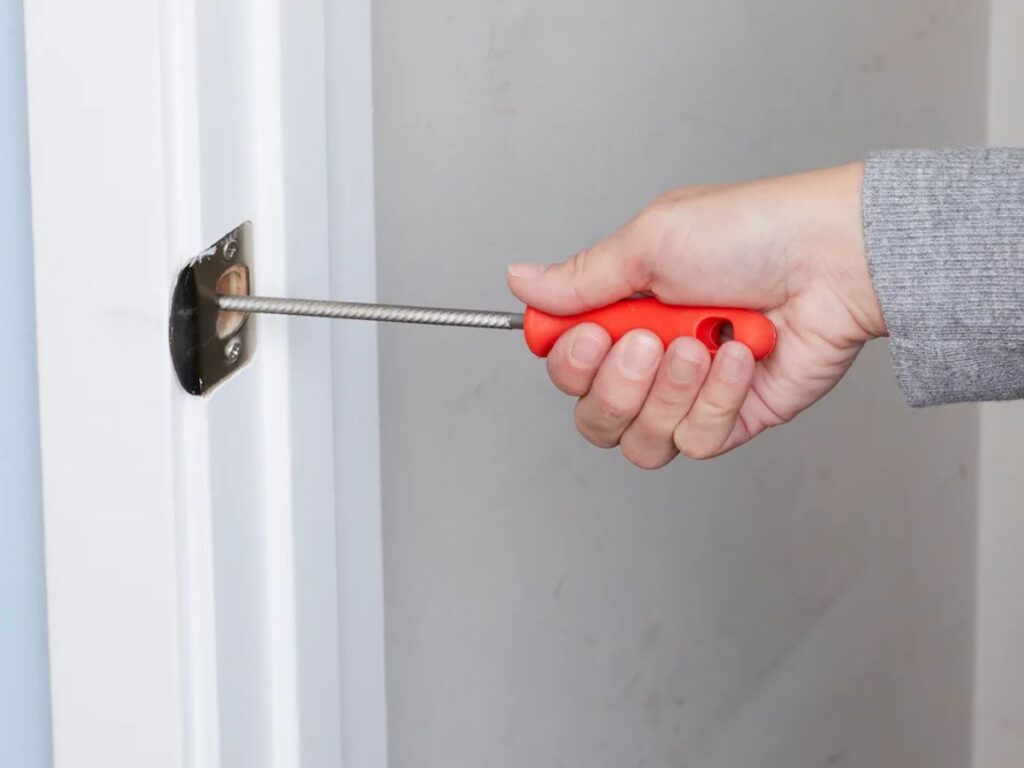
If the latch doesn’t meet the strike plate correctly, the door won’t close or lock the way it should. I’ve had clients think their door was warped, but the real problem was just a few millimeters off at the strike plate. A careful adjustment here can restore smooth latching and improve security.
Inspect Strike Plate Position
- Look for Signs of Misalignment: Check if the latch is hitting above, below, or beside the strike plate opening. Even a small offset can stop the latch from engaging. You can mark the latch’s contact point with chalk to see exactly where it meets.
- Check for Wear or Damage: A worn strike plate might have grooves, scratches, or bent edges. This can catch the latch or make the door harder to close.
- Confirm Screw Tightness: Loose screws can let the plate shift over time. Tighten them before deciding if you need to reposition the plate.
Adjust the Strike Plate Position
- Loosen the Screws Slightly: Keep them in the holes but loose enough so the plate can move. This allows you to shift it without fully removing it.
- Move the Plate Up, Down, or Sideways: Align it so the latch enters the center of the opening without resistance. Use small movements—just a few millimeters can solve the problem.
- Test the Latch Fit Before Tightening: Close the door gently to see if the latch lines up. Only tighten the screws once you’re satisfied with the position.
Make Modifications if Needed
- Enlarge the Opening: If moving the plate isn’t enough, you can file the inside edge to give the latch more room. This is a simple fix for small misalignments.
- Replace the Strike Plate: Severely damaged or bent plates should be replaced to keep the latch secure. New plates are inexpensive and easy to install.
- Use Longer Screws for Stability: This gives more grip in the frame, especially for doors in high-use areas. It also helps keep the plate from shifting over time.
Step#6 Lubricate All Moving Parts
A dry or squeaky door is more than an annoyance—it’s a sign of friction that can lead to wear and damage over time. I’ve seen commercial doors last years longer simply because they were lubricated regularly. This step keeps your door operating smoothly and helps avoid costly repairs.
Choose the Right Lubricant
- Use Silicone-Based or Lithium Grease: These products work well for hinges, closers, and locks because they resist moisture and don’t attract dust. Avoid heavy oils that can gum up over time.
- Avoid Petroleum-Based Sprays for Long-Term Use: While they may stop a squeak fast, they often dry out quickly and leave residue. This can cause sticking later on.
- Keep a Supply On Hand: If you manage multiple doors, storing lubricant in maintenance areas makes regular upkeep easier.
Apply Lubricant to Key Components
- Hinges: Apply a small amount at the hinge pin and work the door back and forth to spread it. Wipe away any excess to avoid drips or stains.
- Door Closer Arms: Lubricate the pivot points where metal parts move against each other. This reduces wear and helps the closer operate smoothly.
- Lock and Latch Mechanisms: A light spray inside the keyway and latch keeps them moving freely, which is especially important for security doors.
Maintain a Regular Lubrication Schedule
- Inspect Doors Seasonally: Humidity and temperature changes can affect moving parts. Lubricating before these shifts helps prevent problems.
- Log Maintenance Dates: In a business setting, keeping track of when each door was last serviced ensures nothing gets overlooked.
- Combine With Other Checks: Lubrication works best when paired with a quick inspection of screws, alignment, and sealing during the same visit.
Step#7 Inspect Weatherstripping and Door Sweep
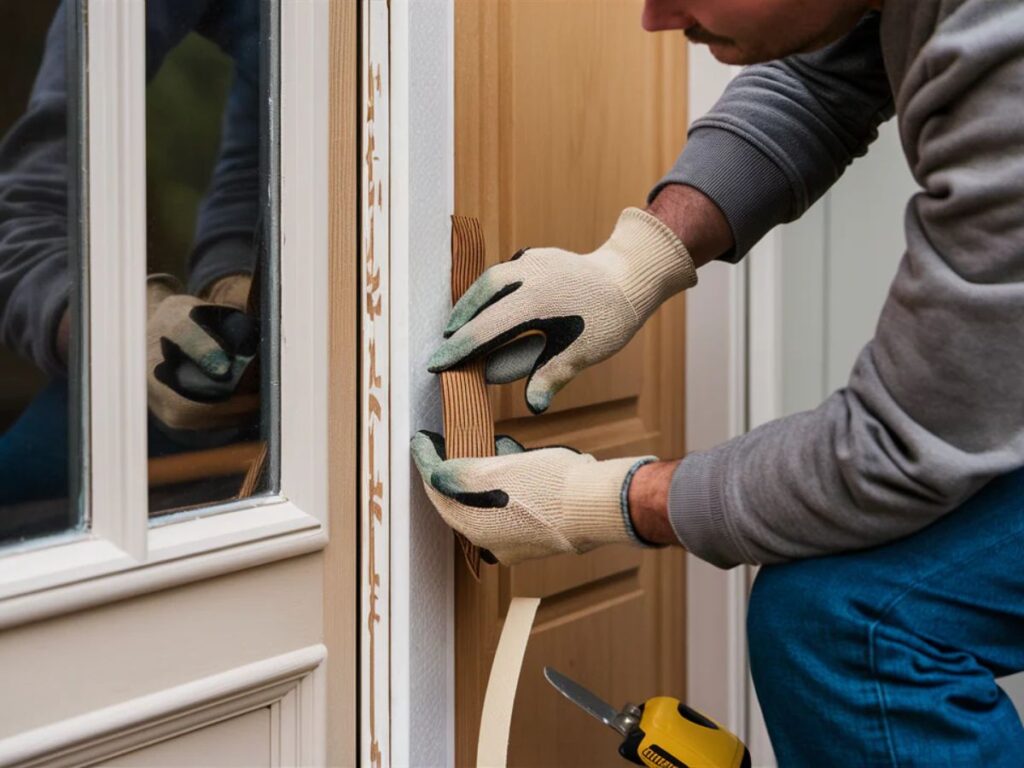
Good sealing keeps out drafts, dust, and moisture—something every business owner values. I’ve seen doors with perfect alignment still let in air because the weatherstripping was worn out. Checking these parts takes only a few minutes but can save on energy costs and improve comfort inside.
Check Weatherstripping Condition
- Look for Cracks or Gaps: Weatherstripping should create a tight seal when the door is closed. If you see daylight or feel air coming through, it’s time to repair or replace it.
- Press Along the Seal: Run your fingers along the edges to see if it’s loose or peeling away from the frame. Loose sections can be reattached, but damaged ones should be replaced.
- Check for Compression Loss: Over time, seals can flatten and lose their ability to spring back. This reduces their effectiveness and can lead to higher heating or cooling costs.
- Consider Manufacturer-Specific Parts: If you’re working on a Vallisco garage door, using their recommended weatherstripping will help maintain the right fit and performance.
Examine and Maintain the Door Sweep
- Inspect the Bottom Edge: The door sweep should touch the threshold without dragging. If it’s too high, air and pests can get in; too low, and it can cause friction when opening.
- Look for Wear or Tears: Rubber or brush sweeps can wear unevenly, especially in high-traffic areas. Replace them before they fail completely.
- Adjust or Replace as Needed: Many sweeps have adjustable mounting holes so you can fine-tune the height. If adjustment doesn’t solve the problem, replace the sweep entirely.
Step#8 Test the Door and Make Final Adjustments
Once all the parts are tightened, aligned, and lubricated, it’s time to see how the door performs in real use. I always tell clients this is the step where you confirm your work—and catch any last details that might have been missed. A few minutes of testing can make the difference between a good fix and a lasting one.
Check Door Movement
- Open and Close Several Times: Watch how the door swings and pay attention to whether it moves freely without rubbing or sticking. This helps you spot if hinges or alignment still need attention.
- Observe the Closing Action: For doors with closers, make sure the speed is steady and the latch catches without force. A sudden slam or slow drag means you may need to re-adjust the closer.
- Check for Smooth Latching: The latch should engage easily without you needing to push or pull hard on the door.
Review Sealing and Fit
- Inspect the Gaps Once More: Make sure the space around the door is even and consistent. Uneven gaps can affect security, insulation, and appearance.
- Check Weatherstripping Contact: The seals should touch the frame all the way around without bunching or leaving open spots.
- Confirm Door Sweep Function: The sweep should lightly touch the floor or threshold, blocking light and air without dragging. For Vallisco garage doors, testing this fit is especially important to maintain their weather protection.
Make Small Adjustments as Needed
- Fine-Tune Hinges or Screws: Sometimes a final minor turn on a screw or hinge is all that’s needed to get a perfect fit.
- Recheck After Any Adjustment: Even small changes can affect how the door moves, so always test again afterward.
- Document the Work: In a business setting, note what adjustments were made and when. This helps track maintenance and plan for future servicing.
Conclusion
Back in Bali, the simple fix for that greenhouse door made a big difference for the staff. No more wrestling with it in the rain.
The same results are possible for your hotel, villa, or greenhouse if you follow these eight steps. From spotting alignment issues to testing the final fit, this process brings everything together for a smooth, secure door.
Stay on top of these small checks and you’ll prevent bigger problems down the road.
And when you need a new commercial door that will last, Vallisco is ready to help. Contact us today to talk about your needs.
Learn More: Recommended Reads
Want to see more products? We’ve got plenty of options that might just be the perfect fit for you:
Still haven’t found what you’re looking for? Don’t hesitate to contact us. We’re available around the clock to assist you.


