Windows that won’t stay open can feel like a small problem, but I know how disruptive they really are. I’ve seen them frustrate families at home, create extra work for hotel staff, and even interfere with greenhouse airflow.
If you manage a property, you already know how little issues like this can add up. Guests notice. Tenants complain. And staff end up wasting time on quick fixes that don’t last.
That’s why I started paying closer attention. I’ve looked at the real causes, tested different repair methods, and found which ones actually keep the window working.
In this article, I’ll walk you through a clear step-by-step guide to fix a window that keeps sliding down. You’ll learn how to spot the problem, use the right repair, and keep it from coming back.
Because no one should have to wedge a stick or book under their window just to let in some fresh air.
So let’s begin!
Quick Comparison Chart
To make things easier, I’ve summarized all the steps in one table. Use this as your quick reference before the detailed guide.
| Step # | Action / Description | Tools or Key Focus |
| Step #1 | Identify the Window Type | Spot single-hung, double-hung, tilt-in, or sliding sash |
| Step #2 | Secure the Window | Props, clamps, gloves, safety goggles |
| Step #3 | Remove the Window Sash | Lift or tilt sash, set on padded surface |
| Step #4 | Inspect the Balance System | Flashlight, look for worn cords, springs, or misaligned parts |
| Step #5 | Replace Damaged Balances | Screwdriver, pliers, replacement balances |
| Step #6 | Check Pivot Bars and Shoes | Inspect for cracks, looseness, misalignment |
| Step #7 | Lubricate the Window Tracks | Silicone spray, Teflon lubricant, clean cloth |
| Step #8 | Reinstall the Window Sash | Insert carefully, confirm even alignment |
| Step #9 | Test and Adjust Tension | Halfway test, adjust spiral or block-and-tackle |
| Step #10 | Clean Up and Final Check | Wipe tracks, remove tools, final open-close test |
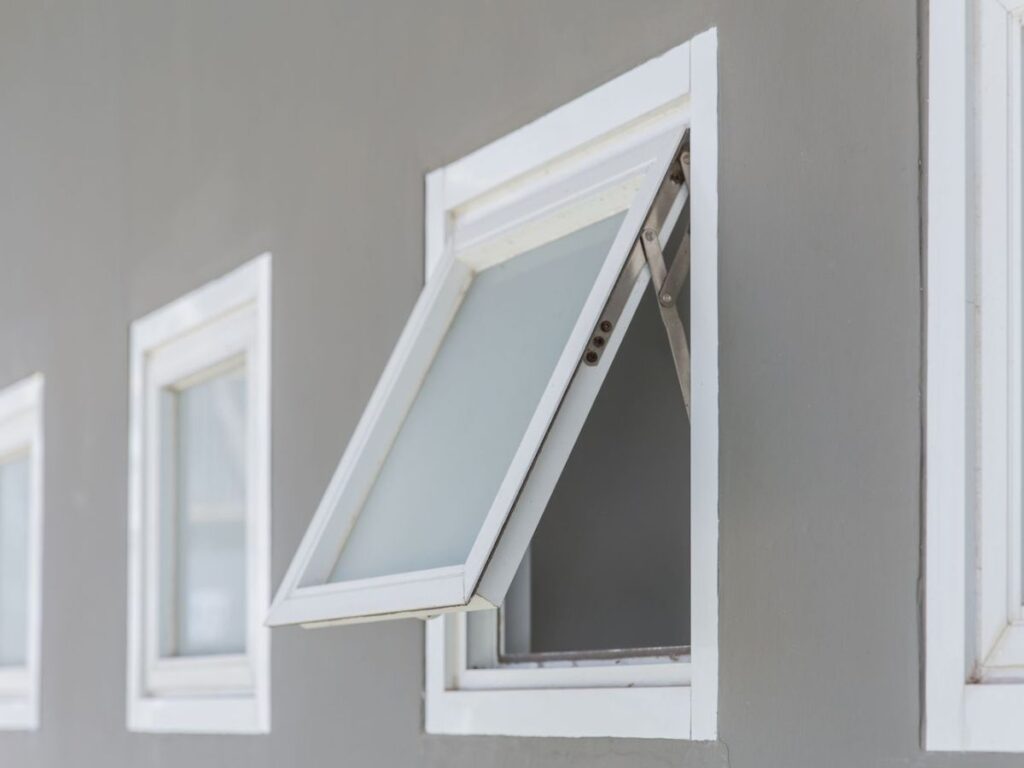
Step#1 Identify the Window Type
Before you can fix a window that keeps sliding down, you need to know what kind of window you are dealing with. I learned this the hard way when I once tried replacing a part on the wrong type of window. It wasted time and left me even more frustrated.
The truth is, different windows use different balance systems. A balance system is the hidden part that helps the sash, or movable panel, stay open. If you misidentify the type, the fix may not work at all.
Common Window Types
- Single-Hung and Double-Hung Windows: These look alike, but in single-hung windows only the bottom sash moves, while in double-hung both sashes move. They often use spiral or block-and-tackle balances. Vallisco supplies both window types, giving property owners and maintenance teams practical, reliable options that are easy to repair if the sash slips.
- Tilt-In Windows: These open inward when you tilt the sash, which makes them easy to clean. They usually rely on spiral balances that connect to a small pivot shoe inside the track.
- Sliding Sash Windows: These move side to side instead of up and down. They often use sash cords or counterweights to balance the sash.
Take a few minutes to confirm which type you have before moving on. I’ve found that slowing down at this step saves a lot of frustration later.
Step#2 Secure the Window Before Starting
Before you begin working on the balance system, stop and secure the sash. A sliding window can drop quickly, and that creates both safety risks and potential damage. Taking a few minutes here sets you up for a smoother repair later.
Safety First
- Use a Window Prop: Place a sturdy stick, wedge, or clamp in the track to hold the sash open. This keeps it steady while you work and prevents sudden drops.
- Wear Protective Gear: Safety gloves protect your hands from sharp edges or worn metal parts. Eye protection shields you from dust or small hardware that may shift during the repair.
- Prevent Injury and Damage: A steady sash keeps fingers safe, reduces the chance of cracked glass, and avoids scratches on the frame.
- Create a Safe Workspace: Securing the window not only protects you but also keeps the repair controlled, especially in settings like hotels or greenhouses where others may be nearby.
By slowing down and preparing properly, you remove distractions and risks. Once the sash is secure, you can focus on the repair with confidence and finish the job more efficiently.
Step#3 Remove the Window Sash
Once the window is secure and safe to work on, the next step is removing the sash. The sash is the framed glass panel that slides up and down or side to side inside the track. Taking it out allows you to access the balance system and other hardware inside the frame.
If you rush this part, you risk cracking the glass or bending the frame. I’ve learned from experience that slowing down here saves both time and money later.
Removing a Non-Tilt Window
- Lift the Sash Up: Raise the sash until it clears the metal or vinyl stops in the track. You may feel some resistance, so keep your grip steady.
- Tilt the Bottom Toward You: Once it is lifted, angle the bottom edge of the sash gently toward your body. This gives you enough space to free it from the track.
- Carefully Pull It Out: With the sash tilted, guide it out of the frame slowly. Keep the movement controlled so the corners of the sash do not scratch the frame or snag on the balance hardware.
Removing a Tilt Window
- Unlock the Sash: Start by releasing the window locks so the sash can move freely.
- Tilt Inward: Pull the top of the sash toward you until it forms about a 90-degree angle with the frame. This tilt allows the sash to rest on its pivot shoes. A pivot shoe is the small part in the track that connects the sash to the balance system.
- Lift From Pivot Shoes: Once tilted, raise one side of the sash gently upward to release it from the pivot shoe. Then do the same with the other side until the sash comes free.
Place the sash on a padded surface such as a blanket or workbench with a towel. This small step protects both the frame and the glass from accidental damage while you continue the repair.
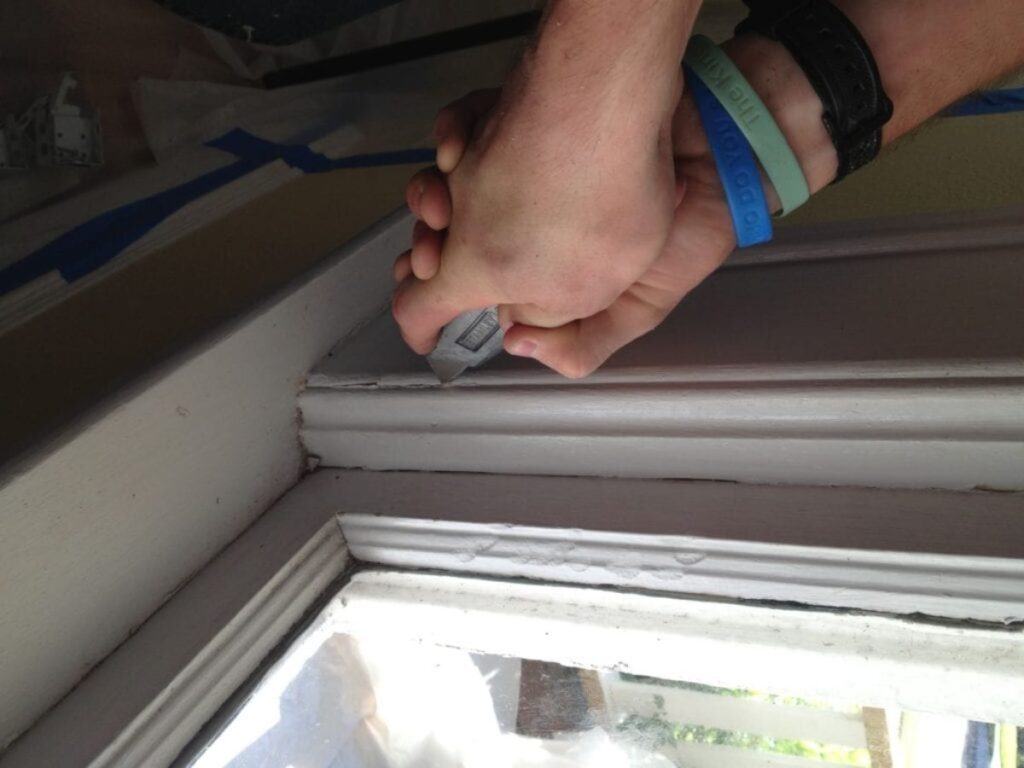
Step#4 Inspect the Window Balance System
Now that the sash is out, it is time to check the balance system. This is the mechanism inside the frame that holds the sash in place. When it wears out, the window no longer stays open. A quick inspection here tells you what needs replacing before you move further.
Locate the Balances
- Spiral Balance: A coil-shaped rod inside the jamb that twists to create tension as the sash moves.
- Block-and-Tackle Balance: Found in many double-hung windows, this uses cords, pulleys, and a spring to carry the sash weight.
- Sash Cord With Counterweight: Common in older wooden frames, this system relies on a cord running over a pulley, connected to a hidden weight inside the wall.
Use a flashlight to look into the jamb so you can clearly see which type your window has.
Look for Damage
- Broken or Frayed Cords: These cannot hold the sash properly and are a frequent cause of sliding windows.
- Rusted, Bent, or Missing Springs: Weak or missing springs remove the tension needed to keep the sash steady.
- Loose or Misaligned Hardware: Screws and brackets that shift out of place will prevent smooth operation.
The goal here is simple: confirm what you have and note where the damage is. A few minutes of careful inspection saves time later because you know exactly what part needs attention.
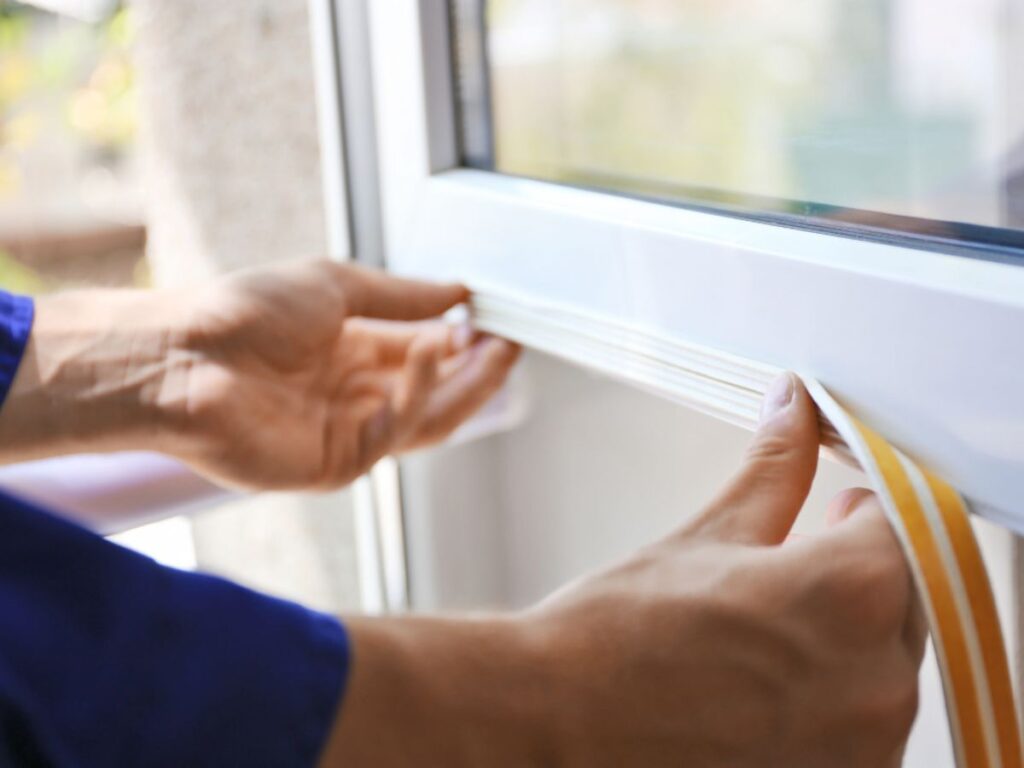
Step#5 Replace the Damaged Balances
After you’ve identified the problem, the next step is to remove the damaged balances and install new ones. This is the part that feels like real progress. Once you replace them, the window often works as if it were new. The process is straightforward, but it does require patience and the right tools.
Tools Needed
- Screwdriver: Used to loosen and tighten screws that hold the balances in place.
- Pliers: Helpful for gripping old hardware that may be stuck or difficult to remove.
- Replacement Balances: Make sure you choose the correct type and size that matches your window system.
Having these tools ready before you start makes the process smoother. I’ve found that when everything is within reach, you spend less time fumbling and more time making progress.
Replacement Process
- Unscrew and Remove Old Balances: Locate the screws holding the balance inside the jam. Loosen them carefully, then slide the balance out. Some may feel stuck, so steady pressure with pliers helps.
- Attach New Ones in the Same Slots: Position the replacement balance in the same location as the old one. Align it with the track so it sits properly.
- Secure With Screws and Make Sure They Sit Evenly: Tighten the screws until the balance feels firm. Check that both sides line up evenly, because uneven placement affects how smoothly the sash moves.
Always replace both the left and right balances at the same time. Replacing just one creates uneven tension, and the sash will not move properly. This is one of those details that makes the difference between a quick fix and a lasting repair.
Once both balances are in place, the hardest part of the job is already behind you.
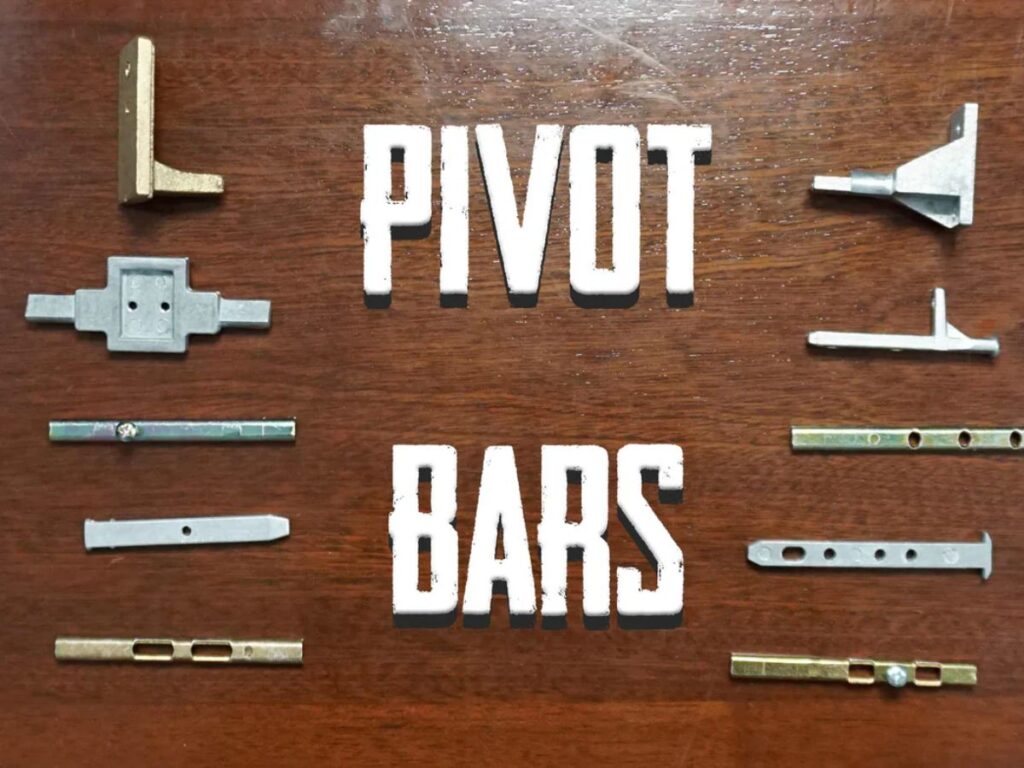
Step#6 Check the Pivot Bars and Shoes (If Tilt-Type)
If your window is a tilt type, the balance system works together with pivot parts to hold the sash steady. These are small components, but they play a big role. When they wear out or break, the sash cannot stay connected to the balance, and the window will continue to slide down. Checking these parts now saves you from repeating the same repair later.
Pivot Bars
- Inspect for Bends: The pivot bar is a small metal piece at the bottom of the sash that fits into the pivot shoe. If it is bent, it will not sit correctly, which causes uneven movement.
- Look for Cracks: Cracks around the screw holes are a sign that the bar may snap soon. Replace it before it fails completely.
- Check for Looseness: If the bar wiggles when touched, the sash connection is weak. Tightening screws sometimes helps, but often a new bar is the safer choice.
I have seen many repairs fail simply because someone overlooked this small part. Paying attention here keeps the sash firmly attached.
Pivot Shoes
- Check for Breaks: A pivot shoe is a small plastic or metal housing inside the track that connects to the pivot bar. If it is broken, the sash will not lock in place.
- Look for Misalignment: A shoe that has slipped out of its track will cause the sash to tilt or jam. Resetting it back into position usually fixes the problem.
- Replace If Needed: Shoes wear down over time, especially in busy properties. Swapping them out keeps the system balanced and reliable.
Replacing damaged pivot parts might feel minor, but it keeps the sash securely connected to the balance system. This step brings stability back to the window and makes the next stages of repair more effective.
Step#7 Lubricate the Window Tracks
Once the hardware is replaced and the sash is secure, the next step is keeping everything moving smoothly. Window tracks collect dust and small debris over time. Without care, this buildup creates friction that makes the sash harder to move.
Lubrication reduces that friction and protects the moving parts inside the frame. It is a simple step, but it often makes a big difference in how the window feels when you open or close it.
Recommended Lubricants
- Silicone Spray: This clear spray leaves a thin layer that reduces friction without attracting dust. It is safe on vinyl, wood, and metal surfaces.
- Dry Teflon Lubricant: Teflon creates a protective coating that keeps parts sliding smoothly. Because it dries quickly, it does not leave sticky residue behind.
- Avoid Oil-Based Greases: Oils may feel smooth at first, but they attract dirt. Over time, they turn sticky and make the track harder to use.
Having the right lubricant matters. I once used household oil thinking it would help, but it created more problems later. That was a lesson worth sharing here.
Application Method
- Spray Lightly Along Tracks: Apply a thin, even coat along both sides of the sash track. A light spray is enough. Too much can drip and make a mess.
- Cover Moving Parts: Aim for pivot shoes, springs, or cords if they are exposed. These are the parts that carry the most strain.
- Wipe Away Excess With a Clean Cloth: Any extra spray should be removed so dust does not stick. A simple wipe keeps the track clean and neat.
By keeping the tracks lubricated, you prevent sticking, grinding, and sliding problems in the future. It also makes daily use feel effortless, which is a big plus in busy properties where windows are opened and closed often.
Step#8 Reinstall the Window Sash
Now that the balances and pivot parts are in place, it is time to reinstall the sash. This step may look simple, but careful alignment makes the difference between a smooth glide and a sash that sticks or jams. Take your time here, because setting it back correctly means your hard work pays off with a window that finally works as it should.
For Non-Tilt Windows
- Insert Top Edge First: Lift the sash and angle the top into the frame track. Slide it in gently so the corners do not scrape the frame.
- Lower the Bottom Into Place: Once the top edge is inside, tilt the sash upright and guide the bottom down into the track. Keep your grip firm until it rests securely.
- Check for Alignment: Move the sash slightly up and down to confirm it sits evenly. If one side feels tight, remove it and try again with more control.
Non-tilt windows rely on even placement. If you rush, the sash may grind along one side, making the repair feel unfinished.
For Tilt Windows
- Insert Pivot Bars Into Shoes: Line up the pivot bars on the sash with the pivot shoes in the track. Push them in gently until they click into place.
- Tilt Sash Upright Into Track: Rotate the sash back toward the frame until it stands upright. It should settle naturally on the track.
- Confirm Even Alignment: Slide the sash up and down slowly. Both sides should move with the same ease. If one side drags, the pivot shoe may be misaligned and need adjustment.
Once the sash is back in place and moving smoothly, you can close the window with confidence. This step brings the repair full circle, showing you how the new balances and hardware work together.
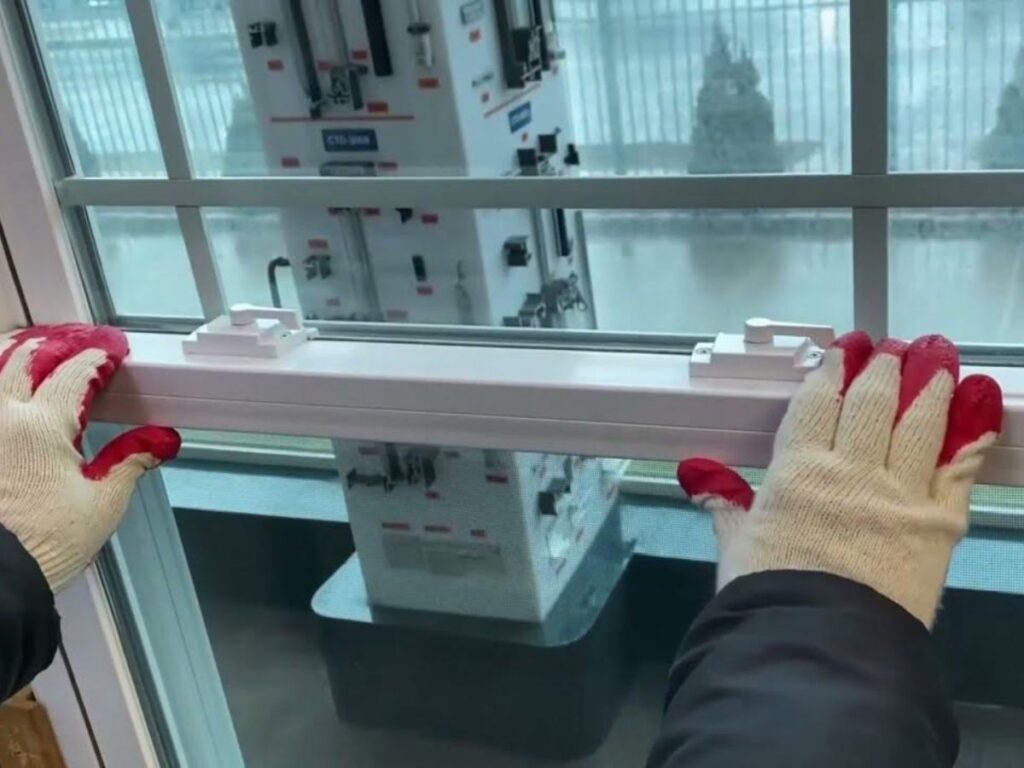
Step#9 Test and Adjust Tension if Needed
With the sash back in place, the final step is to test the balance system. This is where you find out if the repair was successful. A good test not only shows that the sash moves smoothly, but also that it stays in place without sliding down. I always take a few extra minutes here, because adjusting tension now saves another round of repairs later.
Spiral Balance Adjustment
- Use a Tensioning Tool: A spiral balance uses a metal rod inside the jamb. Insert a tensioning tool or flat-head screwdriver into the rod’s tip and rotate it carefully. Each turn adds or reduces tension.
- Find the Right Balance: Too little tension, and the sash will still slide down. Too much tension, and the sash becomes difficult to open. Adjust in small steps until the sash moves smoothly and holds steady.
I remember over-tightening one once, thinking it would help. Instead, it made the sash hard to lift. That taught me that moderation works best here.
Block-and-Tackle Balance Adjustment
- Check the Cords: Look closely at the cords that connect to the spring. They should be tight, without slack. If they appear loose, the balance may need reattachment or replacement.
- Confirm Spring Tension: The spring should feel loaded when the sash moves. If there is no resistance, the spring has likely failed and must be swapped out.
Final Test
Open the window halfway. A properly adjusted balance will hold the sash in place without dropping or drifting upward. If it slides, go back and adjust again. This halfway test has always been the most reliable way to confirm balance.
Once you see the sash stay steady, you know the repair is complete.
Step#10 Clean Up and Final Check
After the repair, it is tempting to stop and walk away. But taking a few minutes to clean up and test the window is just as important as the repair itself. This step gives you a finished result that looks professional and works properly. I have often seen good repairs undone by skipped clean-up, leaving dirt in the track or tools lying around.
Clean the Area
- Wipe Down Tracks and Frame: Use a clean cloth to remove dust, old lubricant, or fingerprints left during the repair. A quick wipe makes the sash glide more smoothly and keeps the frame looking cared for.
- Remove Tools and Debris: Collect screws, broken parts, and any tools from the area. A tidy space not only looks better but also prevents accidents later.
These simple actions give you a clean starting point for regular use. It feels good to see the window look fresh again after the work you have put in.
Final Function Test
- Open and Close the Window Multiple Times: Slide the sash up and down several times to check how it moves. Each pass should feel steady and controlled.
- Confirm Smooth Movement and No Sliding Down: Stop the sash at different heights. A properly repaired window will stay in place at any level without drifting or slamming shut.
I like this step because it is where all the effort pays off. Watching the sash stay in place without slipping reminds you why the careful steps were worth it. With Vallisco windows, this final check feels even more rewarding because you know the design was built for long-term reliability.
Once you finish, you not only have a window that works but also peace of mind. The sash is secure, the balance system is reset, and the frame is ready for daily use.
Conclusion
You’ve walked through every step: from spotting the problem to fixing the balance system. Now your window can stay in place at any height.
The “why” is clear: safety, comfort, and reliability. We’ve seen how the right repair can transform daily use.
So, what’s stopping you from starting today? Will you try the fix or keep living with a faulty sash?
Follow this guide, take action now, and see the difference.
Need expert support? Contact Vallisco today we’re here to help.
Explore Related Resources
If you enjoyed this read, here are a few more articles packed with helpful information:
Still haven’t found what you’re looking for? Don’t hesitate to contact us. We’re available around the clock to assist you.


