I was once brought in to assess a skylight that had been “professionally” installed just a month earlier. The glass was fine, but the roofline was rotting from underneath due to poor sealing.
It’s not the skylight that fails. It’s how it’s installed.
That’s why this guide exists. I’ve overseen dozens of commercial skylight projects, and I’ll walk you through the entire process, from layout to leak-proof sealing, with no skipped steps.
You’ll learn how to handle framing, flashing, ventilation, and insulation the right way. If you’re in charge of facility improvements or managing your own retrofit, this guide will give you clarity and confidence.
A well-installed skylight isn’t just good-looking, it’s good business.
So, let’s get started!
Quick-View Table
If you’re managing a skylight install and want the whole process laid out in one place, this table’s for you. It breaks down each step, highlights the sub-tasks, tools you’ll need, expert tips to follow, and mistakes to steer clear of.
| Step | Step Title | Subheadings | Tools/Materials | Pro Tips | What to Avoid |
| Step#1 | Know the Basics | Skylight types, roof fit, code checks | Skylight specs, pitch guide, code book | Check codes early | Ignoring permits or load specs |
| Step#2 | Plan Your Installation | Location, layout, tools | Tape, chalk, material list | Mark clearly and pre-check framing | Placing near trusses or hidden systems |
| Step#3 | Cut the Opening | Frame opening, cut deck | Saw, drill, pry bar | Cut slowly and stay on lines | Overcutting or damaging supports |
| Step#4 | Install the Skylight Unit | Place frame, set pitch, secure unit | Level, fasteners, brackets | Dry-fit before anchoring | Cracking frame with overtight screws |
| Step#5 | Weatherproof and Seal | Flashing, membrane, drainage check | Flashing kit, tape, sealant | Start flashing at the bottom | Gaps or reversed flashing order |
| Step#6 | Finish the Interior | Insulate, drywall, trim | Insulation, drywall, trim | Seal insulation edges | Gaps or overfilled foam |
| Step#7 | Final Checks | Leak test, cleanup, record | Hose, camera, safety gear | Document with photos | Skipping test or cleanup steps |
This table gives you a fast overview, but if you need specifics like how to cut the opening clean or apply flashing right, you’ll find all the detailed steps just below.
Each section walks you through the process clearly so you can handle the install with confidence from start to finish.
Step#1 Know the Basics Before You Start
Before you even think about cutting into your roof, you’ve got to understand what you’re working with. Knowing the basics helps you choose the right skylight, avoid safety risks, and stay compliant with local rules.
This isn’t the step to skip because it lays the groundwork for a clean, leak-free install.
Types of Skylights
- Fixed Skylights for Natural Light: Fixed units don’t open, which means fewer leak points and lower maintenance. They’re great for spaces where airflow isn’t a concern but daylight is.
- Ventilated Skylights for Airflow: These can be manual or motorized and are ideal for spaces that need fresh air, like kitchens or restrooms. Just make sure you plan around moisture and condensation control.
- Tubular Skylights for Tight Spaces: These smaller skylights use reflective tubing to direct light. They’re perfect for hallways or bathrooms where a full skylight won’t fit.
Roof Compatibility and Load Considerations
- Check Roof Pitch Requirements: Skylights typically require a minimum slope to drain properly. A flat roof often needs a curb-mounted unit with additional waterproofing.
- Know Your Roofing Material: Metal, tile, or shingle roofing all require different install techniques. Flashing kits vary depending on what you’re working with.
- Understand Snow and Wind Load Ratings: Make sure the skylight is rated to handle your local climate. You don’t want pooling water, snow buildup, or broken glass under pressure.
- Avoid Structural Interference: Never cut through a roof truss or support beam without engineering approval. Doing so compromises structural integrity and creates liability issues.
Local Building Codes and Permit Requirements
- Permit May Be Required: Some municipalities need permits for skylight installs, especially for commercial buildings. Always call your local building office first to confirm.
- Fire and Egress Rules Apply: If your skylight is part of an emergency exit route or installed above occupied space, fire safety codes may come into play. Check the code language around fire-rated assemblies.
- Comply With Energy Codes: Many commercial codes require skylights to meet U-factor and solar heat gain specs. Make sure your product is rated accordingly to pass inspection.

Step#2 Plan Your Installation
Now that you’ve got the basics down, it’s time to map out how this install will actually happen. A solid plan helps avoid unnecessary damage, wasted materials, and mid-roof surprises that slow your team down. This step sets you up for a smooth, efficient job from start to finish.
Choosing the Right Location for Light and Access
- Consider Sun Path and Building Use: South-facing skylights bring in more light and heat, while north-facing ones offer consistent daylight. Match placement with how the space below is used.
- Avoid Obstructions Inside the Ceiling: HVAC ducts, electrical lines, or support framing may be hidden above the ceiling. Use inspection tools or building plans to check first.
- Ensure Safe Roof Access: Choose a section of the roof that’s safe to work on and reachable with ladders or lifts. Avoid steep slopes or areas near edges without fall protection.
Measuring and Layout
- Measure Between Rafters or Trusses: Most skylights are designed to fit standard rafter spacing. If you’re using a pre-framed unit from Vallisco, be sure to follow the exact width requirements and double-check before cutting.
- Plan for Rough Opening Size: Use the manufacturer’s instructions to determine the opening size. Include space for flashing, insulation, and any framing adjustments.
- Dry-Fit the Unit on the Ground First: Test the skylight and curb assembly before lifting it to the roof. It’s easier to make changes now than when you’re mid-install.
- Mark Layout Lines on the Roof Deck: Use chalk lines to mark all four sides of the cut. Make sure your lines are level and square to avoid framing headaches later.
Tools and Materials Checklist
- Basic Roofing Tools: Include a circular saw, hammer, roofing nails, pry bar, measuring tape, and chalk line. Always use a blade suited for your roof type.
- Weatherproofing Supplies: Bring self-adhesive flashing tape, step flashing, sealant, underlayment, and the proper fasteners. Don’t forget a caulking gun.
- Interior Finish Materials: Depending on your design, you’ll need drywall, trim, insulation, and paint. This ensures a complete job, not just a rough install.
- Safety Gear and Fall Protection: Ladders, harnesses, roof anchors, and gloves are non-negotiable. Always follow OSHA requirements for working at height.
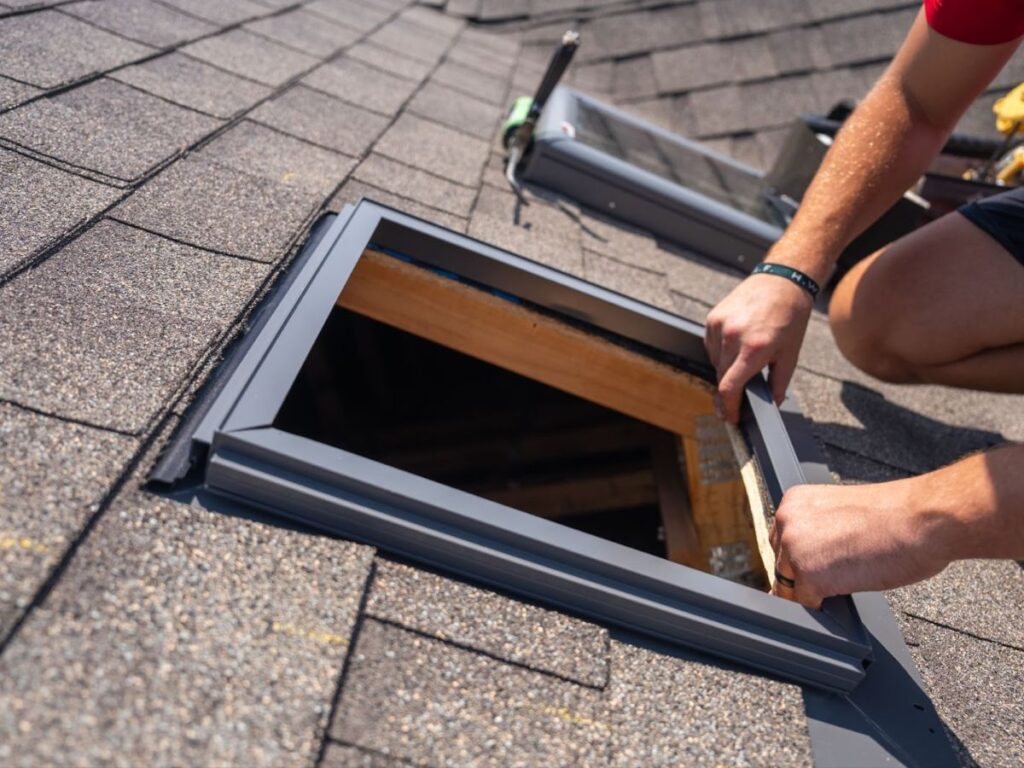
Step#3 Cut the Opening
With your layout marked and tools ready, it’s time to open up the roof. This step needs care, not speed. Clean cuts and precise framing make everything else from flashing to finishing easier and safer down the line.
Marking and Framing the Rough Opening
- Confirm Layout Lines Again: Double-check your chalk lines and measurements before you cut. Make sure the lines are square and centered between framing members.
- Use a Pilot Hole to Start: Drill a pilot hole in one corner of the opening to help guide your saw. This gives you a clean starting point and helps avoid splintering.
- Cut Along the Lines Carefully: Use a circular saw for straight cuts and finish corners with a handsaw if needed. Let the blade do the work and avoid forcing it through.
Cutting Safely Through Roofing and Sheathing
- Remove Roofing in Sections: Pull off shingles or roofing around the cut area to expose the deck. This gives you a clean, flat surface to cut through.
- Watch for Hidden Fasteners: Nails and staples from previous roofing layers can jam your saw or cause kickback. Keep a pry bar nearby to clear them as you go.
- Cut Only What’s Needed: Stay inside your marked lines and avoid overcutting. A tight fit helps when sealing and framing the unit later.

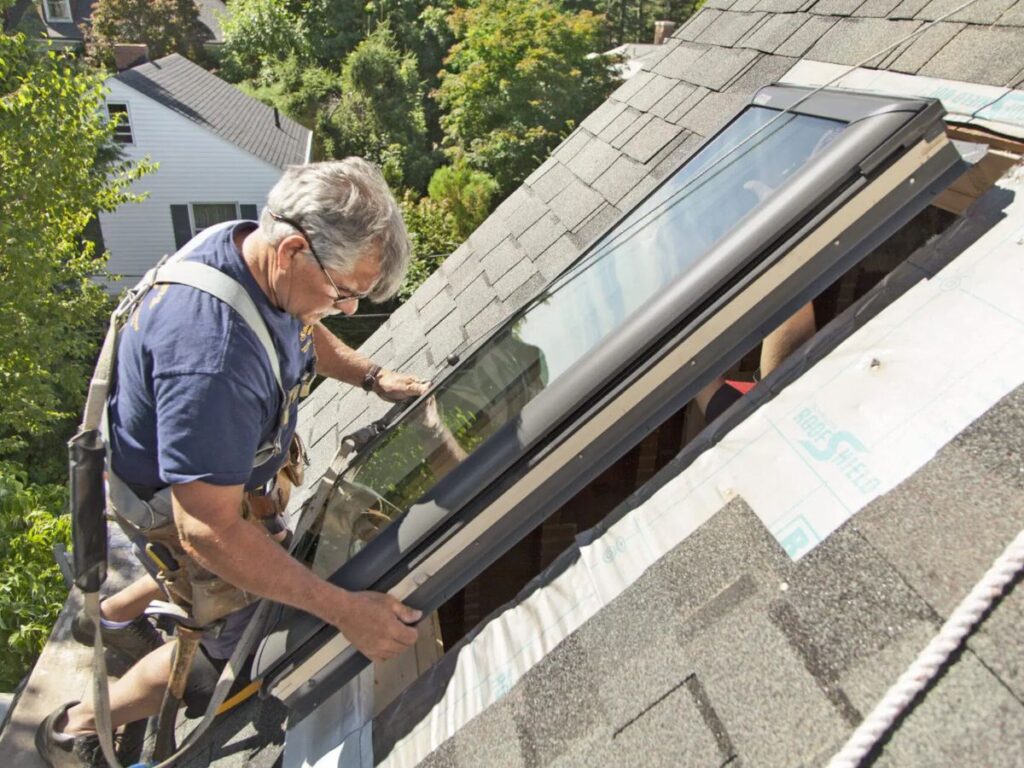
Step#4 Install the Skylight Unit
Now that your opening is clean and squared up, it’s time to set the skylight in place. This step is all about alignment and securing the unit properly so that the rest of the installation builds off a stable base.
Take your time here to avoid issues with leaks, drafts, or structural stress later on.
Placing and Securing the Skylight Frame
- Dry-Fit the Skylight First: Set the skylight into the opening to make sure everything aligns. Look for any gaps or uneven spots around the frame.
- Center and Level the Frame: Use a level to ensure the skylight sits flat and square. Centering it now saves you from flashing problems later.
- Anchor It to the Framing: Follow the manufacturer’s fastening pattern using approved screws or nails. Make sure fasteners are driven cleanly and do not over-compress the frame.
Aligning for Drainage and Pitch
- Check Roof Pitch Requirements: Some skylights need a minimum slope to avoid pooling. Match the product’s specs with your actual roof angle.
- Tilt Slightly if Needed: In borderline slope areas, use shims under one edge to help create pitch. Always keep the glass higher on the top side and lower at the bottom.
Installing Manufacturer-Supplied Mounting Hardware
- Use the Hardware Provided: Stick with the manufacturer’s brackets, clips, or gaskets. They’re tested with the unit and designed to work together.
- Seal Around Hardware Points: Any screw or anchor creates a potential leak path. Apply sealant at every penetration to stop water from getting in.
- Tighten Without Over-Torquing: Drive fasteners until snug, but not too tight. Overdriving can warp the frame or crack surrounding materials.

Step#5 Weatherproof and Seal
This is the step that makes or breaks the entire install. Even a perfectly framed skylight will leak if it isn’t sealed right. Taking your time here keeps the interior dry, protects insulation, and prevents costly repairs down the line.
Applying Flashing Kits or Custom Flashing
- Start With Bottom Flashing First: Always install the bottom piece first so water flows over it. Never reverse the order or you’ll trap water inside the frame.
- Layer Side and Top Flashing Correctly: The side pieces go on next, overlapping the bottom. Then the top flashing caps everything, directing runoff over the rest.
- Secure Flashing to Roof Deck: Use nails or roofing screws to attach each piece firmly. Make sure edges sit flat and don’t lift under pressure.
- Trim Flashing to Fit Tight Areas: If your roof has valleys or edges nearby, trim pieces with snips for a clean, snug fit. Gaps and overlaps lead to leaks.
Using Waterproof Membranes or Tapes
- Apply Self-Adhesive Flashing Tape: Run it along all sides of the frame, overlapping each corner. Press it firmly to ensure full contact with the roof deck.
- Seal Nail Holes and Seams: Use flashing tape to cover fastener heads and seams in the sheathing. This keeps water from following screw lines inside.
- Overlap Membranes Shingle-Style: Always install top layers over bottom layers to encourage drainage. This mimics how shingles shed water naturally.
Inspecting for Gaps, Overlaps, and Drainage Flow
- Look for Missed Fasteners or Loose Edges: Run your hands along the flashing and membrane edges. Make sure there’s no lifting, peeling, or unfastened corners.
- Confirm Drainage Path Is Clear: Water should flow away from the skylight without pooling. If anything blocks that flow, adjust flashing or roof materials now.
- Do a Quick Hose Test if Possible: Lightly spray water on the top side of the skylight and look inside for signs of moisture. It’s easier to fix now than after drywall goes in.
Step#6 Finish the Interior
With the outside sealed tight, it’s time to clean up the inside and make it look polished. This part not only improves appearance but also helps with insulation, energy efficiency, and long-term comfort. A skylight that looks good on the outside should feel just as solid indoors.
Insulating the Cavity Around the Skylight
- Use Proper Insulation Materials: Fiberglass batts or low-expanding spray foam work well. Fill the cavity completely without overstuffing or compressing the material.
- Seal Air Gaps With Foam or Caulk: Any gap between the frame and ceiling should be sealed. This keeps warm air from escaping and cold air from creeping in.
- Check for Moisture Protection: In high-humidity areas, consider adding a vapor barrier. Vallisco skylight systems are compatible with most standard moisture control methods to help prevent condensation around the frame.
Drywall, Trim, and Painting Touch-Ups
- Install Drywall Around the Shaft: Use drywall to box in the shaft from skylight to ceiling. Cut carefully for a snug fit and fasten it cleanly.
- Add Interior Trim for a Finished Look: Casing or corner trim gives the skylight a clean edge. It also helps hide slight framing imperfections.
- Sand, Paint, and Clean the Area: Smooth any rough spots and apply primer and paint to match the surrounding ceiling. Once dry, give the glass a final wipe to remove dust and smudges.
Step#7 Final Checks
Your skylight is installed, sealed, and trimmed, but you’re not done just yet. A few final checks can save you from costly call-backs or long-term issues. This is your chance to confirm everything is safe, dry, and ready to last.
Leak Test and Thermal Seal Review
- Run a Controlled Water Test: Lightly spray water over the top and sides of the skylight. Check the ceiling below and around the frame for any signs of moisture.
- Check for Drafts and Cold Spots: On windy or cold days, stand beneath the skylight and feel for air leaks. These often show up where insulation or sealant is missing.
- Verify Flashing and Tape Coverage: Walk the roof one last time to confirm all flashing and membrane edges are fully adhered. Look for loose corners or exposed fasteners.
Cleanup, Safety Check, and Documentation
- Remove Tools and Construction Debris: Clear the roof and indoor workspace of nails, scrap, and packaging. A clean area helps prevent injuries and makes the install look professional.
- Secure the Site and Finalize Ladder Use: Make sure all ladders, scaffolding, or roof anchors are removed safely. Double-check that all access points are locked or closed.
- Take Photos and Record Install Notes: Snap a few photos of the flashing, curb, and finished interior. Keep a brief log of materials used and any field adjustments for warranty or future reference.

Conclusion
That roof I inspected? We tore out the old skylight, fixed the damage, and installed a new one the right way.
Every step matters. Now that you’ve seen the full picture, go back through the details and make your next install your best yet.
Are you ready to upgrade your project with skylights that work as well as they look?
Contact us today at Vallisco, your trusted partner in doors and windows.
Explore More Helpful Resources
Curious for more? These additional articles offer even more insights and advice:
Still haven’t found what you’re looking for? Don’t hesitate to contact us. We’re available around the clock to assist you.


