I remember working on a hotel project where a cracked single hung window had to be replaced before guests checked in. The wrong installation the first time caused weeks of drafts and complaints.
That experience taught me how much time and money can be saved when the replacement process is done right from the start.
I work with property owners and engineering teams on villas, hotels, and B&Bs, helping them replace and install windows that last. Years on job sites have taught me the exact steps that avoid delays and rework.
In this article, I’ll walk you through the steps to replace a single hung window. By the end, you’ll know exactly what to do and how to avoid costly mistakes.
If you’ve ever had to replace a window under a tight deadline, you’ll know why every step matters.
Let’s jump in!
Quick Guidelines
Before we get into all the details, here’s a quick look at each step. This gives you a simple glimpse so you’re not lost when we dive deeper later.
| Steps | Key Actions | Why It Matters | Mistakes To Avoid |
| Step #1: Evaluate and Measure the Existing Window | Inspect frame, check moisture, test movement, note features. | Ensures accurate fit for replacement. | Skipping checks, wrong measurements. |
| Step #2: Choose the Right Replacement Window | Match size, check frame depth, note shape. | Fits needs and building style. | Choosing wrong size or material. |
| Step #3: Prepare Tools and Safety Gear | Gather hand tools, cutting tools, drill. | Speeds work and keeps crew safe. | Starting without full equipment. |
| Step #4: Remove Interior Stops or Trim | Score caulk, pry gently, work evenly, label stops. | Prevents wall or trim damage. | Forcing stops, breaking trim. |
| Step #5: Remove the Old Window Sashes and Frame | Remove sashes, disconnect balances, check fasteners. | Prepares clean opening for new window. | Damaging frame or wall edges. |
| Step #6: Inspect and Prepare the Opening | Check framing, inspect moisture, confirm square, check support. | Creates strong base for install. | Ignoring structural or moisture issues. |
| Step #7: Install the New Window | Dry fit, shim evenly, check level. Fasten frame, recheck, secure all points. | Sets window correctly for long use. | Over-tightening or misalignment. |
| Step #8: Seal and Insulate Around the Frame | Apply caulk outside and inside. Fill gaps with foam, trim excess. | Blocks drafts and water leaks. | Using high-expansion foam. |
| Step #9: Reinstall Trim and Final Checks | Position and secure trim, fill holes. Test locks, inspect gaps, clean glass. | Completes job with clean finish. | Leaving gaps or dirty surfaces. |
Alright, now let’s move on and dig into each step in more detail.
Step#1 Evaluate and Measure the Existing Window
Before touching any single tool, I’ve learned it’s worth taking time to check exactly what you’re working with. Skipping this step can lead to ordering the wrong size or style of window, which can cost you time and money.
Check the Window’s Current Condition
- Inspect the Frame: Look for cracks, warping, or rot around the frame. Any of these issues can cause poor fit and lead to more problems after installation.
- Look for Moisture Problems: Check for water stains or soft wood around the opening. This could mean leaks that need repair before putting them in the new window.
- Test the Movement: Open and close the window several times. If it sticks, drags, or sags, there may be structural issues to address.
- Note Special Features: Identify any custom hardware, unusual sizing, or special glass. This helps you order the right replacement without last-minute changes.
Measure the Opening the Right Way
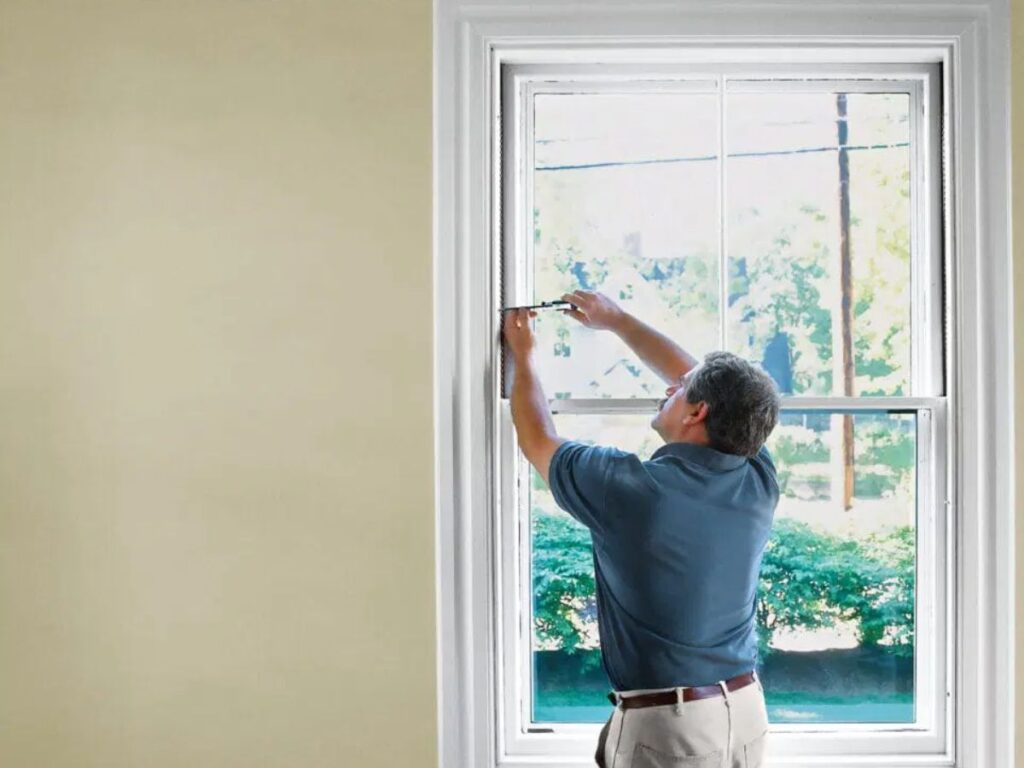
- Measure Width in Three Spots: Take measurements at the top, middle, and bottom of the opening. Use the smallest number, so the new window fits without forcing.
- Measure Height in Three Spots: Measure on the left, center, and right side of the opening. Record the smallest figure to avoid sizing problems.
- Check for Square: Measure diagonally from corner to corner in both directions. If the numbers vary a lot, the frame needs to be corrected before installation.
- Record Measurements Clearly: Write everything down in a place your team can easily access. This prevents confusion when ordering or preparing the new window.
Step#2 Choose the Right Replacement Window
Now that you have accurate measurements, it’s time to select the window that fits both your opening and your project needs. I’ve seen jobs slow down because the wrong product was chosen, even when the measurements were right. Picking carefully here will save you headaches later.
Match the Size and Specifications
- Confirm the Dimensions: Compare your measurements with the manufacturer’s sizing chart. Even small differences can cause problems during installation.
- Check Frame Depth: Make sure the new window’s frame depth works with your wall construction. I always double-check this to avoid last-minute adjustments on-site.
- Account for Opening Shape: If the frame is slightly out of square, choose a model that allows for adjustments during fitting.
Select the Right Material and Features
- Choose Durable Materials: For villas, hotels, and commercial projects, pick materials that handle weather and wear well. Vallisco manufactures windows that are built for long service life, using quality materials that maintain their strength and appearance even under heavy use.
- Select Energy-Efficient Glass: Look for glazing that improves insulation and reduces energy costs. I’ve found this is often a selling point with property owners.
- Match the Design to the Building: Make sure the style fits the architecture of the property. A mismatched design can stand out for the wrong reasons.

Step#3 Prepare Tools and Safety Gear
With the right window chosen, the next step is getting your tools and safety gear ready. I always make sure this is done before the crew arrives, so no one wastes time looking for equipment mid-job. Being prepared here helps your installation run smoothly from start to finish.
Gather the Essential Tools
- Basic Hand Tools: Have your tape measure, level, pry bar, and screwdrivers ready. I keep mine in a dedicated toolbox so they’re easy to grab on site.
- Cutting Tools: You may need a utility knife or oscillating tool for removing trim or adjusting the opening. Make sure blades are sharp to avoid rough cuts.
- Fastening Tools: A power drill with the right bits will speed up the installation. Check batteries or cords so you’re not delayed later.
Set Up Safety Gear
- Protective Glasses and Gloves: Keep your crew’s eyes and hands safe from debris and sharp edges. I never start without mine on.
- Dust Mask or Respirator: Cutting or removing old materials can release dust and particles. This is especially important for older buildings.
- Stable Ladder or Scaffolding: Make sure you have a safe way to reach higher points. Inspect it before use to avoid accidents.
Step#4 Remove Interior Stops or Trim
Now that your tools and safety gear are ready, it’s time to start opening up the window area. I take my time here because damaging the trim or wall can lead to extra repair work later. Careful removal will also make it easier to reinstall trim once the new window is in place.
Loosen and Remove the Stops
- Score the Paint or Caulk Line: Use a utility knife to cut through the seal between the stop and the frame. This helps prevent tearing the paint or wood.
- Pry Gently with the Right Tool: Use a thin pry bar or putty knife to lift the stop away from the frame. I find working slowly here avoids cracking the wood.
- Work from One Side to the Other: Start at one end and move across the length of the stop. This keeps the pressure even and reduces the risk of breakage.
- Label the Stops for Reuse: If you plan to reinstall them, mark each stop’s position. This saves time when putting everything back together.
Remove or Protect the Trim
- Decide Whether to Remove or Leave It: If the trim is in good shape, you may be able to work around it. This can save time on reinstallation.
- Pry Trim Carefully if Needed: Use a flat tool to work it loose from the wall. I like to slide a scrap piece of wood behind my tool to protect the wall surface.
- Check for Hidden Nails or Screws: Run your hand or tool along the trim edge to find fasteners before pulling. Missing one can split the wood.
- Store Trim Pieces Safely: Lay them flat in a clean space to keep them from bending or chipping. This makes reinstallation much smoother.

Step#5 Remove the Old Window Sashes and Frame
With the stops and trim removed, the next task is taking out the old sashes and frame. A steady, methodical approach helps prevent damage to the opening and makes installing the new window more straightforward.
Take Out the Window Sashes
- Unlock and Remove the Lower Sash: Release any latches or hardware holding it in place. Keep screws or parts in a container so they don’t get lost.
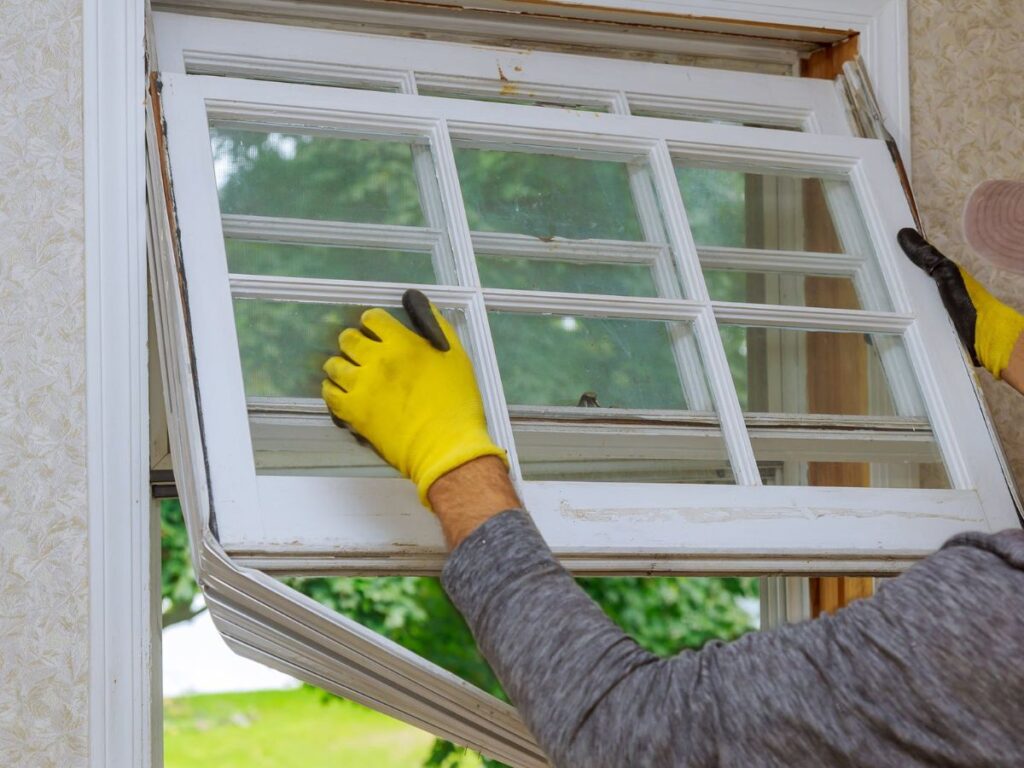
- Tilt and Lift the Upper Sash: Slide it down slightly, tilt it inward, and lift it free from the frame. I’ve found this step goes faster when both hands are used to control the movement.
- Disconnect Balance Mechanisms: If there are weights, springs, or cords, remove them carefully. Some can snap back if not handled properly.
- Check for Hidden Fasteners: Look along the sash edges for screws or nails. Removing these first prevents splintering the wood.
Remove the Frame
- Cut Through Any Sealant or Caulk: Use a utility knife to break the seal between the frame and the wall. This makes prying easier and cleaner.
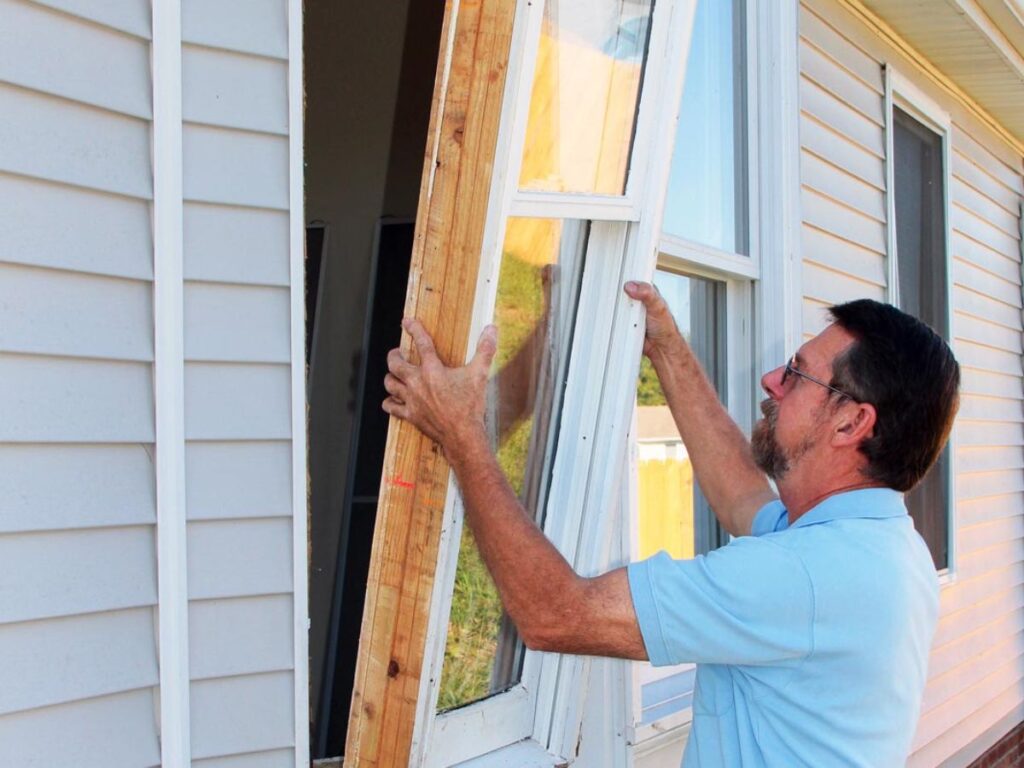
- Pry the Frame Out in Sections: Start at one corner and work around the perimeter. Taking it out piece by piece helps avoid damage to the wall or opening.
- Watch for Embedded Nails or Screws: Pull or cut them before lifting the frame pieces. This reduces the chance of tearing surrounding materials.
- Clear the Opening Completely: Remove any debris, old insulation, or leftover fasteners. A clean opening is essential for the next step in installation.

Step#6 Inspect and Prepare the Opening
With the old window removed, you can now focus on checking the opening before putting the new one in place. I know from experience that this is where small problems can be caught before they turn into big ones.
Inspect the Opening
- Check the Framing for Damage: Look for rot, cracks, or loose boards. If you find damage, repair it before moving forward.
- Look for Moisture or Mold: Any dampness or mold should be addressed right away. I’ve caught small leaks at this stage that would have ruined a new window in months.
- Confirm the Opening is Square: Measure diagonally from corner to corner. Differences in length mean you’ll need to correct the frame.
- Check Structural Support: Make sure the header and sill are strong and secure. Weak points here can affect the entire installation.
Prepare the Opening
- Clean Out Debris: Remove dust, wood chips, and leftover nails. A clean space makes fitting the new window easier.
- Repair or Replace Damaged Parts: Fix any framing or sill issues now. It’s much harder to do this once the new window is in.
- Apply Flashing or Waterproof Membrane: This adds protection against water intrusion. I’ve found it’s one of the simplest ways to prevent future leaks.
- Level the Sill: Use a level to check the sill and adjust with shims if needed. A level base is key for smooth operation of the new window.
Step#7 Install the New Window
With the opening clean and ready, it’s time to set the new window in place. I’ve learned that using high-quality windows like from Vallisco can reduce the risk of alignment problems and improve overall performance. Their precision manufacturing and consistent sizing help installations go faster and last longer.
Position the Window
- Dry Fit the Window: Place it into the opening without fastening to check for fit. This lets you spot any adjustments needed before committing.
- Center the Window in the Opening: Use shims to position it evenly on all sides. I’ve found this keeps the window looking balanced from both inside and outside.
- Check for Level and Plumb: Use a level to make sure the window is straight vertically and horizontally. An uneven window can cause long-term operational issues.
Secure the Window
- Fasten Through the Frame: Use screws in the manufacturer’s recommended locations. Over-tightening can distort the frame, so apply even pressure.
- Recheck Alignment as You Work: After placing a few screws, confirm it’s still level and plumb. It’s easier to fix alignment now than after it’s fully fastened.
- Secure All Points: Attach at the top, sides, and bottom as directed. Missing fasteners can lead to shifting over time.
Verify the Operation
- Test Opening and Closing: Move the sashes to make sure they operate smoothly. I keep testing during installation to catch issues early.
- Check Locks and Latches: Make sure they line up and function properly. Misaligned locks can affect security and usability.
- Inspect from Inside and Outside: Look for gaps, misalignment, or visible frame twists. Addressing them now avoids customer callbacks later.

Step#8 Seal and Insulate Around the Frame
Now that the new window is securely in place, it’s time to make sure it’s protected against drafts and moisture. I know this step is just as important as the installation itself because poor sealing can lead to callbacks and costly repairs.
Apply the Sealant
- Choose the Right Caulk: Use an exterior-grade, paintable caulk for the outside and an appropriate interior sealant inside. I’ve found that matching the caulk to the building’s needs helps with both durability and appearance.
- Seal the Exterior Gaps: Apply a continuous bead along the exterior edges where the frame meets the siding. Smooth it for an even, watertight seal.
- Seal the Interior Gaps: Use a bead of interior sealant along the inside edges. This helps block air movement and improves insulation.
- Work in Manageable Sections: Sealing small sections at a time keeps the bead smooth and prevents gaps.
Add Insulation
- Use Low-Expansion Spray Foam: Fill the gaps between the window frame and rough opening with low-expansion foam designed for windows. High-expansion foam can warp the frame.
- Apply Foam Evenly: Insert the nozzle gently and fill gaps about halfway—foam will expand to fill the space. I prefer a light, controlled application for better results.
- Check for Missed Spots: Once the foam sets, look for any gaps and touch them up.
- Trim Excess Foam: After it cures, trim any foam that sticks out beyond the frame. This makes reinstalling trim much cleaner.
Step#9 Reinstall Trim and Final Checks
With sealing and insulation complete, the last step is putting everything back together and making sure the window works as it should. I make it a habit to slow down here because these final touches affect both the look and performance of the installation.
Reinstall the Trim
- Position the Interior Stops or Trim: Align them in their original locations for a precise fit. This helps the window look like it’s always been there.
- Secure with Finishing Nails or Screws: Fasten the trim without overdriving the nails. I keep the pressure light to avoid splitting the wood.
- Fill and Touch Up: Use wood filler for nail holes, then sand and paint or stain as needed to match the surrounding finish.
Perform Final Checks
- Test the Window’s Operation: Open, close, and lock the window several times. This ensures smooth function before you leave the site.
- Inspect for Gaps or Misalignment: Look along both the interior and exterior edges. If anything is off, correct it before signing off on the job.
- Clean the Glass and Frame: Wipe away dust, fingerprints, and excess sealant. A clean window is easier for your client to inspect and approve.
Conclusion
We started with a story about a hotel window replaced under pressure. That project showed how a careful process leads to better results.
In this guide, we covered measuring, selecting the right window, prepping, installing, and sealing. When each step is done correctly, the result is reliable and long-lasting.
Choosing quality windows from Vallisco gives you even more confidence in your work. Do not wait until a problem becomes urgent.
Contact us today and let’s make it happen!
Recommended Reads for You
Interested in more? Here are some additional articles with insights and tips to keep you informed:
Still haven’t found what you’re looking for? Don’t hesitate to contact us. We’re available around the clock to assist you.


