I still remember the first time I tried to block out street noise in a villa project. The door looked solid, but every sound passed through like nothing had changed.
That experience taught me that soundproofing isn’t about heavy doors it’s about the right installation process.
Over the years, I’ve worked with property owners and engineering teams who faced the same challenge. What I share here comes from real practice, not theory.
In this article, you’ll get a simple step-by-step process to install a soundproof door. By the end, you’ll know exactly how to improve privacy and comfort in your building.
Noise problems don’t have to stay permanent.
So let’s get down to it!
Quick Comparison Chart
Before we dig into each step, here’s a quick side-by-side look at all six. Think of it as your roadmap before we dive into the details.
| Step | What It Covers | How To Do It | Why It Matters | Limitations |
| Step 1: Choose the Right Door | Select solid core, hollow core, or acoustic-rated | Compare core type, STC rating, and materials | The door type sets the foundation for soundproofing | Hollow core fails in high-noise areas |
| Step 2: Prepare the Frame | Measure and reinforce the frame area | Measure width, height, depth; add foam or caulk | Accurate sizing prevents gaps and leaks | Skipping this leads to costly rework |
| Step 3: Install the Door | Hang the new or upgraded door | Use heavy-duty hinges, align properly, secure screws | A tight fit stops rattles and uneven closing | Solid doors are heavy, may need two people |
| Step 4: Seal the Perimeter | Seal edges and bottom of the door | Apply weatherstripping and attach sweeps/thresholds | Perimeter leaks are the biggest sound loss | Seals wear down and need replacement |
| Step 5: Add Mass & Dampening | Optional acoustic upgrades | Apply MLV sheets or mount acoustic panels/laminates | Extra layers block traffic or hallway noise | Adds weight and thickness to the door |
| Step 6: Final Inspection | Check for gaps and sound leaks | Flashlight test, decibel meter app, adjust if needed | Confirms performance before handover | Missed leaks require returning to earlier steps |
Now that you’ve seen the 6 steps side by side, let’s go deeper into each one.
Step#1 Choose the Right Door Type
I’ve seen projects fail simply because the wrong type of door was chosen at the start. Even in villas or hotels with great design, noise leaks through if the door isn’t right. That’s why this first step matters so much.
Solid Core vs Hollow Core
From experience, solid core doors always perform better. They’re dense, heavy, and give you real sound control. I once worked on a hotel project where hollow core doors were used in every guest room. Guests could hear conversations in the hallway, and the management ended up replacing every door. Hollow core might work for closets or storage spaces, but never for guest areas.
Acoustic-Rated Doors
Some projects require more than just “solid.” That’s where acoustic ratings come in. STC, or Sound Transmission Class, is the score that measures how well a door blocks sound. For villas or homes, I recommend at least STC 30. For hotels, inns, or B&Bs, STC 40 and above is the safer choice. It makes the difference between constant complaints and satisfied guests.
Door Material Options
Material choice depends on the building type. Wood is ideal for villas where design and warmth matter. MDF with an acoustic core works well in hotels that need consistent soundproofing. Metal-clad doors are durable and useful for service or back areas. Acoustic glass is a good option in greenhouses or modern properties where you need both natural light and noise control.
Step#2 Prepare the Door Frame and Surrounding Area
Before you hang a soundproof door, the frame and surrounding area must be ready. A well-prepared frame prevents gaps that leak noise and cause costly problems later.
Measure Correctly
- Width: Measure across the inside edges of the frame from left to right. A wrong width will leave gaps that no amount of sealing can fix.
- Height: Measure from the floor to the top inside edge of the frame. Even a small mistake here creates alignment problems.
- Depth: Measure the wall thickness where the frame sits. If the depth is off, the frame won’t sit flush and the door will never close tight.
I once worked in a villa where only width and height were measured. The wrong depth caused the frame to tilt, and the entire project had to be redone.
Reinforce the Frame
- Spray Foam: Expands to fill larger spaces around the frame. It provides strong insulation and blocks unwanted air gaps.
- Acoustic Caulk: Flexible material for sealing smaller cracks. It stops sound vibrations from slipping through the tiniest openings.
- Check Squareness: Confirm that all corners form right angles. If the frame leans or twists, the door will never seal evenly.
Preparing the frame may not feel like progress, but it is the backbone of installation. With the right measurements and reinforcement, your door will close snug and quiet.
Step#3 Hang or Install the New Door
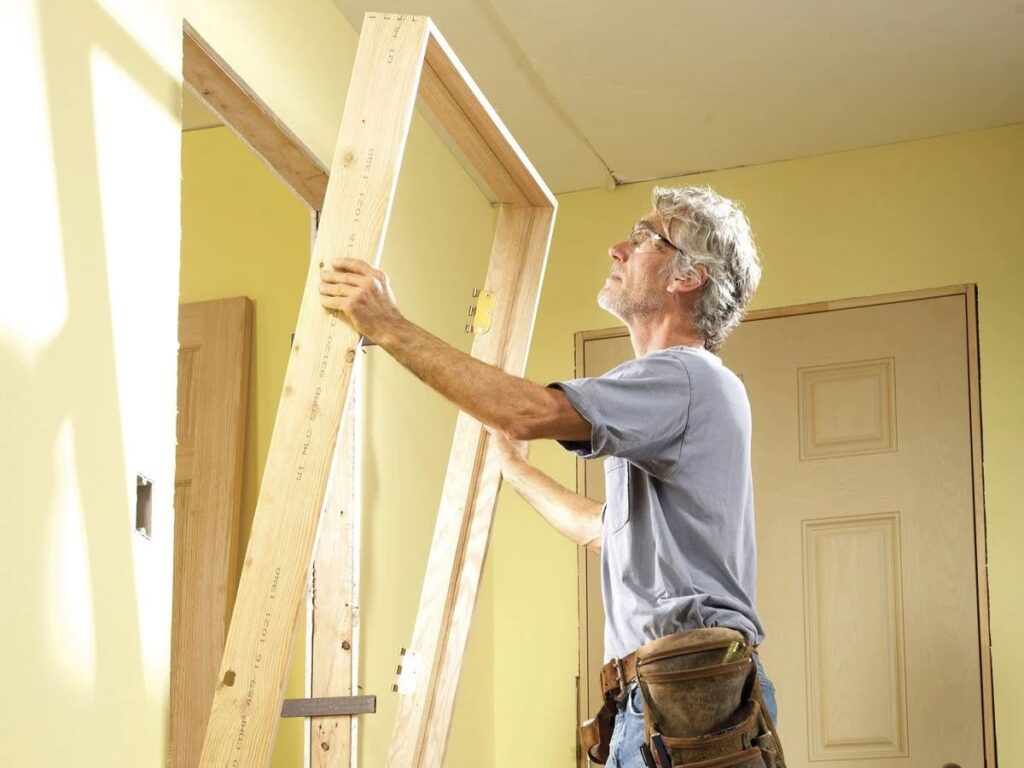
Once the frame is ready, it’s time to install the door. This is the step where everything starts coming together, and it’s also the point where mistakes become obvious. I’ve been on projects where the wrong hinge or a sloppy alignment ruined days of hard work. Taking your time here pays off.
Hinges and Alignment
Solid core and acoustic-rated doors weigh much more than standard ones. For this reason, you need heavy-duty hinges that can carry the extra weight without sagging.
- Hinge Placement: Install three to four hinges depending on the height of the door. More hinges distribute the weight evenly and prevent stress on the frame.
- Alignment Check: Test the fit before tightening the screws. A door out of alignment rattles, leaks sound, and eventually damages the frame.
I once saw a contractor skip the alignment step on a hotel project. Within weeks, the doors sagged and had to be pulled out and reset. That mistake cost both time and money.
Mounting the Door
Lifting a solid core door is not a one-person job. These doors are heavy, and trying to mount one alone risks both injury and damage. Always have a second person help with the lift.
- Lift and Position: Stand the door upright and carefully place the hinges into the frame slots.
- Secure Hinges: Partially drive in the screws to hold the door, then test the swing. If the door opens and closes smoothly, drive the screws in fully.
- Final Check: Look for any uneven spacing between the door and frame. Adjust before moving on, because once sealed, gaps will be harder to correct.
Installing a door takes strength and patience, but doing it carefully makes every later step easier. Once the door swings smoothly and sits tight, you know you’re on the right track.

Step#4 Seal the Door Edges and Gaps
A solid door still leaks sound if the edges are not sealed. Noise travels through the smallest cracks, which makes this step critical.
Weatherstripping Around the Edges
- Adhesive foam tape: Flexible and quick to install, making it useful for small residential projects. It compresses easily to block air gaps but wears faster with frequent use.
- Silicone gaskets: Durable and better suited for doors with heavy use. They maintain a tight seal over time and resist damage.
- Magnetic seals: Offer the strongest closure for acoustic-rated doors. They work much like a refrigerator seal, snapping tight when closed.
Apply weatherstripping in one continuous strip along the top, sides, and bottom of the frame. On one project, I saw a B&B use strips cut too short, and guests still complained of hallway noise until they were replaced.
Door Sweep and Threshold Seal
- Standard sweeps: Attach directly to the bottom edge and brush lightly against the floor. They are affordable and easy to install but wear down faster.
- Automatic door bottoms: Drop a built-in seal only when the door is closed. They provide stronger soundproofing and less drag over time.
To install a sweep, measure the width of the door and trim the sweep to fit. Secure it with screws along the bottom edge, then test the swing to confirm it seals properly without dragging.
Sealing the perimeter may feel like a finishing touch, but it has the biggest impact on noise reduction. Once this step is complete, the difference is immediately noticeable.
Step#5 Add Extra Mass or Acoustic Layers (Optional)
Even with a sealed perimeter, some spaces still struggle with noise. This is common in hotels, inns, or villas close to busy streets. Adding extra mass and dampening layers is an upgrade that makes soundproofing more effective.
Mass Loaded Vinyl (MLV)
Mass loaded vinyl, or MLV, is a flexible but dense sheet designed to block sound. Adding weight makes it harder for vibrations to pass through the door.
- Benefits: MLV boosts the performance of solid core doors. It reduces airborne sounds like voices and low-frequency noise such as traffic.
- Installation: Cut sheets to fit the size of the door. Attach them with strong adhesive or screws with finishing washers to keep them secure and flat.
Vallisco offers MLV sheets for clients upgrading guest rooms or villas near busy roads. It’s a simple layer, but it makes a noticeable difference in comfort and privacy.
Acoustic Panels or Laminates
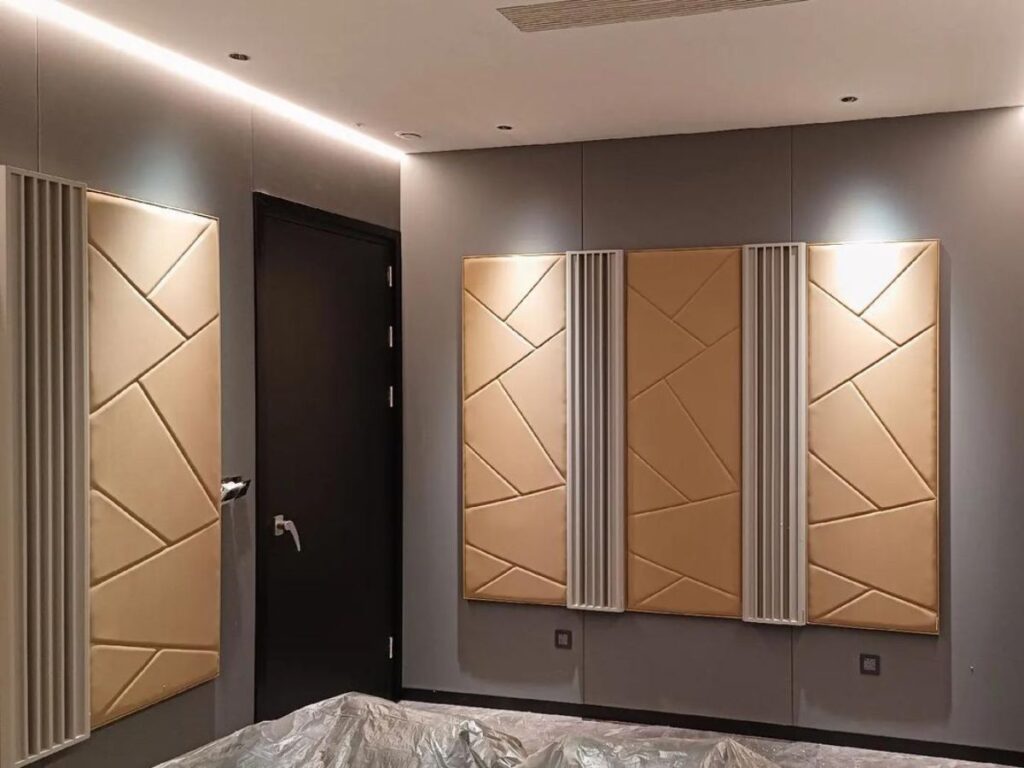
Acoustic panels and laminates add both sound control and visual appeal. This makes them a popular choice for hotels or inns that need quiet guest areas without compromising style.
- Aesthetic Value: Panels blend into the room design while adding extra density. They help achieve a balance of noise control and visual finish.
- Application: Spread adhesive evenly on the back of the panel. Press it firmly onto the door surface, checking for bubbles or loose spots.
This step may be optional, but in noisier environments it makes a big difference. Extra layers move a door from basic soundproofing to professional-grade quiet.
Step#6 Perform a Final Inspection and Sound Test
The last step is to check your work. This is where you confirm that all the effort put into the installation actually delivers results. A proper test now prevents problems later.
Test for Gaps and Leaks
Close the door and shine a flashlight around the edges. If light passes through, sound will too. Even small leaks can reduce the overall effectiveness.
- Flashlight Test: Have someone shine a flashlight from one side of the door while you inspect the other side. Any visible light points to a weak spot that needs sealing.
- Decibel Meter Test: Use a decibel meter app on your phone to measure sound levels before and after installation. This gives you a clear picture of how much noise reduction you achieved.
In one inn project, light leaked through a small gap near the threshold, and guests still complained. Vallisco often recommends this simple test to clients because it quickly reveals whether the sealing work is complete.
Adjustments if Needed
If you find leaks, don’t worry. Most adjustments are quick to handle.
- Reapply Seals: Fill gaps with weatherstripping or acoustic caulk. Even a short strip can improve results.
- Tighten Hinges: A hinge that loosens over time creates uneven spacing. Tightening it can restore a snug fit.
- Add Dampening Layers: If noise persists, consider extra upgrades like mass loaded vinyl or acoustic panels.
This inspection may feel like a small step, but it proves whether the door actually performs as intended. By testing and making adjustments, you finish with a door that delivers real quiet and long-term reliability.
Conclusion
From choosing the right door to sealing the last gap, every step adds up to real quiet. We’ve walked through what to do, where to focus, and how to finish with confidence.
The truth is: soundproofing isn’t magic. It’s method. And now you have it in your hands.
Take action today. Start with one step and keep building until you’ve completed all six.
What space do you want to quiet down first? A villa, a hotel, or maybe a B&B?
Reach out to Vallisco today and let’s get your doors ready for silence.
Explore More of Our Resources
If you’re searching for more choices, explore our full collection of products. We’ve picked out some great options for you:
Still haven’t found what you’re looking for? Don’t hesitate to contact us. We’re available around the clock to assist you.


