I still remember a project where a hotel team came to us worried. They wanted windows that looked elegant but also had to keep rooms quiet from street noise.
That moment reminded me that many project owners want clarity before making choices. The process behind a window can answer many of their questions.
I’ve worked with clients across villas, hotels, and greenhouses. I know the steps that make a window strong, long lasting, and fit for different kinds of buildings.
In this guide, you will see the windows manufacturing process explained step by step. By the end, you will know what to expect, and you will have the details you need for your next project.
So let’s walk through this process together.
Let’s get started!
Quick Overview Chart
Before we go into details, here’s a quick look at the windows manufacturing process from start to finish. This table gives you a clear snapshot of what happens at each stage.
| Step | Process | Key Details |
| 1. Designing the Window | Plan and design | Choose type, size, style, function. Fit building needs (villa, hotel, B&B, greenhouse). |
| 2. Choosing Raw Materials | Select frame and glass | Options: uPVC, aluminum, wood, composite. Glass types: single, double, triple, Low-E, laminated, tempered. |
| 3. Frame Manufacturing | Cut and assemble frames | Precision cutting, shaping, welding or joining. Reinforcements for strength. |
| 4. Glass Treatment | Prepare and process glass | Cutting, polishing, tempering, laminating, coatings for energy and safety. |
| 5. Glazing & Sealing | Insert glass into frame | Use spacers, apply sealants, gas filling for insulation. Prevent leaks and heat loss. |
| 6. Hardware & Fittings Installation | Add functional parts | Hinges, locks, handles, rollers, weatherstrips. Improves operation and security. |
| 7. Surface Finishing & Customization | Apply finishing touches | Powder coating, lamination, painting. Options for color, design, decorative glass. |
| 8. Quality Control & Testing | Test and inspect | Check air tightness, water resistance, safety, thermal performance, compliance. |
These steps build a clear picture of how a window is made. Read below for a detailed breakdown of each stage.
Step#1 Designing the Window
Before any machine starts running, a window begins with design. This step is where you decide how the window will look and how it will perform in your building. I’ve seen many projects succeed or fail based on how much attention was given here. That’s why I want to walk you through the essentials.
Defining Your Needs and Goals
- Building Type and Purpose: The needs of a hotel room are different from a greenhouse or a villa. For example, hotels often need noise control, while greenhouses demand maximum light. Thinking about purpose first helps narrow choices right away.
- Window Functionality: Will the window open wide for airflow, or stay fixed to maximize insulation? This simple choice can change both comfort and cost. You should think about how people will use the space daily.
- Aesthetic Requirements: Some projects demand sleek, modern lines, while others need a warmer, traditional look. The design should blend with the building’s character and add to its appeal.
- Performance Priorities: Decide if energy savings, soundproofing, or security is the top priority. This decision guides the design and later steps in the process. I often remind clients that every project has a different balance.
Choosing Style and Configuration
- Window Types: Casement, sliding, tilt-and-turn, bay, or fixed windows all serve different needs. A sliding window may suit a busy hallway in a hotel, while a bay window might add character to a villa.
- Size and Proportion: Large glass panels bring in light but may also need stronger frames and glass. Smaller windows can give privacy but limit natural light. Your design should reflect both function and style.
- Glazing Options: Single, double, or triple glazing has a big impact on energy use and comfort. Hotels and B&Bs often choose double glazing for noise and temperature control. Greenhouses, on the other hand, may value light over insulation.
- Safety and Security Features: Think about locks, laminated glass, or reinforced frames if security is a concern. This is often a must in urban hotels or homes close to busy areas.
Step#2 Choosing Raw Materials
Every strong window starts with the right raw materials. I’ve learned over the years that this step is where many projects gain or lose long-term value. When you choose carefully here, you save yourself future problems with repairs or replacements.
Frame Materials
| Material | Description | Advantages | Considerations |
| uPVC | Plastic-based material used widely in modern windows. | Low cost, low maintenance, good insulation, resistant to moisture. | Limited strength for very large windows, fewer color options. |
| Aluminum | Lightweight metal with high durability. | Strong, slim frames allow larger glass panels, modern look, weather resistant. | Less insulating by itself, often combined with thermal breaks. |
| Wood | Traditional natural material, used for centuries. | Warm, classic look, flexible for custom shapes, good insulation. | Needs regular maintenance, vulnerable to moisture and pests. |
| Composite (Hybrid) | Mix of two or more materials, such as wood + aluminum or uPVC + steel. | Combines strength, insulation, and style; reduces weaknesses of single materials. | Higher cost, not always available in all regions. |
| Steel Reinforced uPVC | uPVC frame with steel insert inside profiles. | Provides strength and stability for larger openings. | Adds weight, higher cost than standard uPVC. |
| Fiberglass | Less common but strong and stable. | Resists warping, expands and contracts less with temperature, energy efficient. | Higher price, fewer color choices compared to aluminum or wood. |
Glass Types
- Single Glazing: Basic and low-cost, but limited in insulation. It may still work in greenhouses where light is the top priority.
- Double and Triple Glazing: Adds insulation against heat loss and sound. Many hotels and B&Bs choose double glazing to improve comfort for guests. Triple glazing is less common in Southeast Asia but useful in colder climates in Europe.
- Low-E Glass: Coated to reflect heat while letting light pass through. This is especially helpful in hot climates where cooling costs are high.
- Safety Glass: Laminated or tempered glass improves strength and safety. I often recommend this in public buildings where safety standards are strict.
Other Key Materials
- Sealants and Spacers: These small parts make a big difference. They reduce air leaks and improve insulation between glass panes. Poor-quality spacers can shorten the life of a window.
- Reinforcements: Steel or aluminum bars inside uPVC frames add strength. They keep the frame stable, especially in larger windows.
- Gas Filling: Argon or krypton gas can be added between panes in double or triple glazing. This improves insulation without changing its appearance.
- Hardware Basics: Handles, locks, and hinges are also part of raw materials. Their quality will affect how smoothly the window works over time.
Step#3 Frame Manufacturing
A window frame is more than just a border that holds the glass. This step is where raw material turns into a structure that supports the whole unit. I’ve seen how poor frame work can lead to gaps, drafts, or early failures, so it’s an area you don’t want to overlook.
Cutting and Shaping the Profiles
- Precision Cutting: Frames start as long profiles of aluminum, uPVC, or wood. They are cut to exact lengths, and even a small mistake here can throw off the whole fit later.
- Shaping with Machines: Specialized tools or CNC machines shape corners, slots, and grooves. This makes it possible to join parts without gaps. I often point out that accuracy here saves trouble during installation.
- Allowing for Reinforcement: In some frames, especially uPVC, spaces are left inside to add steel reinforcement. This strengthens the frame and makes it more stable in large sizes.
- Surface Preparation: Before joining, edges are cleaned and smoothed. This step improves bonding and prevents small flaws from showing later.
Joining and Assembling the Frame
- Welding or Mechanical Joining: uPVC frames are often heat-welded at the corners, while aluminum or wood may be screwed or clamped. The goal is always a tight joint that won’t loosen over time.
- Adding Reinforcements: Steel or aluminum bars are fitted where needed. In my experience, hotels and villas with large windows benefit from this step most.
- Fitting Gaskets and Linings: Rubber or plastic gaskets are inserted into grooves. They keep out air and water and also prepare the frame for glazing later.
- Checking Dimensions: Every assembled frame is measured again. A few millimeters off at this stage can cause leaks or poor sealing once the glass is added.
Step#4 Glass Treatment
Glass is at the center of any window. It decides how much light enters, how well the space stays quiet, and how much energy is saved. I’ve seen many projects succeed because the right glass treatment was chosen early, and I’ve also seen costly mistakes when it was overlooked.
Cutting and Sizing Glass
- Exact Dimensions: Glass sheets are cut down from large stock panels to fit each frame. Even small errors here can cause cracks or leaks once installed.
- Edge Polishing: The sharp edges are ground smooth for safety. This also reduces the chance of chips forming during later steps.
- Special Shapes: Villas and hotels often request arched or angled designs. These require extra cutting tools to keep edges clean and accurate.
- Inspection During Cutting: Any scratches, bubbles, or defects are removed before the glass moves forward. Catching flaws early saves both time and cost later.
Strengthening and Safety Treatments
- Tempering: Glass is heated and cooled quickly to make it four to five times stronger than normal. If broken, it shatters into small pieces rather than large dangerous shards.
- Laminating: 2 or more glass layers are bonded with a plastic film. This makes the pane harder to break and improves sound control. Hotels and busy urban homes often use this option.
- Heat-Soak Testing: Tempered glass can be tested to reduce the risk of spontaneous breakage. I’ve seen clients gain peace of mind with this extra step.
- Impact Resistance: In areas exposed to storms or heavy use, stronger glass options are chosen. This helps avoid costly damage and safety risks.
Energy and Comfort Enhancements
- Low-E Coatings: A thin layer reflects heat while allowing light to pass. This lowers cooling costs in hot climates and heating costs in cold regions.
- Tinted or Reflective Glass: Helps control glare and adds privacy. Hotels often use this in lobby or front-facing areas.
- Gas Filling Preparation: Glass units can be prepared for argon or krypton gas layers. This increases insulation without changing the look of the window.
- Soundproofing Options: Thicker panes or laminated glass reduce outside noise. Many B&Bs and city hotels value this feature for guest comfort.
Step#5 Glazing & Sealing
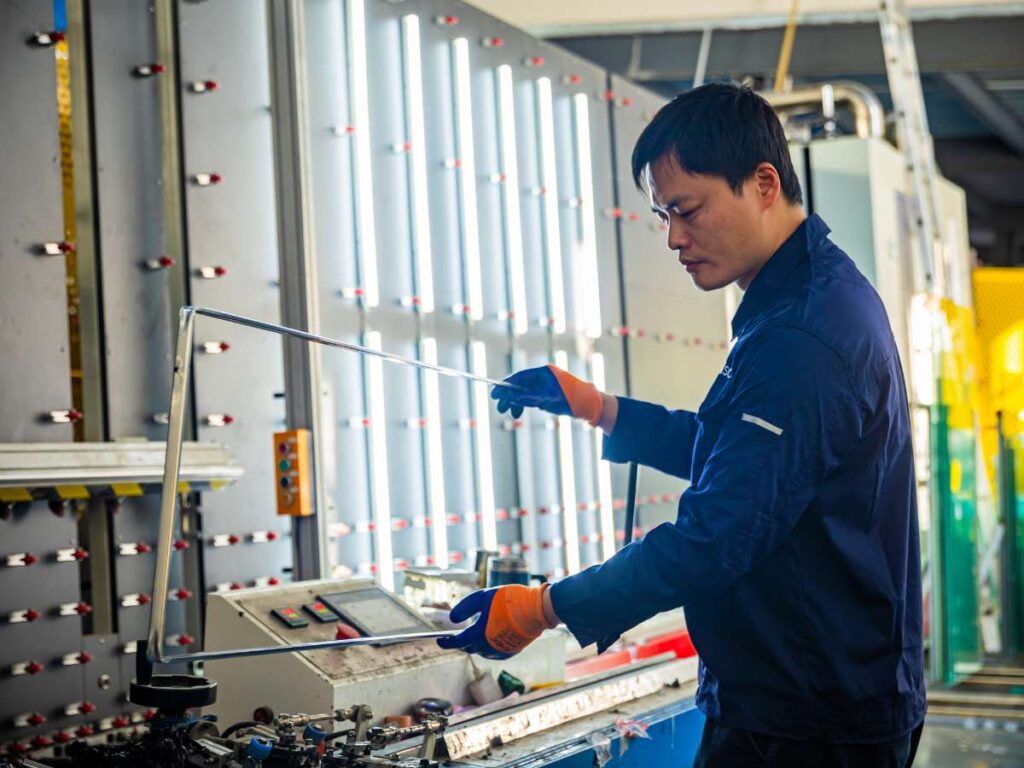
Once the frame and glass are ready, the next step is putting them together. This is where the real window takes shape. I’ve seen how careful glazing and sealing can mean years of trouble-free use, while shortcuts here often lead to leaks, drafts, or poor insulation.
Installing Glass into the Frame
- Placement with Spacers: The glass is positioned inside the frame using spacers. These small parts keep the panes evenly apart and improve insulation.
- Double and Triple Glazing: Units are built by sealing 2 or 3 layers of glass with a space between. This gap can hold air or gas, which helps with sound and heat control. Hotels and villas often ask for this upgrade.
- Alignment Check: The glass must sit perfectly level inside the frame. Even a slight tilt can cause stress on the edges and shorten the life of the unit.
- Edge Protection: Protective pads or beads are added to stop the glass from moving or rattling. This also prevents small cracks from spreading later.
Sealing and Insulating
- High-Quality Sealants: Vallisco uses strong adhesives or sealants that are applied around the glass edges. They block water, dust, and air from getting inside the unit.
- Gas Filling: In insulated glass units, argon or krypton gas is sealed between the panes. This improves energy efficiency and comfort inside the building.
- Thermal Breaks: Some systems add insulating strips at the frame-glass joint. This reduces heat transfer and makes the window more energy-friendly.
- Final Tightness Check: After sealing, each unit is inspected for leaks or gaps. I always tell clients this step matters as much as the materials themselves, because a poor seal can ruin the whole performance.
Step#6 Hardware & Fittings Installation
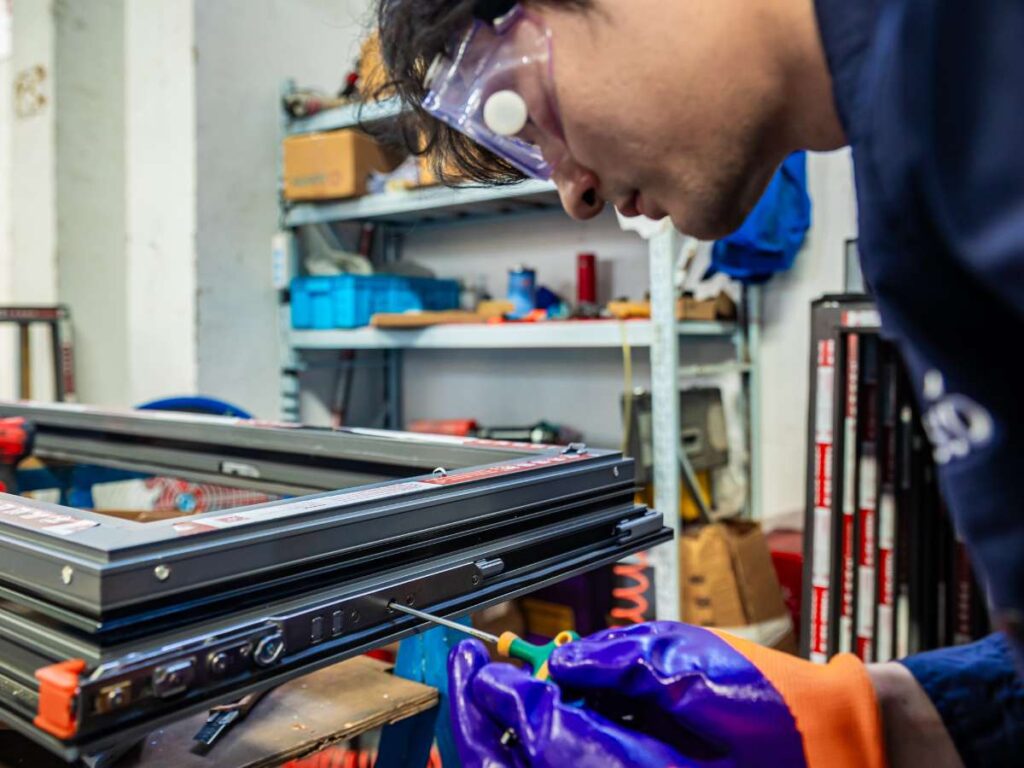
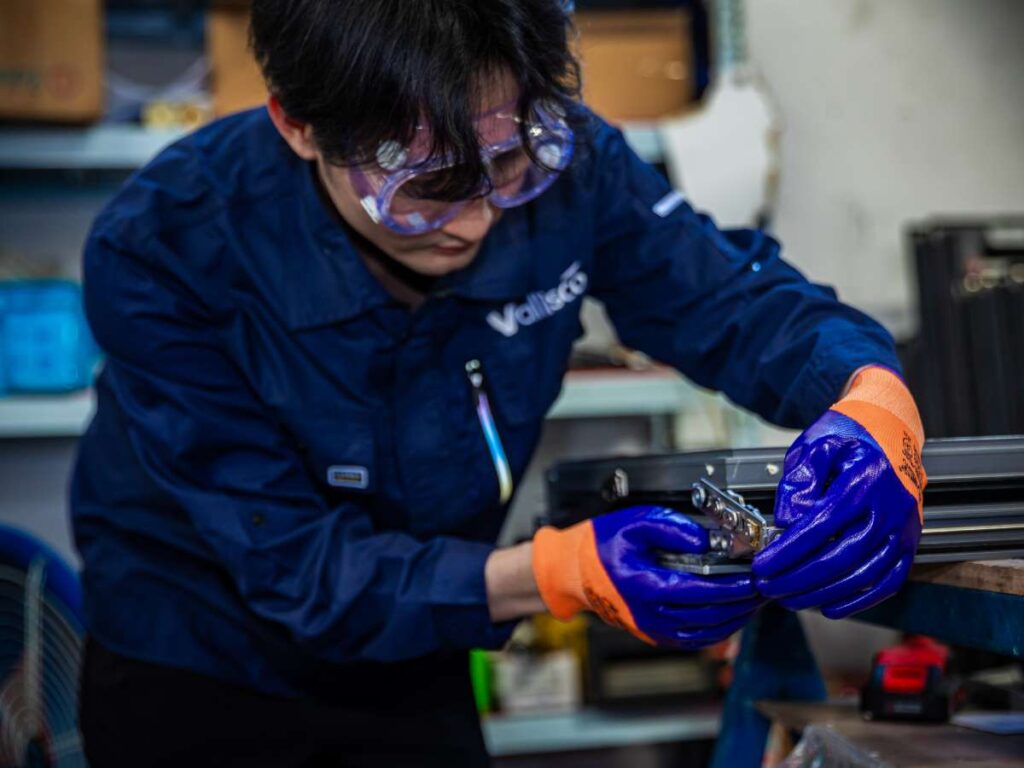
Frames and glass may form the structure, but it’s the hardware that makes a window practical. Handles, locks, and hinges turn a fixed frame into something people use every day. I’ve noticed many clients overlook this step, yet the hardware often decides how secure, smooth, and long-lasting the window feels.
Adding Essential Components
- Handles and Locks: These allow users to open, close, and secure the window. Good hardware should feel solid in your hand and work smoothly over years of use.
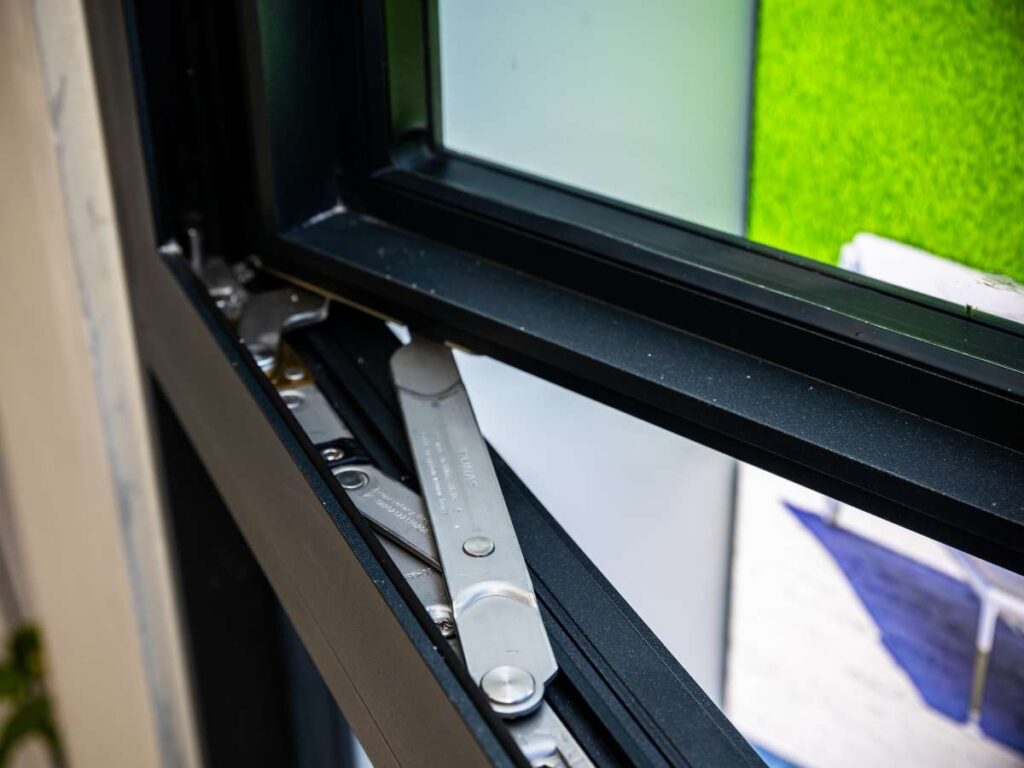
- Hinges and Rollers: Hinges support casement windows, while rollers allow sliding windows to move with ease. Poor-quality fittings can cause sticking or sagging, which creates complaints down the line.
- Weatherstrips: Thin rubber or plastic strips seal gaps between the sash and the frame. They help block drafts, water, and noise. I’ve seen how a simple strip makes a big difference in guest comfort for hotels and B&Bs.
Improving Safety and Usability
- Multi-Point Locking Systems: Many modern windows include locks that secure at several points along the frame. This adds both security and tighter sealing.
- Child Safety Features: In villas or hotels with families, optional restrictors can limit how wide a window opens. This reduces risks while still allowing ventilation.
- Smooth Operation Testing: After fittings are installed, the window is opened and closed multiple times. Any stiffness or loose parts are adjusted before delivery. Clients appreciate knowing the window has been tested for real use.
Step#7 Surface Finishing & Customization
The finishing stage is where a plain frame becomes something that matches your project’s style. This step adds both protection and character. I’ve seen how the right finish makes a hotel lobby feel more welcoming or a villa blend better with its surroundings.
Protective Finishes
- Powder Coating for Aluminum: A dry powder is baked onto aluminum frames, creating a hard, colored surface. This resists scratches, peeling, and fading, which is useful for properties in harsh sun or heavy rain.
- Lamination for uPVC: A thin decorative film can be applied to give a wood-like or textured look. This helps uPVC windows fit into traditional settings without losing modern performance.
- Paint and Stain for Wood: Wood frames can be painted in solid colors or stained to highlight natural grain. This protects against moisture while keeping a warm, classic appearance.
- Extra Sealants: Some finishes include added water-repellent coatings. These extend the life of the window, especially in humid climates.
Customization Options
- Color Choices: From neutral whites to bold tones, colors help windows match the building design. Villas often go for warmer shades, while hotels lean toward sleek, darker finishes.
- Decorative Glass: Frosted, patterned, or tinted glass gives privacy or adds style. I’ve seen B&Bs use frosted glass in bathrooms for a balance of light and privacy.
- Grilles and Dividers: Decorative grids between or on top of glass panes can change the look from modern to classic. These are common in villas or boutique hotels.
- Hardware Finish Matching: Handles, locks, and hinges can be matched in color and texture. This detail adds harmony to the final look, something guests and owners often notice.
Step#8 Quality Control & Testing
Before a window is ready for delivery, it must pass strict quality checks. This stage protects both you and your project from costly problems later. I’ve learned that the best designs and materials still fall short if the testing is skipped or rushed.
Performance Testing
- Air Tightness: Frames and seals are checked to make sure no drafts pass through. Even a small leak can raise energy bills and make rooms uncomfortable.
- Water Resistance: Simulated rain tests show how well windows keep water out. Hotels and villas in rainy areas value this step because it prevents future complaints.
- Thermal Performance: Vallisco’s windows are tested for insulation levels. This helps confirm energy efficiency claims and gives you a real picture of performance.
- Noise Reduction: For properties near busy streets, acoustic testing measures how much outside noise the window blocks. B&Bs and city hotels often pay close attention to these results.
Safety and Strength Checks
- Impact Resistance: Glass is tested against force to confirm safety levels. Laminated or tempered glass should be performed as promised.
- Wind Load Testing: Frames are exposed to high-pressure air to simulate strong winds. This is especially important for tall buildings or coastal areas.
- Hardware Durability: Locks, handles, and hinges are opened and closed repeatedly. This shows how they will perform after years of daily use.
- Glass Bond Strength: Edges and seals are stressed to confirm they won’t separate. This avoids failures after installation.
Compliance and Final Inspection
- Meeting Local Standards: Every region has codes for energy, safety, and building use. Tests confirm that the windows meet these rules before they leave the factory.
- Visual Checks: Inspectors look for scratches, dents, or uneven finishes. Even minor defects are corrected before shipping.
- Labeling and Documentation: Test results and compliance labels are recorded. This helps you track quality and gives assurance during audits or inspections.
- Client-Specific Requirements: Sometimes, projects request custom tests, like fire resistance or special coatings. I’ve seen this in hotels with strict safety rules.
Conclusion
That hotel project I mentioned at the start found the right answer once they understood how windows are made.
From design to testing, every step in the process gave them confidence to move forward. This guide showed you the same path.
Good windows don’t happen by chance. They come from clear choices, strong materials, and solid checks.
If you’re planning for a villa, hotel, or greenhouse, use this process as your guide. For support with your own project, Vallisco is here to help. Contact us today!
More Guides and Tips to Explore
For more helpful content, explore our collection of recommended reads:
Still haven’t found what you’re looking for? Don’t hesitate to contact us. We’re available around the clock to assist you.


