We once took over a project where the last contractor left the double pane windows half-installed. We had to remove them all and restart from frame prep to sealing.
That kind of setback slows the whole building and costs more than it should.
Since then, I’ve worked alongside installation crews, followed manufacturer instructions on-site, and reviewed multiple project walkthroughs from villas, hotels, and greenhouses. I’ve seen what works, what causes leaks, and how teams fix errors on the fly.
This article breaks it down step by step. It’s written based on real field experience and the actual steps teams follow during installs.
If you want a clear plan before you pick up a tool, keep reading.
Let’s dive in!
Quick Guide
Before we get into the full details, here’s a quick guide to help you understand the flow of the installation process from start to finish.
| Step | Key Actions | Why It Matters | Mistakes to Avoid |
| Step 1: Prepare the Work Area | Clear space, prep tools, check window | Keeps job smooth and safe | Forgetting tools or missing parts |
| Step 2: Remove Old Window | Cut sealant, pull frame, clean opening | Protects rough opening and wall | Damaging frame or rushing removal |
| Step 3: Inspect & Repair | Check level, rot, gaps, seal | Builds a strong base to install | Installing over damaged framing |
| Step 4: Flash & Waterproof | Flash sill, sides, top, seal edges | Stops leaks and water damage | Skipping flashing or wrong order |
| Step 5: Dry-Fit Window | Test fit, shim, confirm operation | Ensures correct fit before sealing | Skipping fit check |
| Step 6: Seal & Set | Apply sealant, set window, screw in | Locks window in place tightly | Uneven sealing or loose fit |
| Step 7: Insulate Frame | Fill gaps, trim foam, clean edges | Boosts insulation and energy savings | Using foam that expands too much |
| Step 8: Install Trim & Finish | Add interior and exterior trim, caulk joints | Gives a clean sealed finish | Leaving gaps or loose trim |
| Step 9: Final Inspection | Test function, check seals, clean window | Confirms everything works properly | Skipping this step entirely |
Now that you’ve got the full picture, let’s walk through each step with the care it deserves.
Step#1 Prepare the Work Area
Before you start pulling out the old window, take time to set things up right. A clean, open space makes the job faster and safer for everyone. I always remind crews that good prep saves time later.
Clear Space
- Move Interior Items: Shift any furniture, curtains, or wall décor away from the window. This gives your team enough room to work safely.
- Lay Down Floor Protection: Use tarps or drop cloths to catch dust, debris, and broken glass. It also protects flooring during removal and install.
- Clear Exterior Access: Trim plants and remove tools or obstacles outside the window. You’ll need open space to safely lift and place the new window.
- Set Up Ladders or Platforms: For upper floors, make sure ladders or scaffolding are stable. This helps avoid slips while handling heavy frames.
Gather Tools and Gear
- Basic Hand Tools: Get your hammer, tape measure, utility knife, and pry bar ready. These are used early in the removal stage.
- Safety Equipment: Use gloves, safety goggles, and a dust mask. You’ll be dealing with old sealants, broken frames, and sharp edges.
- Caulking Supplies: Have your caulk gun and sealant near your work area. These are critical for sealing the new window later.
- Check Materials On Site: Make sure the new double pane window and trim are ready to go. I always suggest buying from a reputable manufacturer like Vallisco. Their windows are durable, properly sealed, and arrive ready to install, which helps keep your project on track.
Step#2 Remove the Old Window
Now that your space is cleared and tools are ready, it’s time to take out the old window. This part needs patience and care. I’ve seen damage happen here just because someone rushed it.
Loosen the Frame
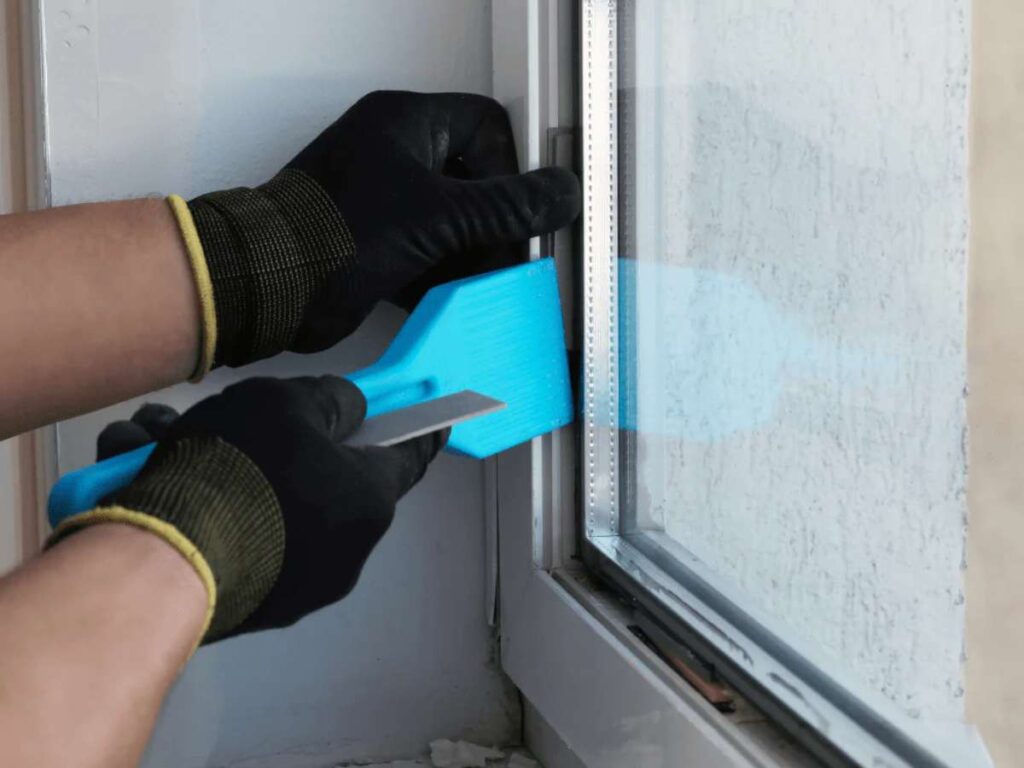
- Score Old Caulk and Paint: Use a utility knife to cut through any caulk or paint around the edges. This helps prevent tearing the surrounding wall or trim.
- Remove Interior Trim: Pry off the interior casing carefully using a flat bar. Save it if you plan to reuse it.
- Unscrew or Pry Out Fasteners: Look for screws or nails holding the window in place. Remove them one at a time to loosen the frame evenly.
Take Out the Window
- Tilt Out the Sash: If it’s a double-hung or sliding window, remove the sashes first. This makes the full unit lighter and easier to handle.
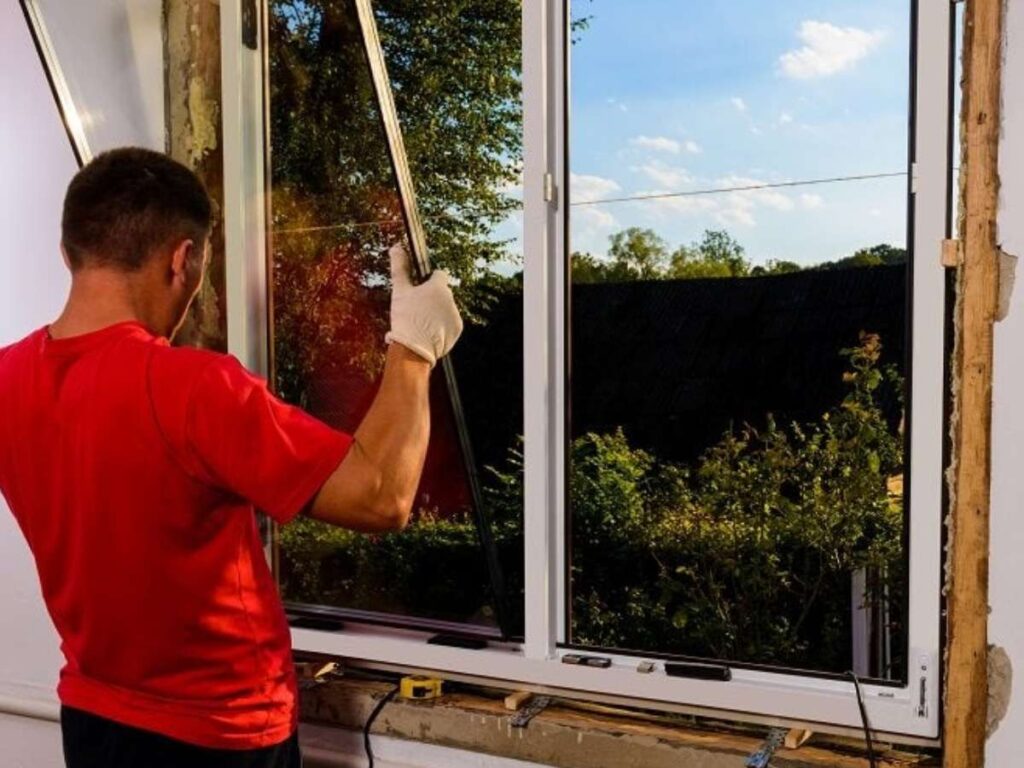
- Pull Out the Frame: Gently wiggle and pull the window frame from the rough opening. Use steady pressure so you don’t damage the structure.
- Clean Up the Opening: Remove leftover nails, old caulk, and debris. You want a clear opening before you move to inspection.
Step#3 Inspect and Repair the Rough Opening
With the old window out, now you can see what you’re really working with. I always take a few minutes here to check for water damage, rot, or uneven framing. Fixing these now saves you a lot of trouble later.
Inspect the Opening
- Check for Rot or Mold: Look closely at the sill, header, and studs for signs of water damage. Soft wood or dark stains mean you need to replace or treat the area.
- Look for Structural Gaps: Gaps or shifting around the frame can throw off your window alignment. Mark any trouble spots to deal with before moving forward.
- Test for Level and Square: Use a level and framing square to check the sides and sill. A crooked opening causes sealing problems later on.
Make Necessary Repairs
- Replace Damaged Wood: Cut out and replace any rotted framing with new pressure-treated lumber. I’ve done this many times, especially on older buildings.
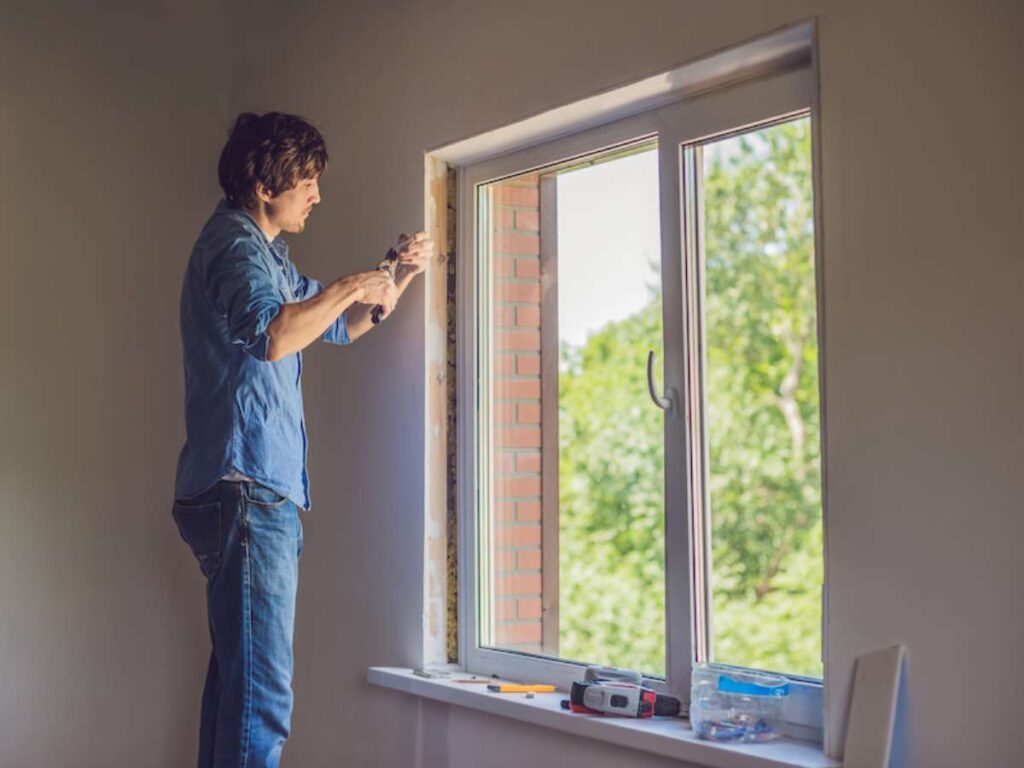
- Shim Uneven Spots: Add shims where needed to straighten the frame and support the new window. This helps the window sit right during installation.
- Seal Gaps and Cracks: Use low-expanding foam or backer rod to fill small openings. It keeps air and moisture from getting in behind the window later.
Step#4 Apply Flashing and Waterproofing
Once your rough opening is solid and cleaned up, it’s time to protect it from water. I’ve seen too many installs go wrong just because flashing was rushed or skipped. This step is your main defense against leaks. Do it right, and your window will last a lot longer.
Prep the Opening
- Clean All Surfaces: Wipe down the frame with a dry cloth or brush. Dirt or dust can stop flashing tape and sealant from sticking.
- Dry Fit the Flashing Tape: Measure and cut pieces before peeling the backing. This helps avoid mistakes during install.
- Start at the Bottom: Always flash the sill first. It creates a base layer that overlaps the side and top flashing.
- Check Weather Conditions: Avoid applying flashing in wet or freezing weather. I’ve learned that adhesives don’t bond well in cold or damp conditions.
Apply Waterproofing Materials
- Install Sill Flashing Tape: Center it along the bottom of the opening and press it firmly into place. Wrap it up each side at least a few inches.
- Add Side Flashing: Apply tape up both sides, overlapping the sill flashing. Press out any air bubbles as you go.
- Top Flashing Last: Place the top piece over the side flashing. This keeps water from getting behind the tape.
- Seal the Inside Edge: Run a bead of sealant along the interior side of the sill and sides. This adds an extra barrier before the window goes in.
Step#5 Dry-Fit the Double Pane Window
Now that your flashing and waterproofing are in place, it’s time to check how the new window fits. Don’t skip this part. A dry-fit helps you catch spacing or alignment issues before sealing anything in place.
Position the Window
- Lift with Care: Get a second person to help you carry and place the window into the opening. These double pane units are heavy and awkward to handle alone.
- Test the Fit: Set the window into the opening without sealant. Make sure it sits evenly against the sill and frame.
- Check for Gaps: Look around all sides of the frame. If any gaps are too large or uneven, this is your chance to adjust before sealing.
Confirm Level and Square
- Use a Level and Tape: Measure the diagonal corners and check with a level on all sides. The window should be square and sitting flat.
- Adjust with Shims: Add or move shims as needed to correct any tilt or uneven pressure. I like to tap them gently and double-check the level after each one.
- Check Operation: Open and close the sash or panels. Smooth operation now prevents issues later. Vallisco manufactures high-quality windows that are well-built and last even in tough conditions.

Step#6 Seal and Set the Window
Once the dry-fit looks good, you’re ready to lock it in place. This part matters. If your seal isn’t solid, water and air will find their way in, no matter how good the fit looked earlier.
I’ve made the mistake of rushing this stage early in my career. Trust me, taking your time here pays off.
Apply the Sealant
- Run Bead Along the Sill: Apply a continuous bead of high-quality exterior-grade sealant along the interior edge of the sill. This creates the first line of defense against leaks.
- Seal the Sides and Top: Add sealant to the sides and top of the frame. Don’t leave gaps or thin spots, go slow and steady.
- Double-Check for Gaps: Before setting the window, check that your sealant lines are clean and continuous. It’s harder to fix once the window is in.
Set and Secure the Window
- Place Window into Position: Carefully lower the window into the opening, pressing it against the sealant. It helps to have one person inside and one outside.
- Fasten the Frame: Use manufacturer-recommended screws to secure the window in place. Start at the bottom, then work your way up the sides.
- Recheck Level and Operation: After fastening, check that the window still opens and closes smoothly. I always make sure everything lines up again before moving on.

Step#7 Insulate Around the Frame
With the window sealed and set, the next step is closing up the gaps around the frame. I once skipped this on a tight job, had to come back a month later to fix the cold spots.
Take your time here. A good insulation job adds value to the whole install.
Choose the Right Insulation
- Low-Expanding Foam Only: Use foam labeled for windows and doors. High-expanding types can bow the frame and mess with the operation.
- Backer Rod for Big Gaps: If the gap is wider than 3/8 inch, fill it first with backer rod. It gives the foam something to grip and reduces waste.
- Check Temperature Range: Make sure the foam can be applied in the current weather. Some formulas don’t cure well in cold or damp conditions.
Apply Foam Properly
- Insert Straw Deep Into Gap: Aim the foam applicator into the back of the gap. Work slowly to avoid overfilling.
- Fill Only 50% of the Gap: The foam will expand on its own. Filling too much causes pressure and can damage the frame.
- Let It Cure Fully: Wait the full cure time before trimming. I’ve had cases where trimming too early pulled out soft foam and left open spots.
Clean and Trim
- Cut Excess Foam: After the foam is fully cured, trim off any excess with a sharp utility knife. Keep it flush with the frame.
- Inspect for Missed Areas: Shine a light or run your hand along the edge to feel for airflow. Add more foam if needed.
- Clean the Area: Clear out foam shavings and dust. A clean frame makes trim installation easier in the next step.

Step#8 Install Trim and Finish Up
Once insulation is done and cured, you’re ready to close things up. Trim gives the install a clean finish and protects the edges of your opening. I’ve worked on projects where the window looked great but the trim work killed the overall appearance.
Install Interior Trim
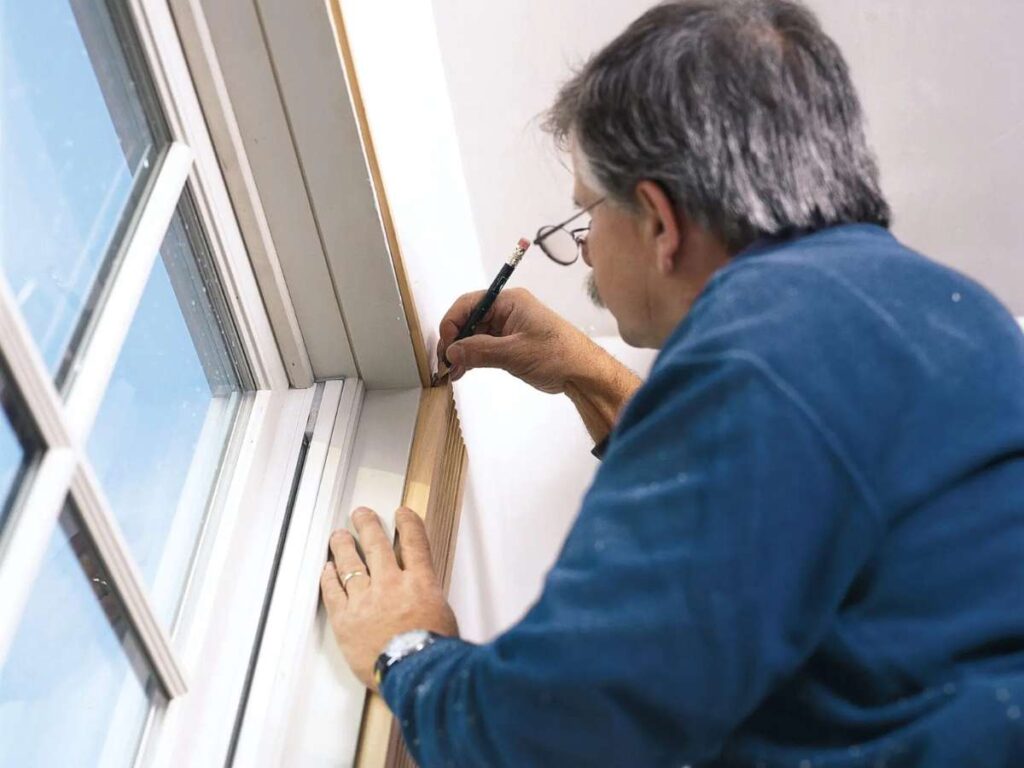
- Reuse or Replace Trim: You can reuse the original trim if it’s in good shape. If not, cut new pieces to size and match the existing style.
- Secure with Finish Nails: Use a nail gun or finish nails to fasten the trim to the wall framing. Make sure it sits flat with no gaps.
- Caulk and Fill Gaps: Run a thin bead of paintable caulk along the trim edges. I like to do this before painting so everything blends clean.
Set Exterior Finish
- Add Exterior Casing or Wrap: Depending on the design, install wood, PVC, or aluminum trim around the outside frame. It gives weather protection and visual finish.
- Seal Joints with Exterior Caulk: Apply a bead where trim meets siding or brick. This keeps out water and wind.
- Inspect for a Tight Fit: Press along the edges to feel for movement or loose spots. If anything shifts, reinforce it before moving on.

Step#9 Final Inspection
Now that the trim is installed, the last thing to do is a full walk-through of the window. I always takes five minutes here, it saves me five hours later. Make this a habit. It’s a small task that keeps your jobs tight and your clients happy.
Check Window Function
- Open and Close Smoothly: Test all moving parts. The window should open, lock, and seal without sticking or dragging.
- Inspect for Air Gaps: Run your hand around the frame to feel for drafts. If you notice any, you might need to add insulation or adjust the seal.
- Look for Rattling or Play: Lightly push on the frame and sashes. On one job, I found a loose sash that would’ve rattled every time the wind picked up.
Inspect Finish and Sealing
- Check Trim and Caulk Lines: Look closely at the trim edges and caulk beads. Everything should be neat and sealed with no visible gaps.
- Look for Foam Leaks or Voids: Inside and out, make sure insulation isn’t bulging or missing behind trim. You want a full seal around the frame.
- Clean Glass and Frame: Wipe down the glass and window edges. It leaves the job looking clean and gives your client a good first impression.
Conclusion
We took over that half-done window job, finished it right, and never got a single callback.
That’s the power of doing each step with care. From prep to final inspection, this guide walks you through every part clearly.
Now you know what to look for, what to avoid, and how to get results that last.
If you’re looking for a window supplier that understands durability, design, and real-world installation needs, choose Vallisco.
Let’s talk. Contact us today to discuss your project!
Explore Related Resources
Want to see more? We’ve gathered additional product choices to give you even more variety:
Still haven’t found what you’re looking for? Don’t hesitate to contact us. We’re available around the clock to assist you.


