A builder recently told me they relied on a generic installation video for a folding door project. It looked easy—until they hit the mounting step and realized the spacing was off by an inch.
No one told them how to adjust.
That’s what happens when teams try to make residential instructions fit commercial jobs.
We manufacture and supply folding doors to businesses every day, so we’ve seen what works, and what leads to callbacks. We know the structure, the pressure points, and the installation flow.
This guide is built for business teams who need a clear, reliable process. By the end, you’ll know exactly how to get folding doors installed securely, smoothly, and without wasting a workday.
No more second-guessing your next move.
Let’s get started!
Quick Comparison Chart
This table walks you through all 10 steps of the process, from preparation to final touches. Each row highlights the goal, key actions, why the step matters, and a quick check to confirm you’re on track.
| Step | Goal | Key Actions | Why It Matters | Check |
| 1. Gather Tools | Be ready | Collect tools, drill, safety gear | Avoid delays | Tools ready |
| 2. Measure Opening | Get accurate sizes | Measure width, height, square | Doors fit right | Even, square |
| 3. Prep Area | Clear workspace | Clean floor, check header | Prevent misalignment | Clean, solid |
| 4. Install Track | Straight base | Mark, pre-drill, level, fasten | Smooth sliding | Track level |
| 5. Attach Brackets | Anchor panel | Position, drill, mount flush | Keeps panel stable | Bracket square |
| 6. Mount Hinges | Connect panels | Mark, drill, attach evenly | Smooth folding | Panels aligned |
| 7. Hang First Panel | Set foundation | Insert pivots, check plumb | Guides all panels | Swings free |
| 8. Add Panels | Build system | Line up, hinge, test fold | Step-by-step alignment | Folds smooth |
| 9. Test & Adjust | Fine-tune | Open/close, check gaps, track | Fix issues early | Glides evenly |
| 10. Finish & Hardware | Final details | Add handles, locks, caps, clean | Complete look & function | Polished finish |
Step#1 Gather All Tools and Materials
Before you begin, take a few minutes to gather everything you need. Missing even one small tool can slow down the whole job, so being prepared from the start keeps things moving smoothly. Think of this step as setting the foundation for the entire installation. Once you’re ready, every step that follows will be easier.
Measuring and Alignment Tools
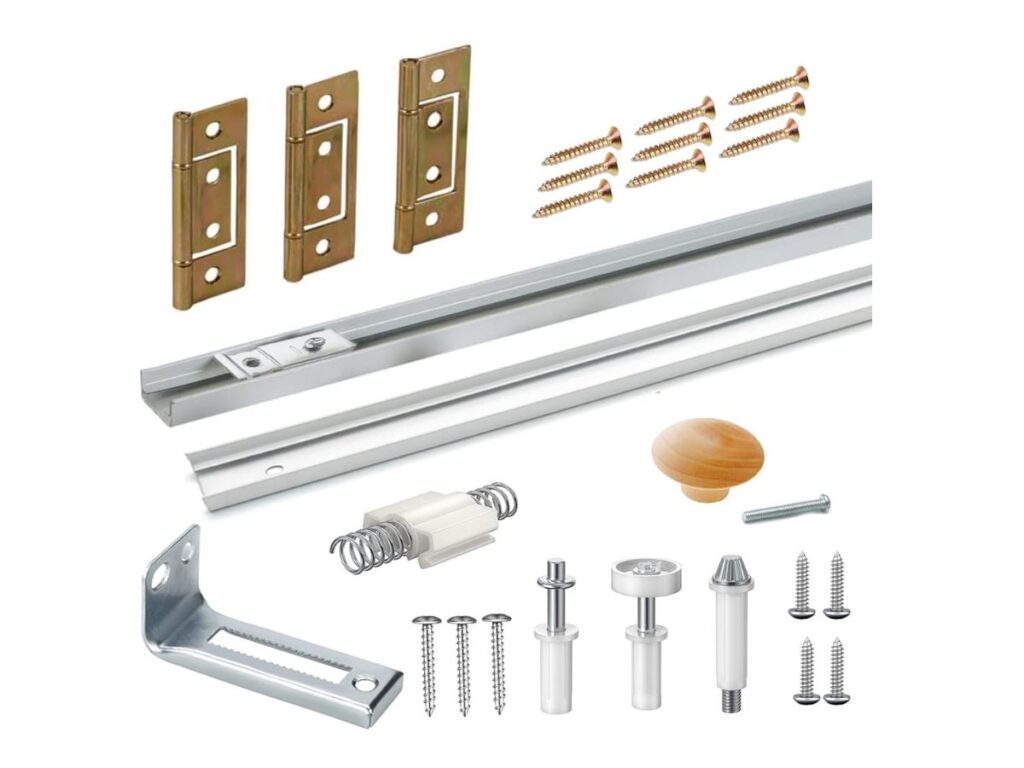
- Measuring Tape and Pencil: Accurate measurements are the key to a proper fit. A mechanical pencil makes neat marks that won’t smudge or damage surfaces.
- Level (3ft or longer): A long level helps you keep the track and brackets perfectly straight. This prevents sagging or crooked alignment later on.
Installation and Safety Equipment
- Power Drill and Bits: A cordless drill gives you the flexibility to move around easily. Make sure you have wood, metal, or masonry bits depending on the materials you’ll be working with.
- Screwdrivers (Flat and Phillips): Some adjustments are better done by hand. Screwdrivers give you the precision a drill can’t always manage.
- Wrenches or Socket Set: Certain brackets or hinges use bolts instead of screws. Having the right size wrench or socket saves you the hassle of hunting for one mid-installation.
- Protective Gear (Gloves and Safety Glasses): Gloves give you a better grip on heavy doors and keep your hands safe. Safety glasses protect your eyes from dust and small debris.
Step#2 Measure the Door Opening
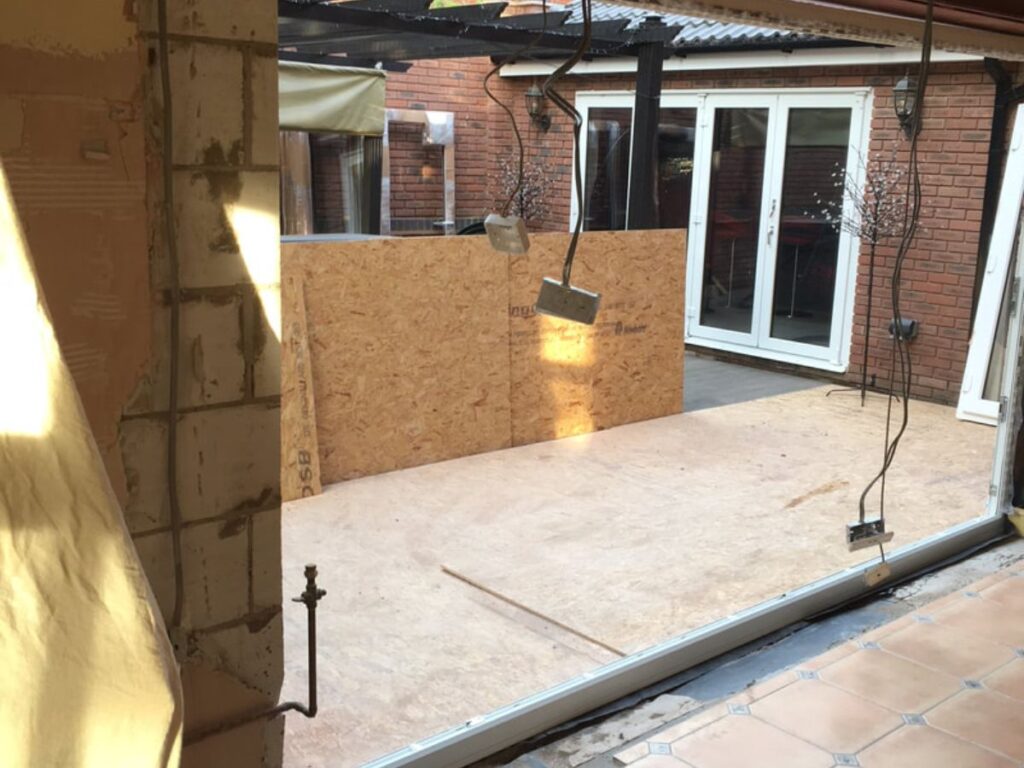
This step may look simple, but it sets the tone for everything that follows. Many installation issues, like panels not closing properly, often come down to an opening that wasn’t measured carefully. Measuring once isn’t enough. Double-checking width, height, and squareness ensures that when it’s time to mount the track and panels, everything lines up the way it should.
Key Measurements to Take
- Check Overall Width at Top, Middle, and Bottom: Measure across the opening in three spots to catch any variation. If the numbers don’t match, use the smallest measurement to guide placement.
- Measure the Full Height on Both Sides: Openings are not always perfectly level, especially in older buildings. Take measurements on both sides so the track sits evenly across the top.
- Confirm the Opening is Square: Use a framing square or measure diagonally from corner to corner. If the diagonal numbers differ, your frame may be out of square and need adjustment.
Additional Details to Mark
- Mark the Centerline for the Top Track: This reference line makes track installation much easier. It is especially helpful with bi-fold or multi-panel doors where alignment is critical.
- Account for Floor Clearance or Thresholds: Look for raised lips, transition strips, or slopes at the bottom of the opening. Factoring these in ensures the panels will clear the floor without dragging.
Step#3 Prepare the Installation Area
Even with the right tools and spot-on measurements, things can still go wrong if the space isn’t properly prepped. Debris in the track groove or an uneven header can turn a quick job into hours of extra work. Spending just 15 minutes getting the area ready helps prevent alignment problems later and keeps the installation moving smoothly.
Clear and Clean the Space
- Clear the Work Zone: Move any boxes, tools, or old fixtures away from the opening. This gives you enough room to handle ladders, panels, and track materials without bumping into obstacles.
- Clean the Floor and Header Surface: Wipe away dust, debris, or leftover construction scraps before installing. A clean surface allows the track and brackets to sit flush and hold firmly in place.
Inspect and Reinforce the Structure
- Check for Surface Defects or Damage: Look for cracks, rot, or uneven patches in the frame, ceiling, or floor. Addressing these issues now ensures the folding door system has a stable foundation.
- Verify Structural Support Above the Opening: Confirm that a solid header or beam is in place to carry the door’s weight. If the framing is too light, it may flex or fail once the panels are installed.
Step#4 Install the Top Track
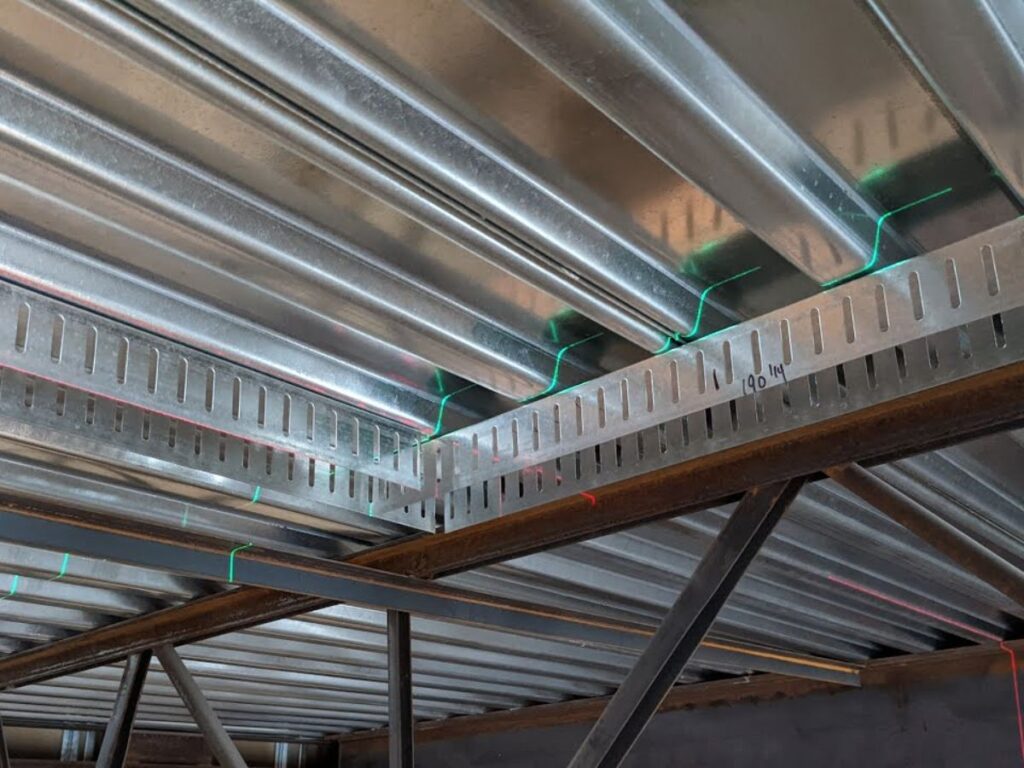
This is the step where precision really counts. If the top track is even slightly off, the panels will never hang straight and you’ll end up dealing with constant alignment issues. Take your time here, because a properly installed track makes the rest of the process smoother and ensures the doors glide effortlessly.
Marking and Prepping the Track
- Mark the Centerline and Bracket Points: Use your earlier measurements to mark the exact placement of the track. Include the mounting hole positions so you are not forced to adjust while drilling.
- Pre-Drill Mounting Holes: Select drill bits that match your fasteners and wall material. Pre-drilling prevents cracks in wood headers and ensures clean threads in metal surfaces.
- Check Track Orientation: Some tracks are designed for a specific direction of wheel travel or hinge placement. Confirm the orientation with the manual or labels before attaching anything.
Leveling and Securing the Track
- Level the Track Before Fastening: Place a long level across the entire span to confirm it is perfectly horizontal. Even a slight tilt can cause the doors to slide on their own or bind when opening.
- Fasten the Track Securely: Use the right screws or bolts for your wall type and tighten them evenly. If you are working with metal studs or concrete, make sure to use anchors rated to handle the weight.
- Double-Check for Clearance and Straightness: Run a spacer or straight edge along the inside of the track once it’s fastened. This confirms there are no dips, bends, or warps before the panels go up.
Step#5 Attach the Pivot Brackets
This is the point where the installation really starts to take shape. All the prep and measuring come together here as you mount the piece that anchors the first panel. It can be tempting to rush, but a crooked bracket will throw off the entire system. Slowing down now saves you from bigger problems later.
Positioning the Bracket
- Find the Correct Placement for the Bracket: The bracket usually sits where the first panel hinges against the wall or frame. Vallisco suggests to always follow your system’s layout, since the position can change depending on how many panels you’re installing.
- Line It Up with the Top Track: Use a level to draw a vertical line from the pivot point in the top track straight down to the floor. That line keeps everything aligned and ensures smooth movement later.
Securing and Checking Alignment
- Mark and Pre-Drill Your Holes: Mark the hole locations before you drill. Pilot holes help the screws bite cleanly and prevent the frame from splitting or twisting.
- Mount It Tight and Flush: Fasten the bracket with screws or bolts that match your frame material. Make sure it sits flat, because any wobble now will only get worse once the panels are attached.
- Step Back and Check Your Work: Take a moment to look at the bracket from different angles. If it looks even slightly off, adjust it now before the panels go up.
Step#6 Mount Hinges Between Door Panels
Now you’re working with the panels themselves, and this is the step where things really start to resemble a door. Mounting hinges may feel repetitive, but consistency is everything. Even a small misalignment can cause the panels to fold unevenly or bind against each other. Taking a little extra care here saves a lot of frustration during final adjustments.
Preparing the Panels
- Lay the Panels Flat and in Order: Place them on a padded surface or clean floor so the finishes stay protected. Arrange them in sequence, with panel one on the left and the rest in order.
- Measure and Mark Hinge Placement: Follow the manufacturer’s spacing guidelines or use pre-drilled holes if provided. Consistent placement across all panels keeps the system folding smoothly.
Attaching and Testing Hinges
- Pre-Drill the Hinge Holes: Drill pilot holes before driving in screws. This prevents splitting and allows the hinge plates to sit flush against the panel surface.
- Attach Hinges Firmly, One Panel at a Time: Begin with the top hinge and work downward. Tighten the screws securely, but avoid over-tightening to prevent warping.
- Test the Fold Before Moving On: After connecting two panels, fold them gently back and forth. If they move smoothly, continue with the next set; if not, make adjustments before adding more.
Step#7 Hang the First Door Panel
This step sets the foundation for the entire system. Once the first panel is in place, every other panel will align from it, so it needs to be straight, secure, and smooth in its movement. Even with perfect measurements, rushing here can create problems that multiply as more panels are added. Taking the extra time now ensures the whole system works as it should.
Setting the Panel in Place
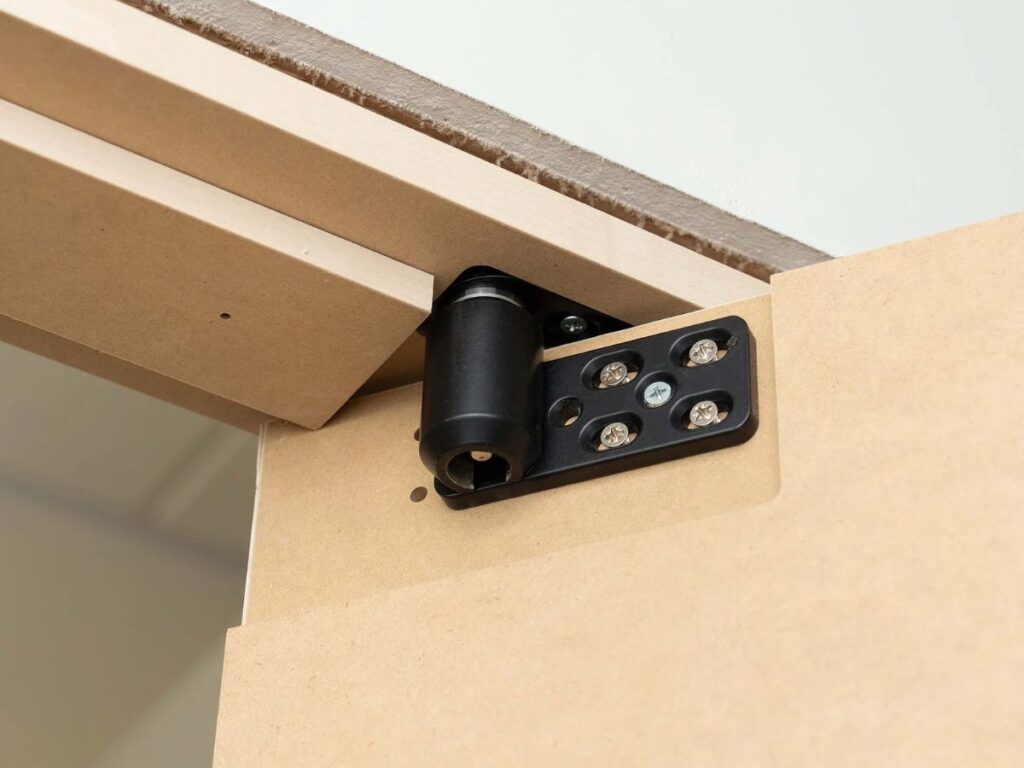
- Lift the Panel and Set the Top Pivot into the Track: Raise the panel carefully and guide the top pivot pin into the track socket. Having a second person help here prevents scratches and makes alignment easier.
- Seat the Bottom Pivot into the Floor Bracket: Once the top is secured, tilt the panel upright and guide the bottom pivot into the floor bracket. Make sure it drops cleanly into the socket without forcing it.
Checking Alignment and Movement
- Check for Smooth Rotation: Swing the panel open and closed gently a few times. It should move freely without scraping the floor or catching on the frame.
- Confirm the Panel is Plumb and Aligned: Use a level to check that the panel is standing straight. If it leans, adjust the pivot bracket or reposition the pins before moving forward.
Step#8 Connect Additional Door Panels
With the first panel secure, you can now build out the rest of the system. This part usually goes quicker once you find your rhythm, but it’s worth slowing down between each panel to make sure everything stays aligned. Connecting one panel at a time keeps the folds smooth and prevents headaches later.
Attaching Each Panel
- Line Up the Second Panel Beside the First: Position the next panel so its edge lines up with the hinge side of the first. Check that the tops and bottoms are even before fastening anything.
- Connect Hinges One at a Time: Start with the top hinge and then move downward. This keeps the panel steady and helps maintain consistent spacing across the joint.
Checking Alignment as You Go
- Test the Fold Before Adding More Panels: After attaching each panel, fold them back and forth a few times. If you notice binding or misalignment, adjust before moving on.
- Watch for Gaps Between Panels: Make sure the panels sit flush where the hinges connect. Vallisco suggests that even small gaps can grow over time and affect how cleanly the door folds.
- Repeat for All Remaining Panels: Continue adding panels one by one, testing the motion each time. Consistency here makes the final adjustment quick and easy.
Step#9 Test and Adjust Alignment
This is the moment where everything comes together and you confirm the system works as it should. Even if the installation looks perfect, testing the doors now helps catch small issues before they turn into bigger problems later. Taking a few extra minutes here ensures the doors glide smoothly and stay reliable over time.
Testing Door Movement
- Open and Close the Doors Fully: Run the panels through their entire motion several times. Watch closely for sticking, uneven folding, or panels that tilt out of line.
- Check the Gaps Between Panels and Frame: Look for consistent spacing from top to bottom. Uneven gaps often mean a hinge needs adjustment or a pivot point is slightly off.
Making Final Adjustments
- Inspect the Track for Smooth Glide: Slide the doors across the track and feel for resistance. If movement is rough, clear out debris, tighten loose screws, or check for any warping.
- Fine-Tune the Pivot Brackets if Needed: Many brackets allow small side-to-side adjustments. Use this to correct minor misalignments and bring the system back to square.
Step#10 Add Door Hardware and Finishing Touches
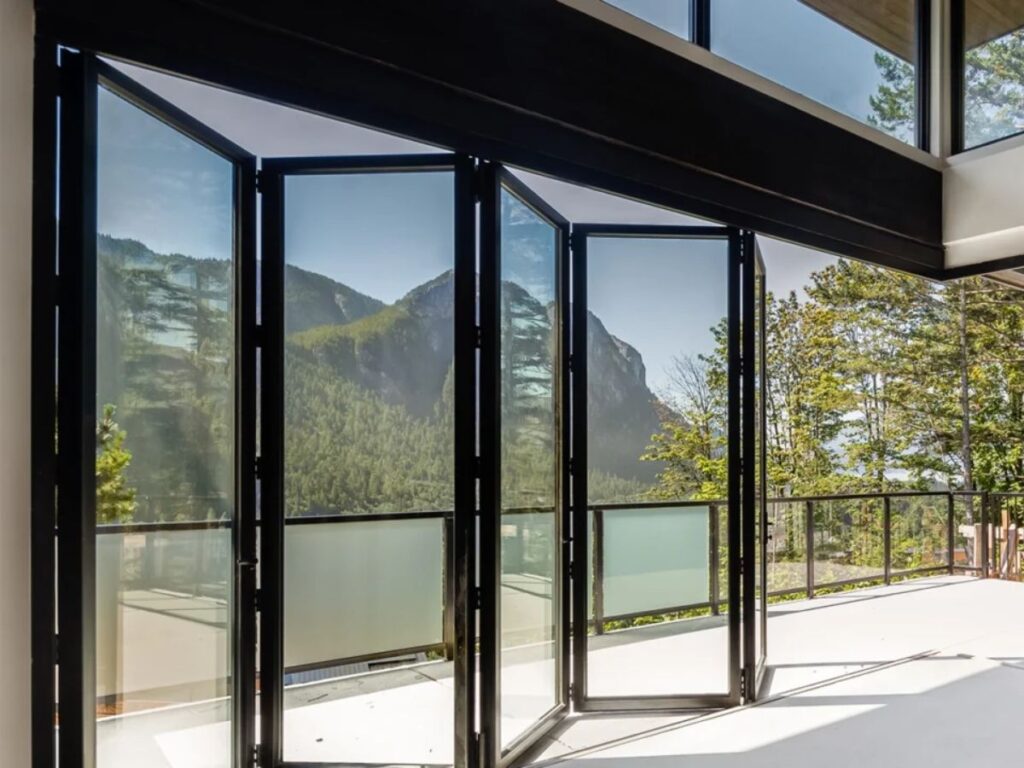
With the panels hanging and aligned, it’s time to finish the job. This step may feel minor, but the final details are what make the system functional, polished, and reliable. Skipping or rushing these parts can undermine an otherwise clean installation. Finishing strong ensures the doors not only work well but also look complete.
Installing Functional Hardware
- Install the Door Handles: Position the handles at a comfortable height and centered along the edge of the lead panel. Use the supplied hardware or choose a finish that complements the space.
- Attach the Locking System (If Included): Many folding doors include flush bolts or integrated locks. Install them now and test to confirm smooth locking and unlocking.
- Secure Magnetic or Latch Closures: These help keep the lead panel firmly in place when shut. Check the alignment first so the catch plate seats cleanly.
Adding the Finishing Details
- Add End Caps and Cover Plates: These protect the track ends and give the system a finished look. Depending on your model, they either snap into place or fasten with small screws.
- Install Floor Guides or Bottom Tracks (If Required): Some systems need guides to prevent panels from swinging outward. Align them with the panels and fasten securely for smooth operation.
- Clean the Panels and Test One Final Time: Wipe away dust, fingerprints, and installation debris. Open and close the system once more to confirm everything glides smoothly and locks securely.
Conclusion
Commercial folding doors don’t install themselves. But with this guide, you’re not going in blind.
We broke it all down. From gathering tools to placing your final hinge. No fluff. No skipped steps. Just what your installation team really needs.
Don’t let hesitation slow down your next project. You’ve got this.
Contact Vallisco today for expert door solutions built for your business.
Learn More: Recommended Reads
Want to see more products? We’ve got plenty of options that might just be the perfect fit for you:
Still haven’t found what you’re looking for? Don’t hesitate to contact us. We’re available around the clock to assist you.


