I once ordered five barn doors for a multi-unit client job, only to find out my team had measured the openings, not the actual coverage needed.
We lost two days and had to reorder all of them.
That was a painful, expensive reminder that barn door measurements aren’t just about width and height.
Since then, we’ve built a repeatable process that works. This guide comes straight from field-tested methods used across commercial, retail, and warehouse installs. Nothing theoretical here.
Inside, you’ll get everything you need to measure correctly: from sizing the opening to checking for obstructions and confirming wall space. It’s all here, and it’s simple.
You’ve probably already picked your door. Now make sure it actually fits.
So, let’s get into it!
Quick Process Chart
Before you measure or order anything, use this table to guide your process from start to finish. Each step highlights the key actions, what to measure, and what to avoid—making sure your barn door fits right the first time.
| Step | Title | Key Action | Measure | Watch Out | Tip |
| 1 | Setup | Choose door type & slide direction | Wall space | Not enough wall | Match door to layout |
| 2 | Door Opening | Get accurate width/height | 3 points across opening | Uneven walls/floor | Use largest number |
| 3 | Door Size | Add overlap | Width + 2″, height + 1″ | Gaps or too small | Round up sizes |
| 4 | Hardware | Plan track & mounting | Track length & clearance | Low ceiling, no studs | Use header board |
| 5 | Wall & Studs | Check support surface | Stud spacing, wall type | Drywall only | Use anchors or board |
| 6 | Floor & Clearance | Level door path | Floor slope, bottom gap | Dragging door | Add floor guide |
| 7 | Trim/Baseboards | Check for obstructions | Trim depth | Trim in the way | Use spacers |
| 8 | Handle | Plan handle location | Height & side space | Hitting wall or trim | Use recessed handles |
| 9 | Final Check | Review all details | All sizes & parts | Missing hardware | Match door to kit |
Want the full breakdown of each step with examples and pro tips? Read the full guide below.
Step#1 Understand Your Barn Door Setup
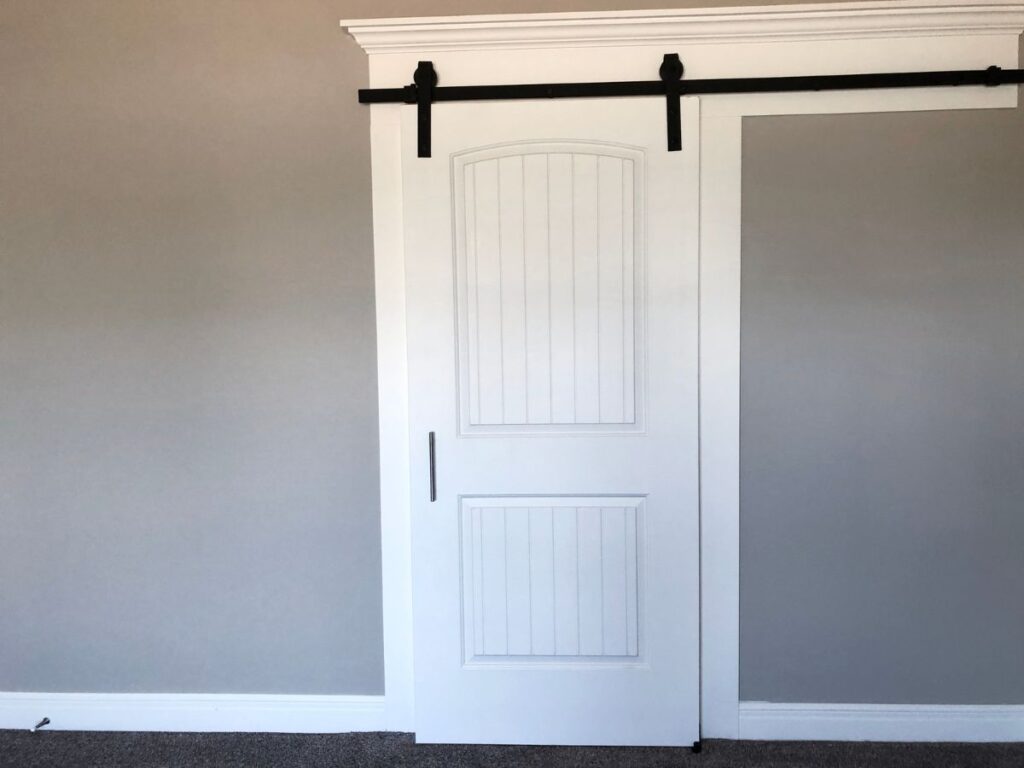
Before you pick up a tape measure, take a moment to look at the big picture. Barn doors come in different styles, and how they function will affect your measurements. Getting clear on your setup from the start helps prevent sizing issues and installation headaches.
What Type of Barn Door Are You Installing?
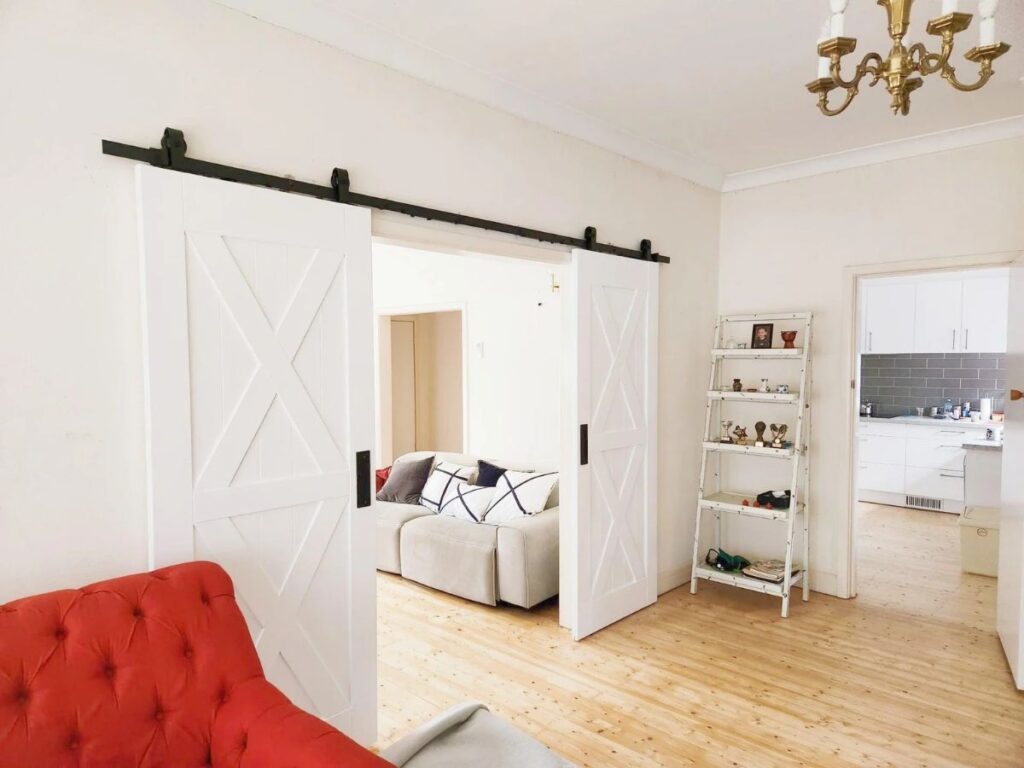
- Single or Double Door: A single door slides in one direction and covers the entire opening. Double doors meet in the middle and require space on both sides of the opening.
- Surface Mounted or Pocket Style: Most barn doors slide in front of the wall, while pocket doors slide inside it. Knowing which one you’re using will change what and how you measure.
- Sliding Direction Matters: Decide whether the door will slide left or right when open. This choice impacts wall clearance and hardware placement.
Wall Space and Opening Location Considerations
- Enough Clearance on the Sliding Side: Make sure there’s enough wall space for the door to slide open completely. Look for things like light switches, outlets, or vents that might block the path.
- Door Placement Relative to the Room: Think about where the door opens in relation to furniture or walkways. Poor placement can create daily workflow issues or crowd the space.
- Ceiling Height and Track Fit: Check that there’s enough height above the door to install the track and hangers. Lower ceilings may limit how large your barn door can be.

Step#2 Measure the Door Opening (Rough Opening)
Now that you understand your setup, it’s time to break out the tape measure. Measuring the rough opening is your starting point. This step tells you how wide and tall the actual opening is, which becomes the base for picking the right door size.
Measuring Width and Height Accurately
- Use a Steel Tape for Best Accuracy: A flexible tape measure may sag or bend, giving you the wrong numbers. A stiff steel tape gives you better control and straighter readings.
- Measure in Three Spots: Take width and height measurements at the top, middle, and bottom of the opening. Walls and floors aren’t always perfectly level, so this helps catch any variation.
- Record the Largest Number: Always use the largest width and height for planning your door size. That way, you won’t end up with a door that’s too small for one part of the opening.
- Round Up, Not Down: If your measurement falls between two sizes, go with the larger one. A slightly bigger door offers better coverage and privacy.
What to Do with Uneven Openings
- Look for Height or Width Gaps: If one side of the opening is higher or wider than the other, make a note. You’ll need to size the door for the widest and tallest parts.
- Mark Problem Areas Clearly: Use a pencil to mark where the opening shifts. This will help during installation and when deciding on door overlap.
- Adjustments May Be Needed: Uneven openings might need trim, shims, or a slightly larger door. Planning for this early saves time later.
Note Any Obstructions Around the Opening
- Watch for Wall Fixtures: Outlets, thermostats, or switches near the opening can get blocked by the door. Make sure the door won’t cover anything critical when open or closed.
- Check the Floor Surface: Look at the type of flooring near the door. Changes in material or height could affect door clearance or bottom guide placement.
- Look Above the Opening Too: Ceiling slopes, beams, or low-hanging fixtures might interfere with track mounting. Always check what’s above the door area before picking hardware.
Step#3 Determine the Ideal Door Size
With your opening measurements in hand, now it’s time to figure out the ideal door size. This step ensures the door fully covers the opening and functions properly. Getting this part right means no light leaks, no gaps, and no returns.
How Much Overlap Do You Need?
- Add Width on Both Sides: Your barn door should be wider than the opening by at least 1 to 2 inches on each side. This helps ensure full coverage and better privacy.
- Include Extra Height: Add about 1 inch of height beyond the opening. This keeps the door from dragging and makes sure it covers the top fully.
- Account for Trim If Present: If your doorway has trim, you may need even more overlap. Always measure from the outside edge of the trim, not just the drywall opening.
Common Sizing Formulas for Barn Doors
- Single Door Width = Opening Width + 2 Inches (Each Side): This rule of thumb gives you good side coverage. Adjust based on whether you want more or less overlap.
- Double Door Width = (Opening Width × 2) ÷ 2 + Overlap Per Side: For double doors, each panel needs to meet in the center with some overlap. This keeps the seam clean and prevents gapping.
- Door Height = Opening Height + 1 Inch Minimum: This ensures full vertical coverage while giving room for floor guides. Don’t forget to check ceiling height before finalizing.
- Measure Twice, Order Once: Before placing your order, double-check all your measurements. One small mistake here can throw off the whole installation.
Step#4 Measure for Mounting Hardware
Once you’ve nailed down your door size, the next step is making sure your hardware fits the space. The track, mounting system, and door clearance all depend on this step. Get this part right and your door will glide smoothly without hitting anything.
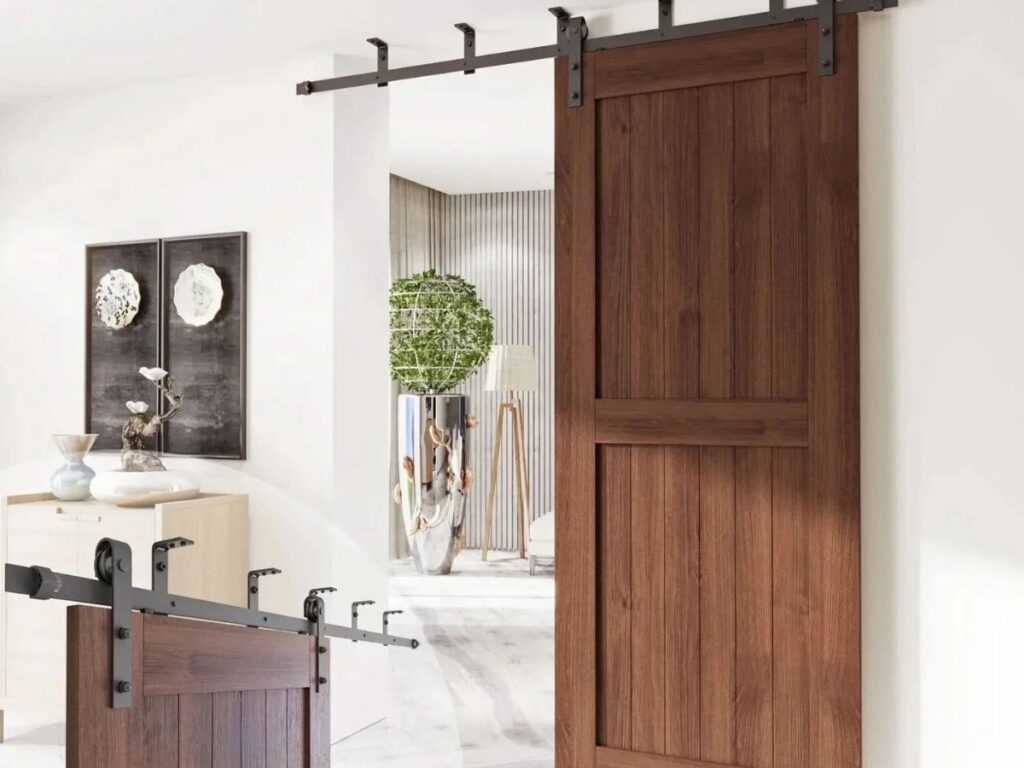
Header Board or Direct-to-Wall Mounting
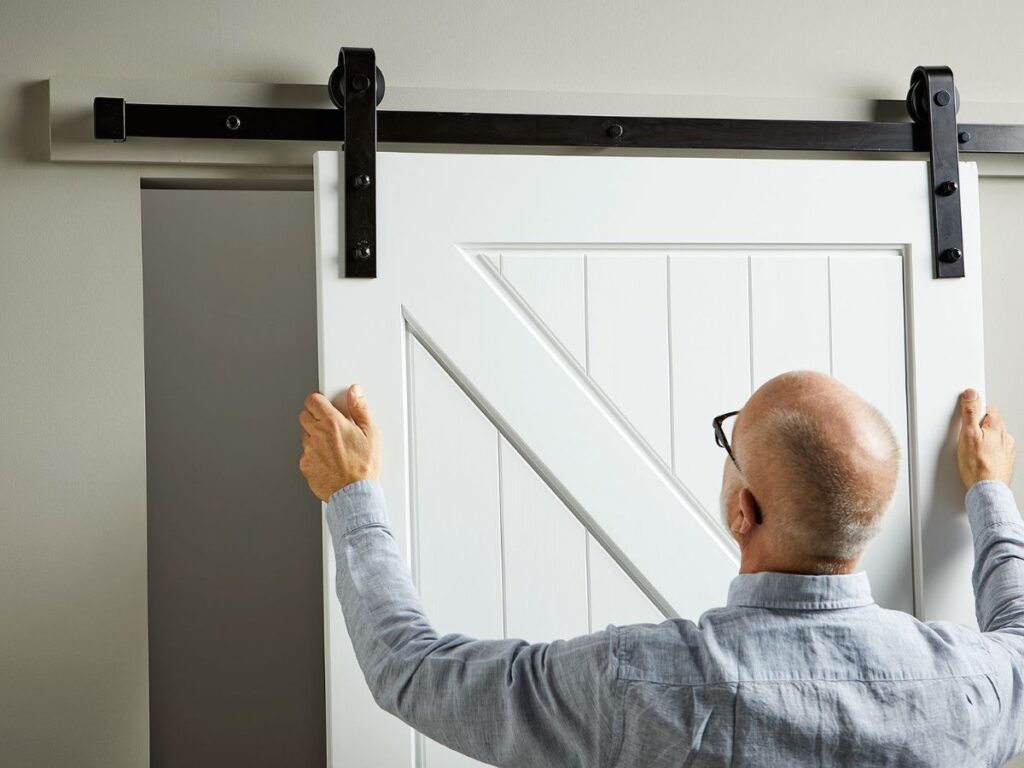
- Know Your Wall Strength: If you’re mounting directly to drywall, you’ll need to find and use studs. A header board spreads the load and adds more flexibility for track placement.
- Choose the Right Header Size: Most header boards should be the same length as the track or a little longer. Use sturdy wood, like a 1×4 or 1×6, for a secure anchor.
- Match Hardware Type to Mounting Method: Some barn door kits include spacers for direct wall mounting. Others are designed for header board installs only, so check before you buy.
Track Length: Single vs. Double Doors
- Single Door Track = Twice the Door Width: For a smooth open, your track should be at least double the width of the door. This lets it slide fully off the opening.
- Double Door Track = Opening Width × 2: Each door panel needs its own space to slide. A single long track or two separate tracks may be used depending on the setup.
- Leave Room on Both Ends: Make sure there’s at least a couple of extra inches beyond each end of the track. This allows the rollers to move freely and stop properly.
Clearance Above the Door
- Measure from Top of Door to Ceiling: You’ll need space for both the track and the hangers. Most setups require 5 to 7 inches of clearance above the finished door.
- Check for Ceiling Obstructions: Look for things like crown molding, ductwork, or beams. These can block your ability to install the track correctly.
- Keep It Level: Your mounting surface should be level, or the door may roll on its own. Use a level to confirm before drilling any holes.

Step#5 Confirm Wall Material and Stud Locations
Before you drill into anything, take time to understand what kind of wall you’re working with. The track and door are heavy, and mounting into the wrong surface can cause real damage. Knowing your wall type and stud layout will keep the door secure and safe.
Why Stud Placement Matters for Barn Doors
- Tracks Must Be Anchored to Studs: Drywall alone won’t hold the weight of a barn door. Studs provide the strength needed for long-term support.
- Stud Spacing Affects Track Mounting: Most studs are 16 inches apart, but always verify. The spacing may affect where your track holes land.
- Use a Stud Finder for Accuracy: Don’t guess where studs are located. A simple stud finder saves time and prevents mounting mistakes.
Mounting on Drywall, Concrete, or Brick
- Drywall Needs Reinforcement: If you’re working with drywall, you must mount into studs or use a header board. Wall anchors alone are not strong enough.
- Concrete and Brick Require Special Anchors: Masonry walls need anchors rated for concrete or brick. A hammer drill may also be necessary to get through the surface.
- Test the Wall First: Tap the wall or drill a pilot hole to confirm the material. Knowing what’s behind the surface helps you choose the right mounting method.
Step#6 Check Floor Level and Clearance
Even if your measurements up top are perfect, uneven flooring can throw everything off. Barn doors need enough room to glide without dragging or catching. A quick check now can save you from awkward movement or alignment problems later.
Dealing with Uneven Floors
- Check with a Level: Place a long level across the door opening to see if the floor is sloped. Even a slight slope can cause the door to lean or gap when closed.
- Measure Both Sides: Compare the floor height at both ends of the opening. If there’s a difference, you may need to trim the door or adjust the hangers.
- Plan for Consistent Clearance: Aim for a consistent gap between the bottom of the door and the floor. This improves appearance and prevents dragging.
Bottom Guide Clearance and Floor Stops
- Use a Floor Guide to Keep the Door Aligned: Floor guides prevent the door from swinging away from the wall. Make sure your floor has space and material to mount it securely.
- Leave Room for the Guide Slot: If your door uses a bottom groove, double-check that the groove aligns with the floor guide. This ensures the door glides smoothly without binding.
- Install Stops to Control Movement: Use end stops to prevent the door from rolling too far. They protect the hardware and keep the door centered when closed.

Step#7 Consider Trim and Baseboards
Trim and baseboards may seem like minor details, but they can affect how your barn door fits and moves. Ignoring them could lead to clearance issues or gaps when the door is closed. This step helps you get a cleaner, more professional-looking install.
How Trim Affects Door Size and Track Spacing
- Measure From the Outer Edge of Trim: If your doorway has casing, measure from the outside edge, not just the drywall. This ensures your door fully covers the trim.
- Account for Added Thickness: Trim can push the door out from the wall. You may need spacers or a header board to clear it properly.
- Wider Trim May Require a Wider Door: More overlap may be needed to avoid visible gaps. Always factor this in before finalizing door width.
When to Use a Spacer or Header Board
- Spacers Create Needed Clearance: Many barn door kits include spacers to offset the track from the wall. These help the door glide past trim or baseboards without hitting.
- Header Boards Add Flexibility: A header board allows you to place the track above trim without relying on exact stud locations. It also makes installation more forgiving on uneven walls.
- Use the Right Thickness: Match the spacer or board thickness to the trim depth. This keeps the door aligned and prevents wobble or uneven gaps.

Step#8 Account for Handle Placement
Handles are often overlooked until the very end, but their placement can affect how your barn door functions. A poorly positioned handle can hit trim, block sliding, or just feel awkward to use. Plan for handle location now to avoid surprises later.
Measure for Grip Comfort and Clearance
- Choose a Comfortable Height: Most handles are installed 34 to 48 inches from the floor. Pick a height that feels natural based on how your team or users will operate the door.
- Allow Room for Full Grip: Make sure there’s enough space for a full hand to grab and pull. Tight spots near walls or trim can make the door hard to open.
- Think About Future Access Needs: If the space will be used by a wide range of people, keep accessibility in mind. Lower handles may work better for ADA compliance or universal use.
Handle Compatibility with Wall Space and Trim
- Check Clearance from Trim or Baseboards: Some handles stick out far enough to bump into nearby trim. Measure carefully so there’s no interference when the door is open or closed.
- Avoid Wall Collision When Sliding Open: Handles mounted too close to the edge may hit the wall when the door is fully open. Leave at least an inch or two of clearance on the sliding side.
- Choose Handle Style That Matches Door Type: Some barn doors use recessed handles, especially on the wall-facing side. This keeps the operation smooth and prevents contact with walls or frames.
Step#9 Final Checklist Before Purchasing
Before you click “order” or place a bulk request, take a moment to review everything. This final step helps you catch small oversights that can turn into costly delays. A quick double-check now can save you days of frustration later.
Double-Check All Key Measurements
- Confirm Door Width and Height: Review your opening size and the needed overlap. Make sure the door size you’re ordering provides full coverage.
- Recheck Track and Mounting Space: Look at ceiling clearance, wall space, and whether a header board is needed. Hardware only fits well if the space allows it.
- Verify Door Swing Direction: Make sure you’ve planned for which way the door will slide. This affects both hardware layout and clearances.
Revisit Site Conditions and Clearances
- Look for Any Missed Obstructions: Scan for vents, light switches, or furniture that might get in the way. These small details are easy to overlook.
- Confirm Floor Level and Door Gap: Make sure your clearance from the floor is consistent across the door path. Uneven gaps can affect both looks and function.
- Double-Check Trim and Wall Surface: Review any trim or uneven surfaces that may affect mounting. You may need spacers or longer bolts based on wall depth.
Confirm Compatibility with Your Selected Door
- Match Door Thickness with Hardware Kit: Not all hardware fits every door thickness. Always check the specs before ordering.
- Make Sure the Handle Style Works: Some handles may not suit your door’s material or mounting clearance. Choose one that matches the setup and works smoothly.
- Review All Parts in the Kit: Ensure the barn door kit includes hangers, stops, guides, and mounting hardware. Missing parts delay the install and frustrate your crew.
Conclusion
Remember those five doors we had to reorder? That job taught us how costly small mistakes can be.
That’s why this article walks you through each step clearly. Good measurements lead to great installations. You’ve got the steps now.
Don’t cut corners. Measure it once. Measure it right.
If you’re still unsure or want help choosing the best door setup, we’ve got your back.
Contact us today! Vallisco is your trusted partner in doors and windows that fit your job perfectly.
Dive Deeper Into Our Resources
Looking for more product options? Take a look at our carefully chosen selections to find what suits your needs best:
Still haven’t found what you’re looking for? Don’t hesitate to contact us. We’re available around the clock to assist you.


